
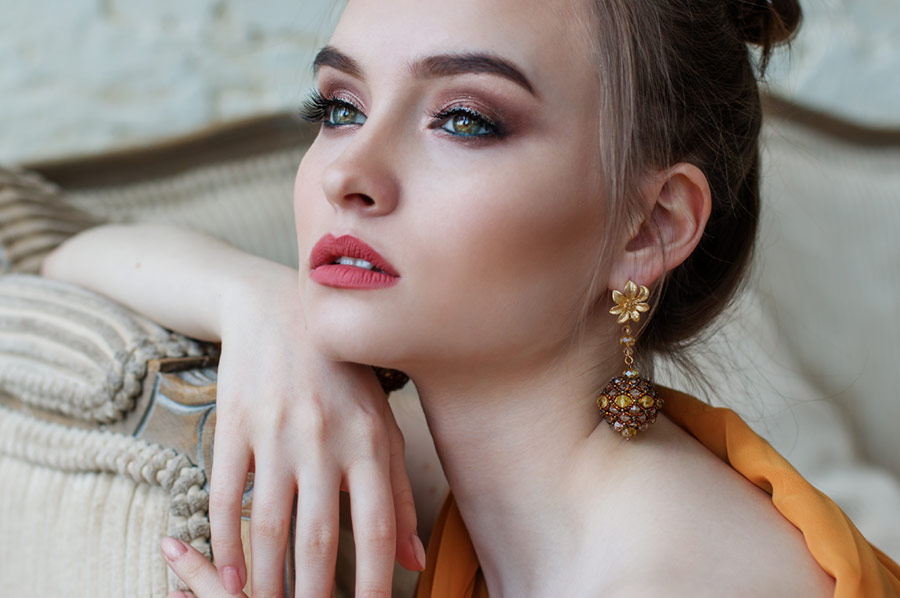
There are endless techniques for color grading your images, but one aspect that can be tricky is manipulating the tonal range of those colors. If you prefer performing your color work in Photoshop, this quick tip will show you how to control the luminance of the hues in your photographs.
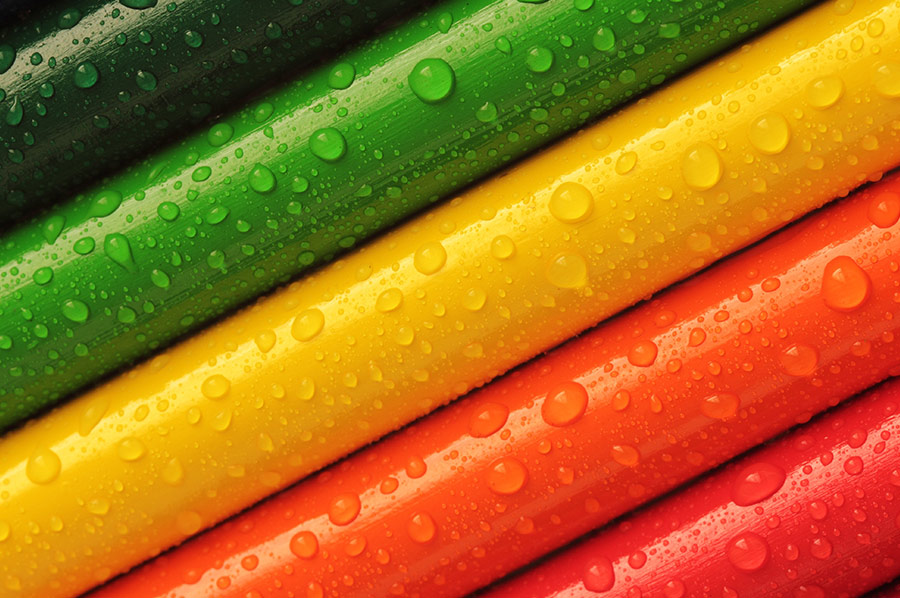
To start, you will add a Black & White Adjustment Layer. After that, change the Blending Mode to Luminosity. Reviewing the tool properties window for the Black & White Adjustment Layer, you will see the following ranges of color: red, yellow, green, cyan, blue, and magenta.
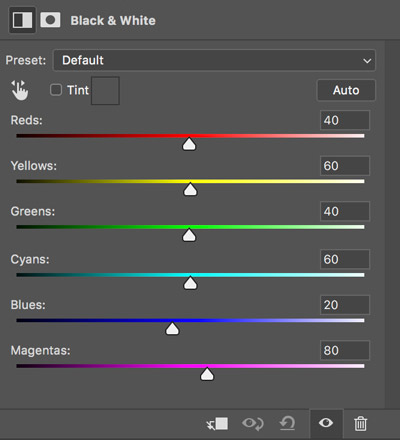
Black & White Adjustment Layer Properties
Dragging any of these sliders to the left will darken that hue while dragging to the right will lighten it. While these options exist in similar forms in Lightroom, Camera RAW, and in Capture One, this particular technique takes only a few seconds and might fit into your workflow perfectly.
Watch the following video by Kevin Roodhorst to see this technique in action, and give it a try.
And if you are looking to take your color grading to the next level, check out our Color Grade Video Course.
Source: Kevin Roodhorst | Featured Image: Pexels


T hank you very much for this….