
Skill Level:
BEGINNER
Skill Level:
BEGINNER
When working in Photoshop, your PSD Layer management approach – organizing your layers efficiently – is crucial to maintaining flexibility and control over your retouching workflow.
Getting into the habit of properly structuring your PSD files early in your retouching career will help you further down the road when you begin working with commercial clients or within a reputable retouching house or agency. If that is your long-term goal, check out our article Things You Need to Consider Before Becoming a Professional Beauty Retoucher.
Here are some essential steps for structuring your PSD files like a professional retoucher, ensuring that your workflow remains streamlined and your edits non-destructive.
Photoshop Layer Management Basics
Begin retouching your image by adding a new blank layer and naming it appropriately to reflect its purpose (e.g., “Basic cleanup”, “Cleanup” or “BC” for brevity).
Make sure your retouching tool (Clone Stamp or Healing Brush) is set to sample from the Current & Below layers.

Understanding Your Photoshop Layer Types
You will mainly work with two primary types of layers: rasterized (pixel) layers and Adjustment layers.
Rasterized layers contain solid pixels (like your background layer or the new layers you will be adding pixels to), while Adjustment layers (Curves, Brightness/Contrast, Selective Color and others) allow you to make changes to the appearance of your image without permanently affecting the pixel data.
This non-destructive ability means you can revise your edits at any point later without starting from scratch.
However, you need to properly order your PSD layers to preserve your ability for this flexible, non-destructive approach, and trust me when I say you will thank yourself later for getting into this habit early.
The Importance of Photoshop Layers Order
The order in which you stack your layers within your working PSD file can significantly impact the efficiency and flexibility of your retouching workflow.
To avoid common pitfalls, always place your rasterized layers at the bottom of your PSD layer stack with Adjustment layers above them.
There can be exceptions, and you can clip Adjustment layers to your rasterized layer, but as a rule of thumb, keep your Adjustment layers at the top of the PSD stack.
This is the approach that ensures that you have the freedom to adjust your work at any point throughout your retouching project, even after you close and re-open the PSD file.
Applying Further Retouching Edits
For practical applications, consider this scenario: you perform skin basic cleanup retouching with the Spot Healing brush on a new blank layer placed above the background image layer > watch the video excerpt from our Retouching JumpStart video course below to learn how to avoid a common mistake beginner retouchers make.
Use discount code RAstart20 for $20 OFF of any of our retouching panels.
Developing an Efficient Workflow
Start by performing all pixel retouching first (e.g., basic cleanup with Healing brushes and Clone Stamp, Frequency Separation), then move on to working with Adjustment layers.
This approach helps avoid any unnecessary rework due to layer mismanagement and keeps your retouching workflow flexible and non-destructive.
As you become more proficient, you can create Actions that automatically build your preferred layer stack, further speeding up your workflow, or use our smart retouching panels that have been helping tens of thousands of beginner and professional retouchers around the world to get more work done faster for over a decade!
Properly managing your layers in Photoshop not only keeps your PSD files organized but also enhances the quality and efficiency of your retouching workflow.
It is especially important if retouching work is your core income stream. Your reotuching time is money!
If you are only beginning your retouching journey, learn the fundamentals of retouching using a non-destructive approach taught in a digestible, accessible way — no experience necessary – with our Retouching Jumpstart video course.
Happy retouching!
BEGINNER LEVEL
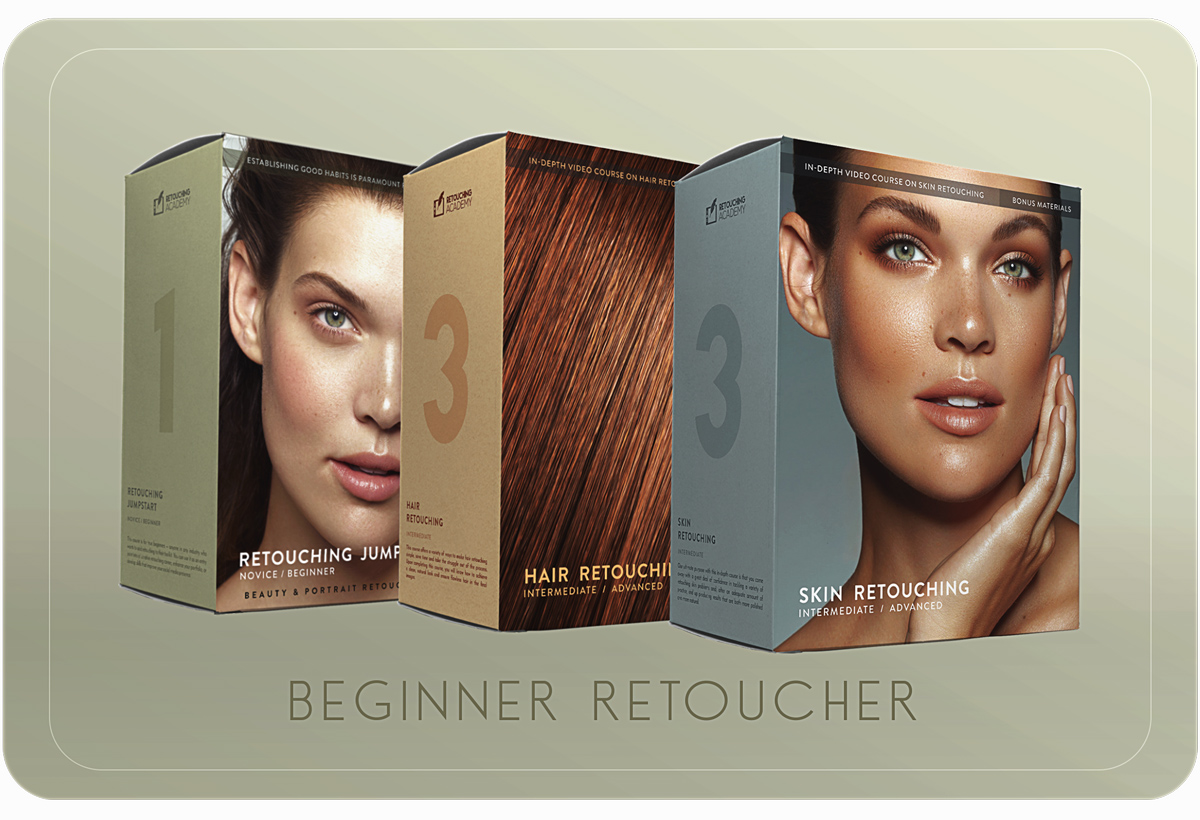
Beginner Retoucher Bundles
30-35% Off
These beginner-level bundles are your fast track to retouching mastery. Stop settling for mediocre images and recession-proof your skillset with solid retouching skills.
Each course comes with valuable bonus materials and practice beauty images to accelerate your learning journey.
BEGINNER LEVEL
Beginner Retoucher Bundles
30-35% Off
These beginner-level bundles are your fast track to retouching mastery. Stop settling for mediocre images and recession-proof your skillset with solid retouching skills.
Each course comes with valuable bonus materials and practice beauty images to accelerate your learning journey.