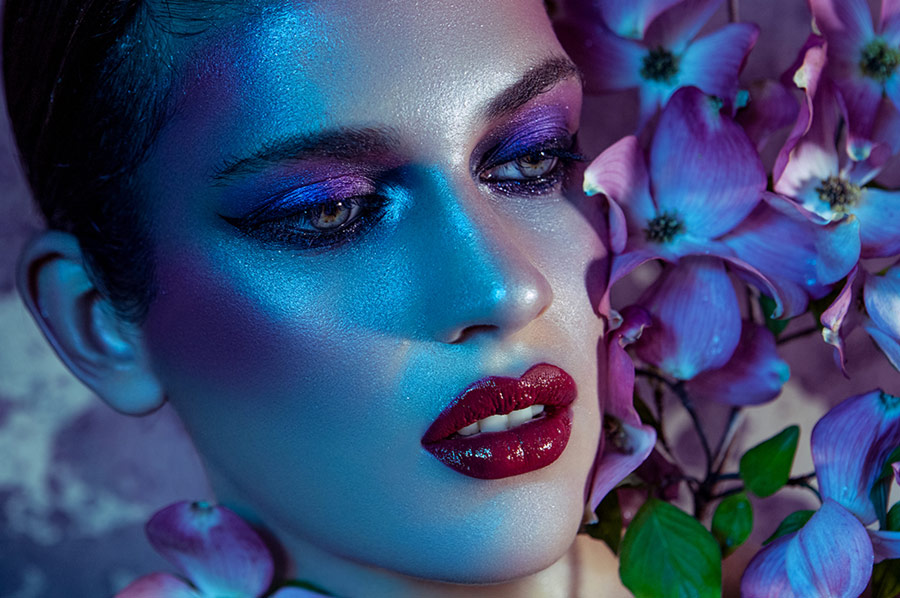
Many retouching artists will agree that the Curves tool is one of the best to use for color grading, but if your retouching workflow is limited to Lightroom or Capture One, you may not be too familiar with the Curves tool beyond the basics.
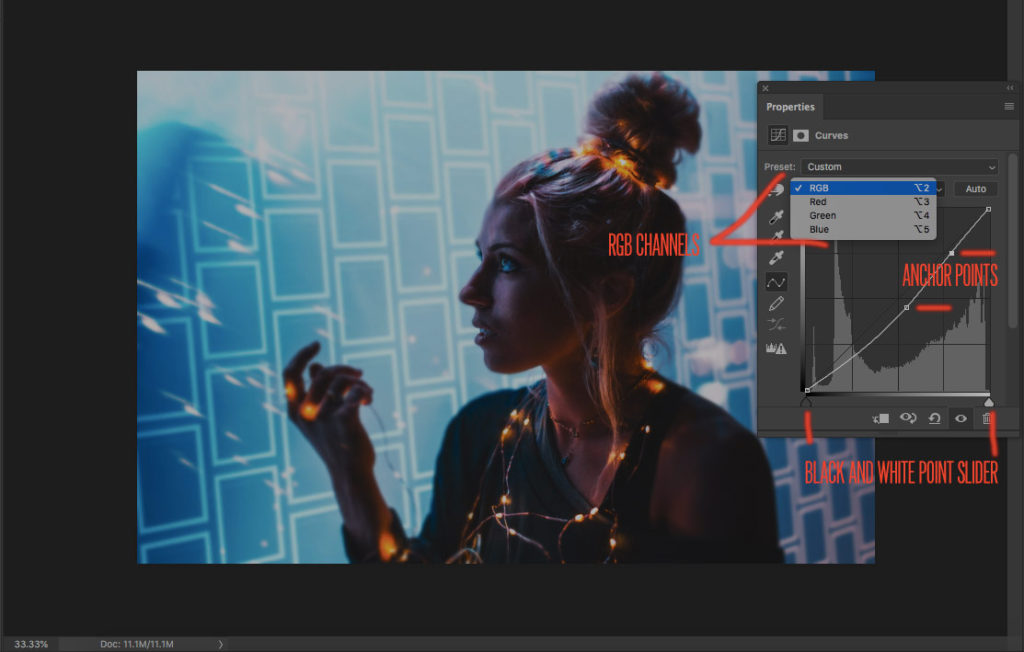
In a nutshell, the Curves tool allows the user to adjust the tones in an image across the RGB spectrum by means of a graph with a diagonal line along the horizontal and vertical axes. The darkest areas of the image are represented on the lower left part of the Curve, mid-tones in the middle, and highlights are represented on the upper right part of the curve.
RELATED: Color Grade Video Course by Michael Woloszynowicz
We can manipulate colors and/or luminosity of an image by adding anchor points on the Curve and moving them along the horizontal and vertical axes. By default, when the line is manipulated, the entire RGB tonal range is affected. Alternatively, you can use the dropdown menu located above the graph to select the individual Red, Green and Blue channels allowing full control of color. This is what sets the Curves tool apart as one of the best methods for color grading.
The majority of third-party color grading presets will typically rely on the use of Curves for their effects. While these presets may be a good starting point, they can sometimes produce unflattering or undesired results, and lead to wasted time and effort. Learning how to use Curves in your color grading manually will not only help you to adjust third-party presets or create your own, but will deepen your understanding of how you can control colors in your work and elevate your skills as a retouching artist.
Source: Chelsea Nicole Photography | Feature Image: Pexels


