

When you have deep, blocky shadows in your portrait, fashion, or beauty work, you are often losing vital detail. If you don’t have the luxury of going back to the file in the Raw format, this video by Aaron Nace of PHLEARN will teach you a super quick way to lift shadows and recover some of the data in Photoshop.
“Levels and Curves,” he says, “aren’t necessarily the best tools for the job.”
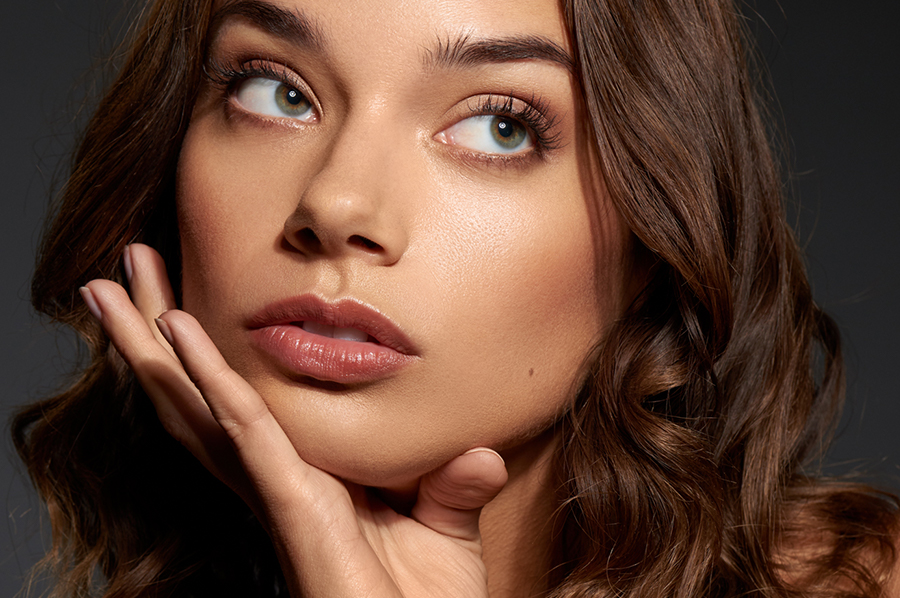
Looking at his example image, quick adjustments made using these tools could result in overblown highlights.
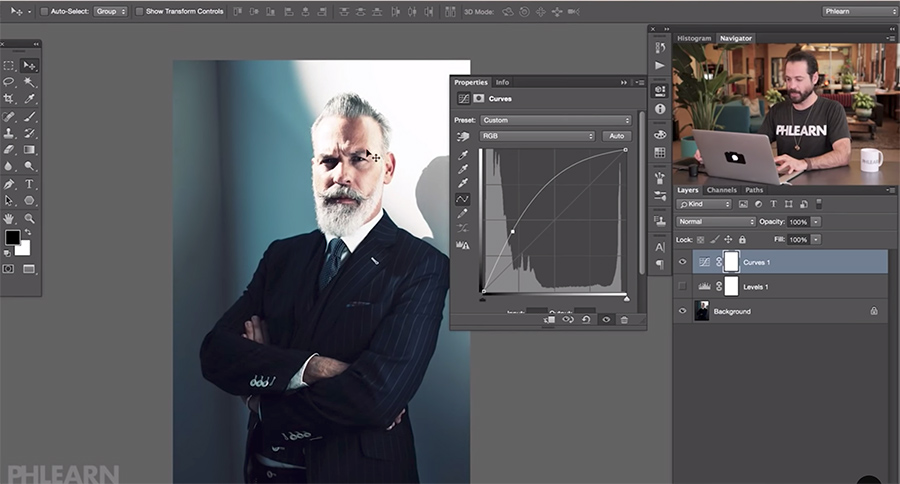
Using Curves: creating a point in the shadow area of the line and dragging it up results in unwanted changes to the highlights and mid tones as well.
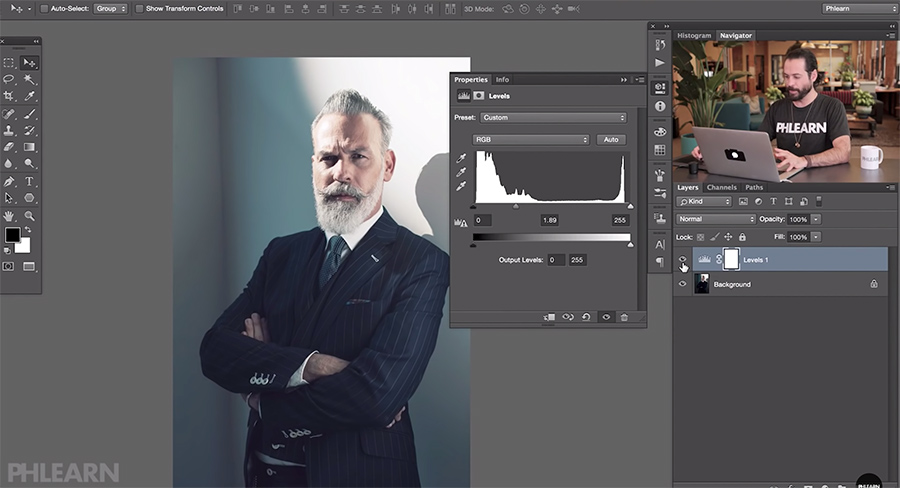
Moving the sliders in the Levels Adjustment Panel washes out the image or results in blown-out highlights.
So instead of using those tools, go to Menu Bar > Image > Adjustments > Shadows/Highlights tool. The Shadows/Highlights tool lets you make fine-tuned adjustments to exactly that: the shadows and highlights of your image.
RELATED: The Differences Between Levels and Curves in Photoshop
A couple of things to keep in mind when playing with the Shadows and Highlights sliders, keep the Radius low, and try finding the balance between the Amount and Tone by adjusting the sliders to the right slowly. Only adjust a slider when necessary. You might not even need to touch the Highlights sliders, and you definitely don’t want to overdo any changes as this will make your image have a cartoon-like quality.
After watching the video, keep this tool in mind next time you are faced with deep dark shadows:
Source: PHLEARN | Featured Image: Shutterstock


Hi Julia, your tutorial on rectifying deep shadows is incredibly insightful! Your attention to detail and clear explanations make it a valuable resource for photographers at any skill level. I particularly enjoyed learning about the selective adjustments you recommend. For those seeking professional assistance in color correction, your suggestion to visit Get your pictures color corrected by experts is spot on. Thanks for sharing your expertise with us!