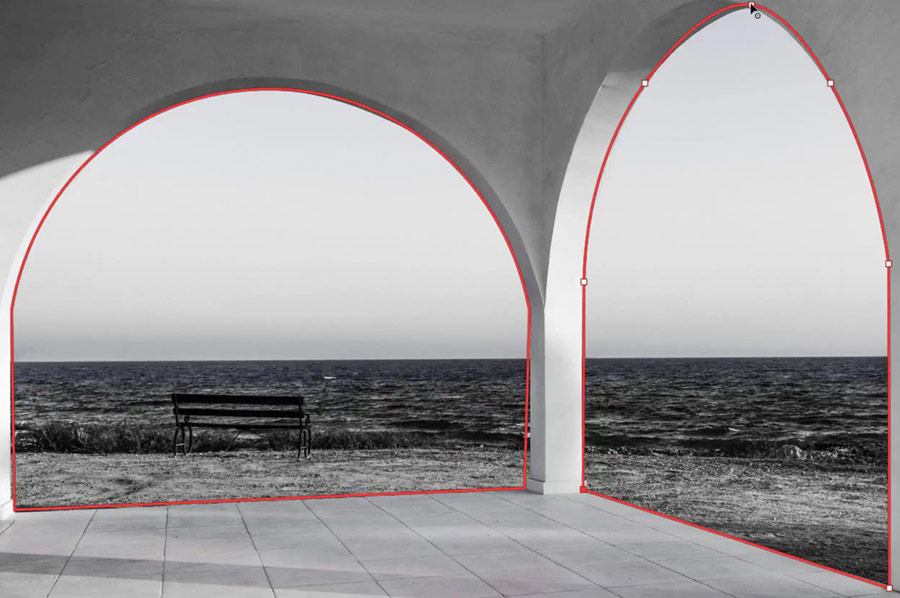
Are you bored with the same old portraits, are you in a creative funk? Thankfully Photoshop has you covered with tons of ways to express your creativity and sometimes the simplest tips yield the biggest results. In this quick video tutorial we learn how to create neon effects using the Pen Tool – that’s right, the Pen Tool. Learn how to create interesting glowing line effects that will add a dramatic and futuristic feel to your images. If you’re not familiar with this tool, the Pen Tool creates vector paths that can be converted into selections. These selections can in turn be used to extract or mask groups of pixels.
RELATED: Everything You Need To Know To Love The Pen Tool
This neon line effect is pretty interesting on its own, but applying good color grading while using a thoughtful color palette will tie everything together, creating a visually cohesive and cinematic look. When adding special effects or artificial elements to your images, make sure it’s not done frivolously but instead with purpose, otherwise it may appear disjointed and forced.
RELATED: Working With Color
While this technique may not be for everyone and certainly not for every situation, learning how to use the pen tool in this way will no doubt help you become a better retoucher.
How will you use this technique? Share your creations in the Retouching Academy Facebook group.
Source: Adobe | Featured Image: Gerry Kingsley