In one of our previous articles titled Color Correcting Skin Tones With Adjustment Layers In Photoshop, we shared a tutorial on how to match a skin tone of one subject to another subject’s skin tone using another image as a reference. Sometimes, however, the same subject has different skin tones that need to be matched within the same image.
While a makeup artist can help even out skin tone variations during the shoot, sometimes they are left for a retoucher to take care off, especially when the skin tone of some visible parts of the body differ significantly from the subject’s face and neck.
In the video below, Unmesh of PiXimperfect shares three scenarios using two Photoshop tools: he matches the skin tone of the model’s shoulder to the skin tone of her face utilizing the Curves Adjustment Layer (at 7:50); then he uses the Hue/Saturation Adjustment Layer to target and match the skin tone on the model’s face to her body’s skin tone (at 15:43); and in his third example he uses the Hue/Saturation adjustment layer to color correct the yellow cast on certain areas of skin in another image (at 21:26).
RELATED: Color Correcting Skin Tones With Adjustment Layers In Photoshop
Coupled with their respective layer masks, these two tools will help you target and correct problem areas. Remember to invert layer masks (CNTRL/CMD + I ) from white to black and use a white brush on low Opacity and/or Flow on the inverted mask to isolate the areas you need to adjust.
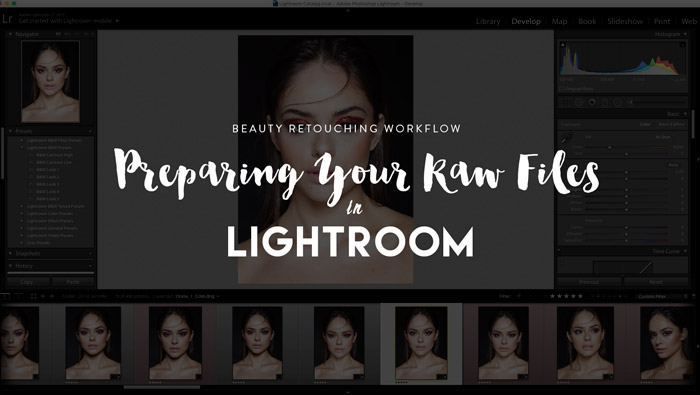
Check it out and pick one of our Free Raw Practice Files to practice or follow along:
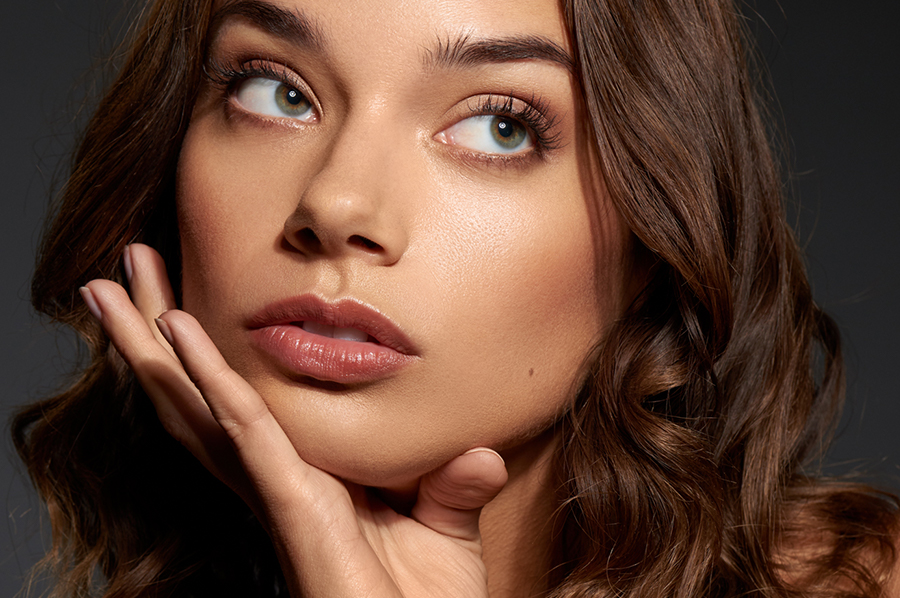
Source: PiXimperfect | Featured Image – Photographer: Susan Rockstraw | Model: Michelle Vawer @ The Industry Model Management | Make up artist: Thirati Kay