

By using Puppet Warp in Adobe Photoshop, you can manipulate the structure of a subject’s shape, features, or even reposition things like limbs or hair. It’s as if you’re the puppet master and the subject is the puppet. By putting pins on the image, you’re able to create dramatic changes or subtle manipulations.
RELATED: Efficient Work Habits For Retouchers
In the video below, tutvid recommends to first cut out or extract the subject (or subjects) on which you plan to use Puppet Warp, and then to convert that layer into a Smart Object. This way, Puppet Warp will be applied to the layer like a Smart Filter that you can turn on or off.
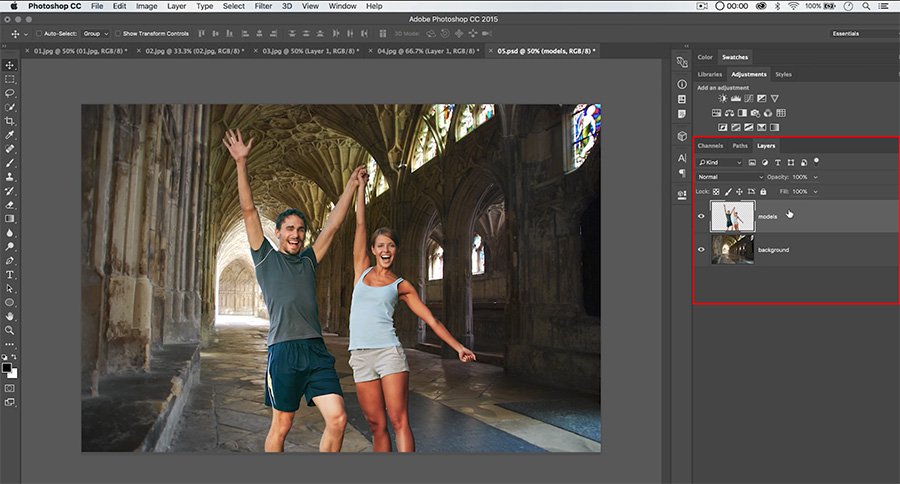
The layer with the subjects extracted sits above the background layer
In the Options Bar, after selecting Puppet Warp in the Edit menu ensure the Normal Blending Mode is selected and More Points on Density – more anchors will help you manipulate and warp the subject with more control. In the video, the author recommends turning on Mesh by clicking the checkbox. This way you will have have a visual mesh to move or slide around when using the tool.
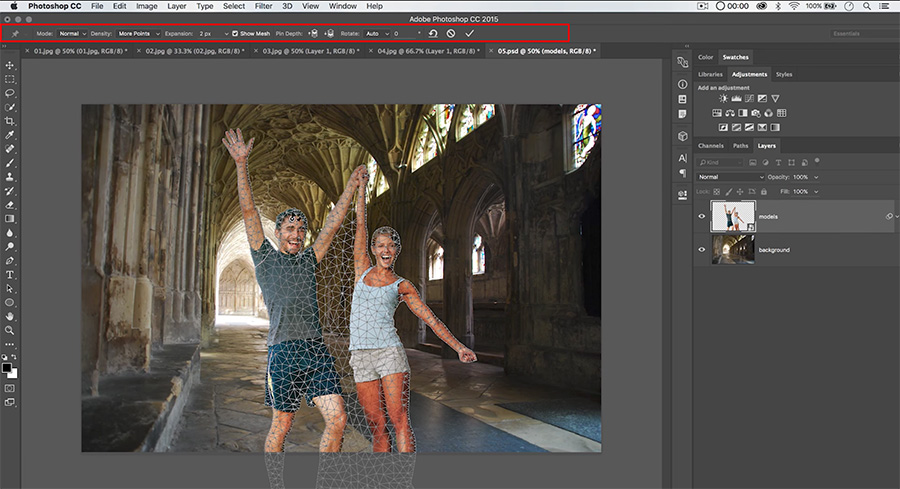
The Mode, Density, Expansion and Show Mesh options of the Puppet Warp tool
Pressing Alt/Option will allow you to rotate the image in relation to the pin you’ve selected. However, be careful when rotating the image without adding the pins needed to tack down areas that you don’t want to move.
If rotating is not what you want to do, you can also use the pins that you’ve tacked on to non-destructively warp the shape of the subject’s body by selecting the pin or the mesh around it and moving it. This way, you’re using the tool similarly to Liquify but you’re able to have much more control.
Watch the video below and let us know if you find Puppet Warp useful for your next retouching project:
Source: Tutvid | Featured Image: Zulmaury Saavedra on Unsplash


I’ve thought about using puppet warp in a few projects, and now I have a better understanding of how to use it, properly. Thanks for the quick lesson.