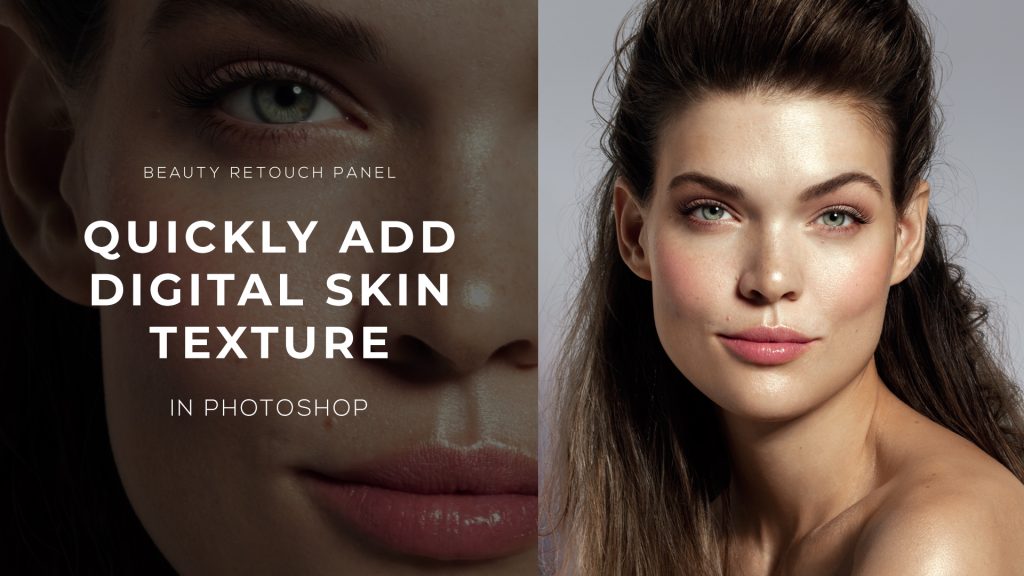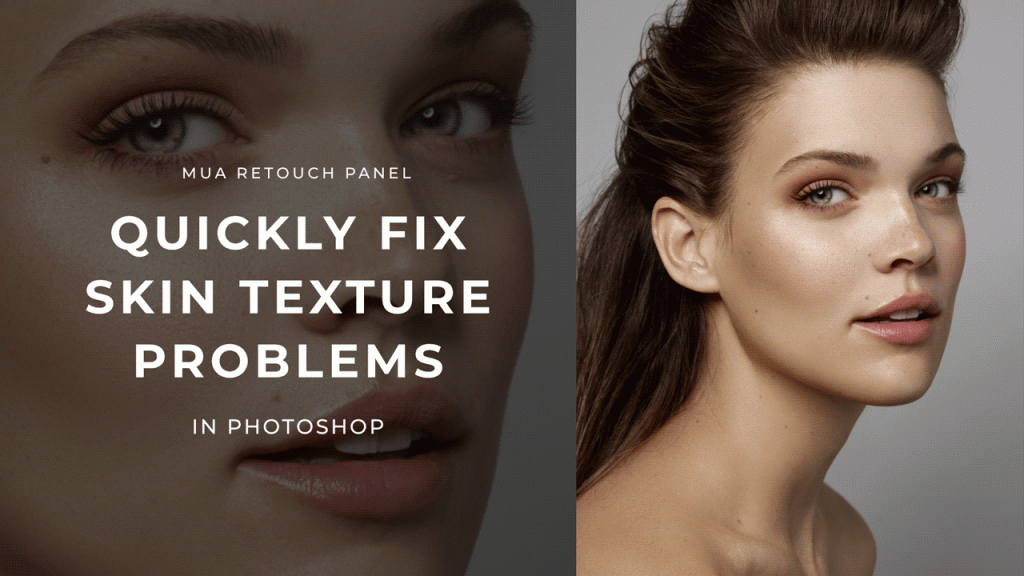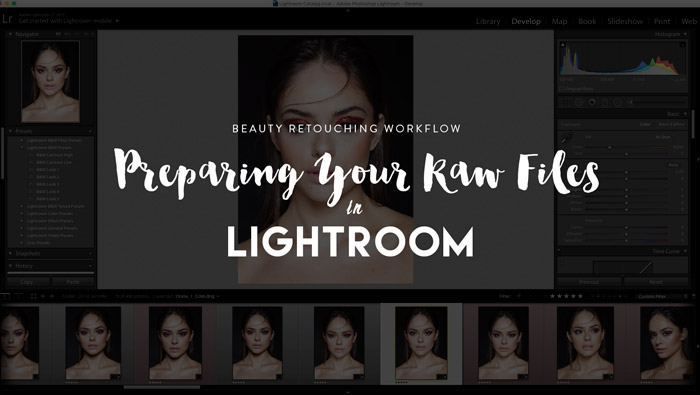
Retouching portraits have never been easier with the tools available in Adobe Lightroom. One of the most powerful tools you will use is the Spot Removal tool (Q key on keyboard), which is located in the Develop Module. Opening the Spot Removal tool will then give you two options: Heal or Clone.
RELATED: Retouching Skin With the Clone Stamp Tool
Heal and Clone perform the same task differently, which is copying a target area onto a selected area, just like in Photoshop. However, the Clone Spot Removal tool will copy the target area precisely, duplicating texture and color, the Heal will only copy the texture.
The Heal Spot Removal tool is great for cleaning the skin off of blemishes, as the brush will automatically target an area that is similar to your selected area for an even texture. However, if you find that the result is not what you’d like, you can click on the pin inside the brush, press delete, and start over.
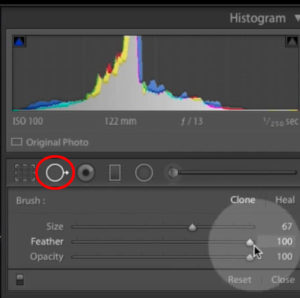
The Spot Removal tool in the Develop Module as seen in the video.
The video below by Photos In Color will show you how to use Heal option in the Spot Removal Tool to edit out blemishes on your subject’s skin as well as to remove dust spots on the background.
Let us know in the comments if you have tried using Lightroom for retouching beyond simply preparing your raw files for Photoshop!
Source: Photos In Color | Featured Image: Oladimeji Odunsi on Unsplash