

While we always encourage photographers to get everything “right in camera”, in many situations corrections are still needed to be done in post. When working with a group of subjects, for example, client demands or budget restrictions could make organizing a re-shoot impossible. And if there is not one image where everyone in the group looks great, being able to swap faces in Photoshop can be a shoot saver.
In the video below, Colin Smith of PhotoshopCafe shows you two scenarios. In the first example (at 1:15), two images of the same group of women, taken within the same shoot. In this group photo of smiling women, one woman on the left does not have the best expression, so Colin replaces her face in this photo with her face from another photo, where her facial expression is more flattering.
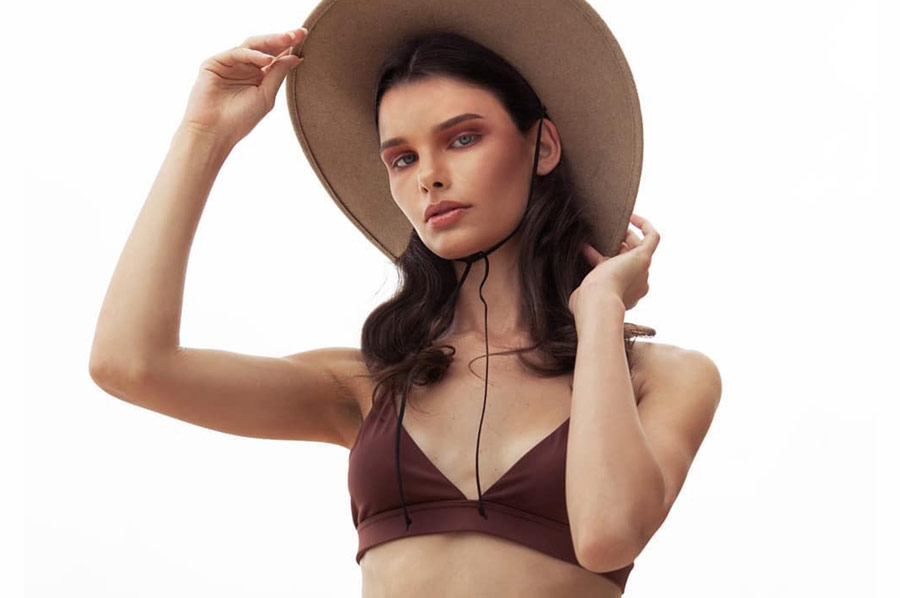
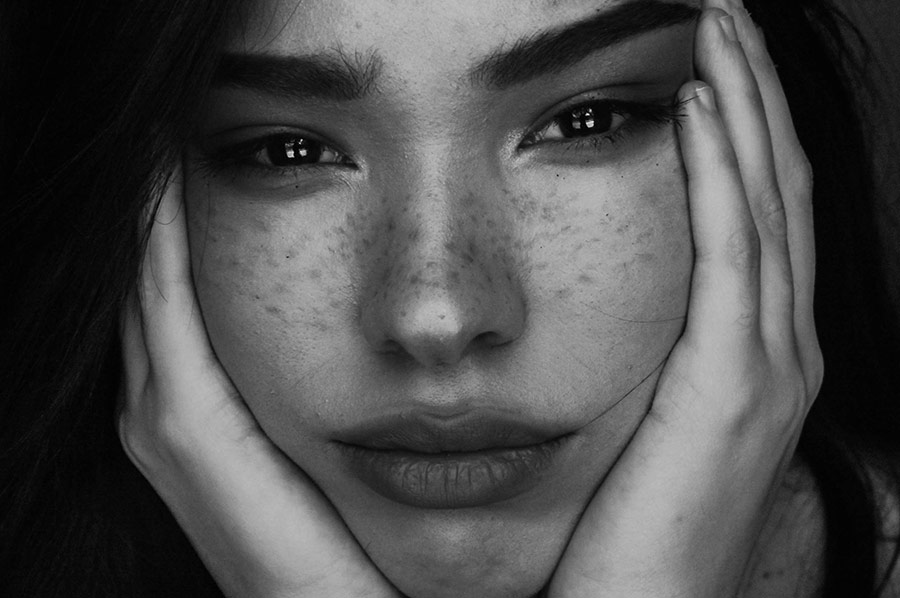
He introduces the second example (at 6:33) as “trying on a new hairstyle… When you don’t want to commit to the scissors but you want to see what it’s going to look like.” Colin takes two different models’ images and swaps their faces to “try on” the second model’s short hairstyle. Even though, Colin is very specific in this scenario, you can use these same basic steps for a variety of other purposes.
SOME OF THE TAKEAWAYS:
- Determine the area you need to graft: this could mean selecting only the face if both images are similar (like in the group photo example) or using the whole image to give yourself more pixels to work with, like in the hairstyle example.
- To select the area around the face, use the Lasso Tool. Then use the Move Tool to drag your selection to the second image. Holding the Shift key when you drop it will place the selection in the same spot on the canvas of the second image.
- Make sure that the “new face” is on the top layer, and change the opacity of that layer to 50% so that you can see the face underneath and easily place it right over the face that you want to replace.
- If the top layer is jumping around, select View in the Menu Bar and check off the Snap function. This should allow easier positioning of the new face.
- Because in Colin’s video tutorial he only wants to change the expression of the woman in the group photo, he uses her nose as an “anchor.” When using the Free Transform tool by pressing CMD / CTRL + T, you can move the Anchor Point to the tip of the nose to line up the features of the faces on both layers.
- In the second example, Colin uses the Free Transform tool to make the new face a little smaller to line up the features, also “anchoring” the nose.
- When you’re working with two different subjects, make sure that skin tones are consistent so that the face and neck match and the final image looks seamless.
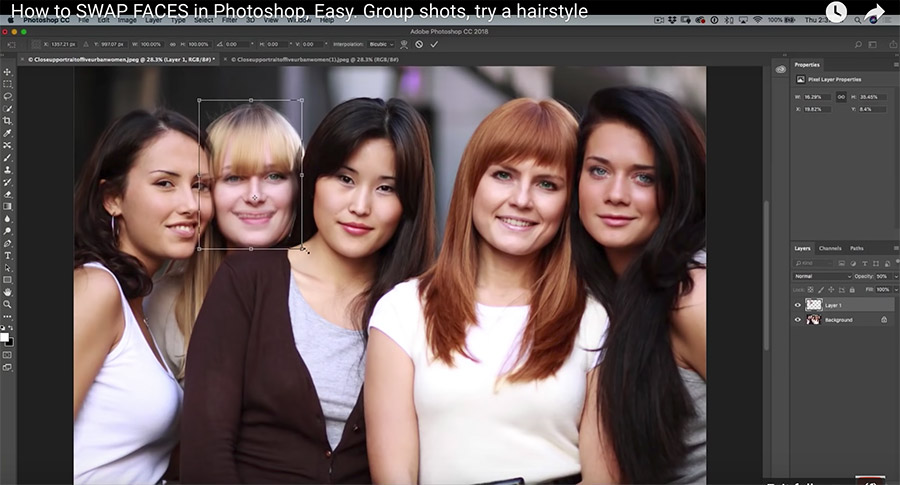
Screenshot from the video tutorial by photoshopCAFE.
- Once the new face is placed properly, turn the top layer back to 100% Opacity.
- Finally, add a layer mask on the layer with the new face, and invert it to black to hide the whole layer and only reveal the new face.
- Colin also uses the Liquify tool, which is not always necessary, but facial recognition coupled with sliders in the Face-Aware Liquify property panel may help to make minute adjustments to the eyes and mouth after the swap.
I hope you’ve found this helpful! If you have any questions or comments, drop us a line in the comment section below.
Source: photoshopCAFE | Featured Image: Shutterstock


Hi Colin!
Great tips! Hope to see more. 🙂
Janina from Manila, Philippines
Hi,
That was great !
I am just into retouching but all day I watched your tuts.
I am from Turkey and would like to get deeper in all retouching skills.
See you.