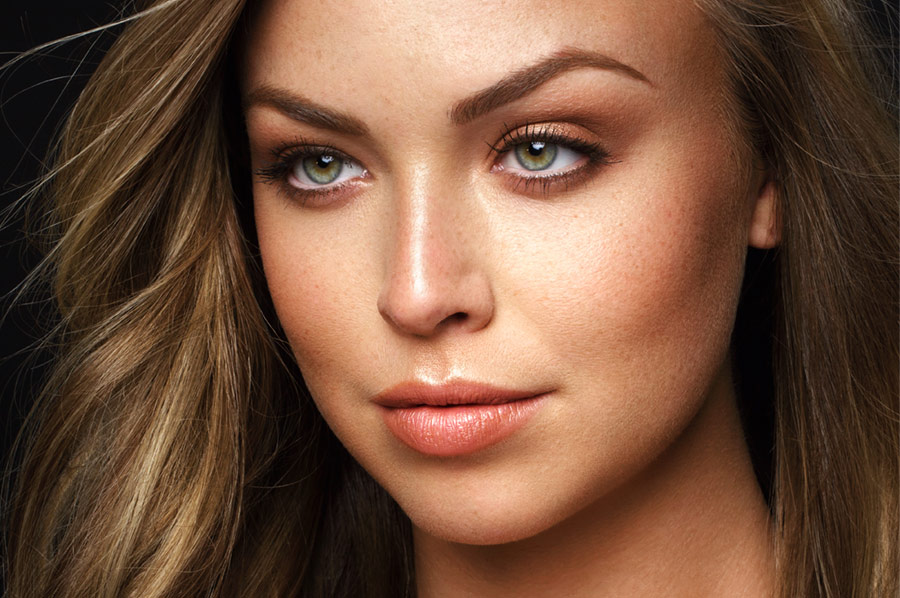
Quality beauty and portrait retouching is all about the skin, and how we preserve or enhance the detail of it, rather than blur it all away. Today’s video tutorial centers on how to recover skin texture from blown out highlights or overexposed images, along with a host of other tips for improving your skin retouching. Depending on the lighting used in your photographs, or those you receive from a client, knowing how to problem solve an issue like this will have an immensely positive impact on the final result.
RELATED:
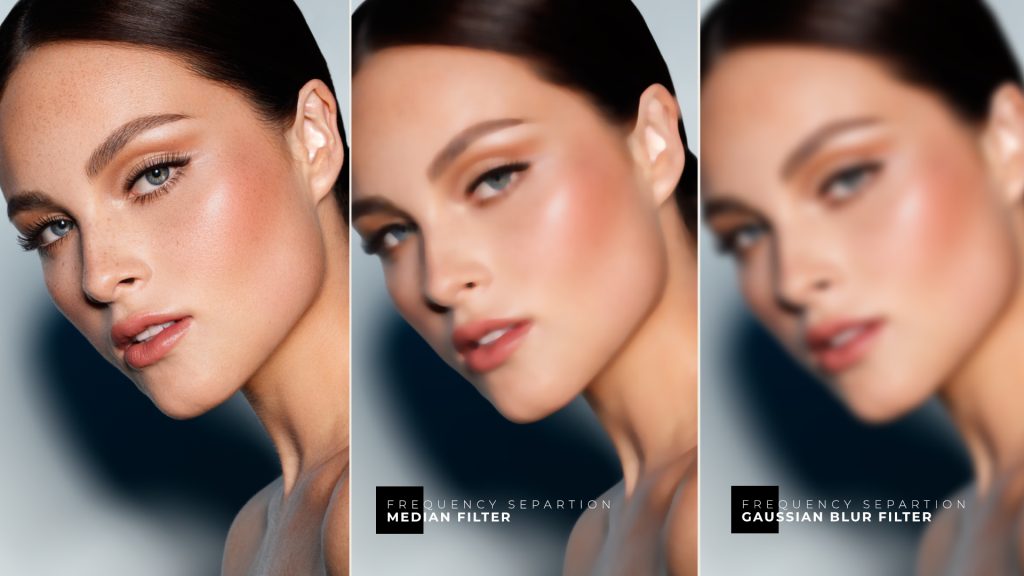
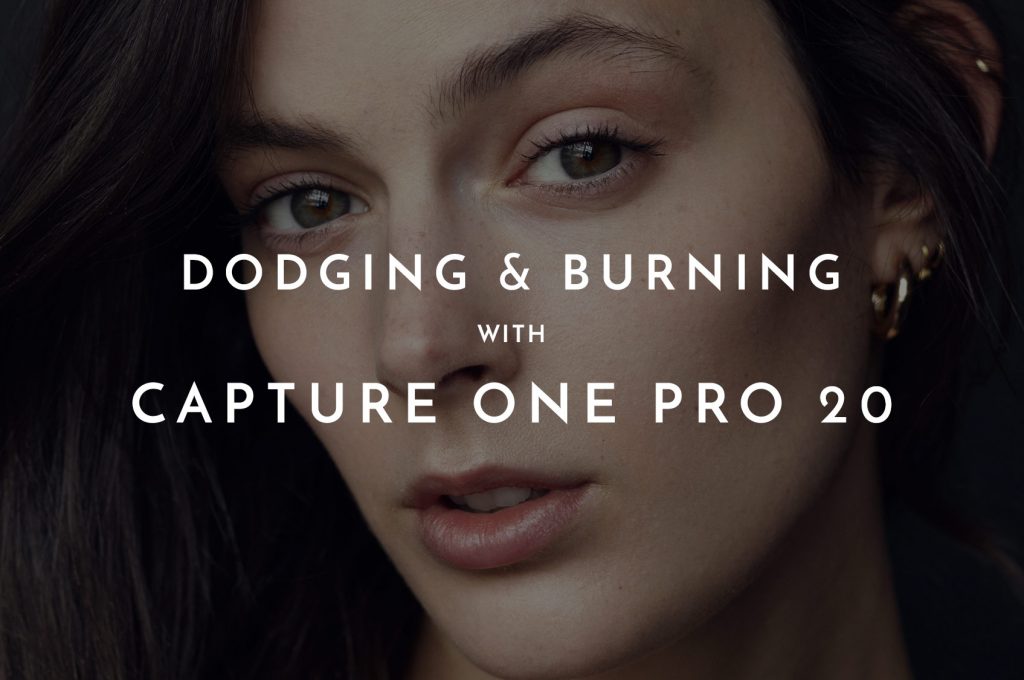
Michael Woloszynowicz is arguably one of the best instructors in the industry, delivering quality tutorials and premium video courses on Dodging and Burning, as well as Color Grading. In the following video, Michael focuses on RAW Conversion with Lightroom and Adobe Camera RAW, as well as utilizing Frequency Separation. You’ll learn what to look for to achieve the right amount of sharpness to the skin, without venturing too far into “crispy” territory.
Source: Michael Woloszynowicz | Featured Image – Photo: Kendra Paige | Model: Brynn Beaudoin @ MP Miami | MUAH: Jude Andam @ Agency Gerard | Retoucher: Helen Voronych