Practice makes perfect, which is especially true for a retoucher. It is important to practice various techniques for different applications so that you can begin to train your eye for what it should be editing. Noticing distractions, uneven tones, or rough skin texture may not be readily apparent to a novice retoucher. This can make retouching portraits, beauty, or fashion images a bit daunting, because of one major component: skin.
Skin retouching is one of the most challenging aspects of the industry, as there is no one-click magic button (despite many applications that will claim this), and each photograph may require a slightly different approach.
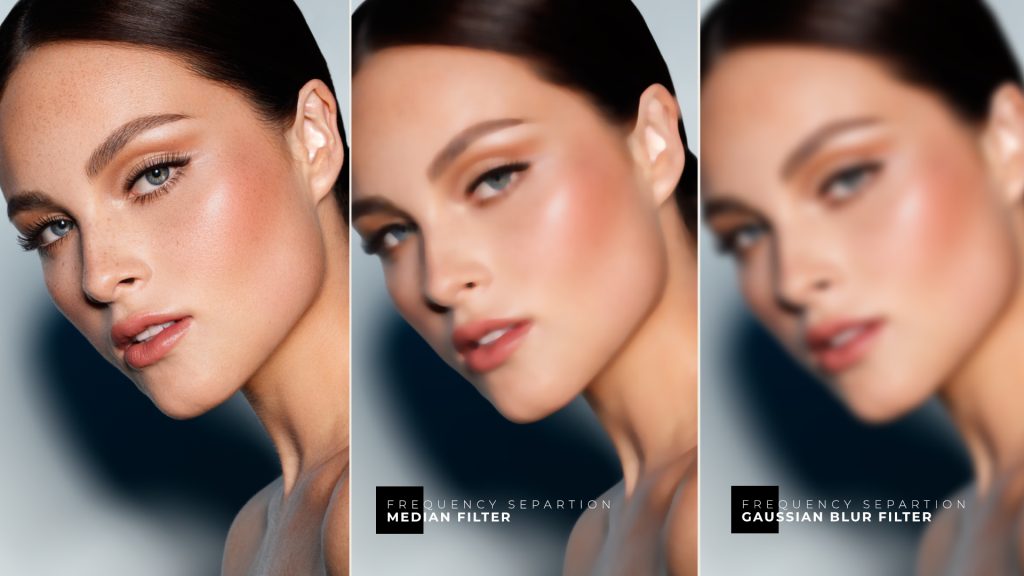
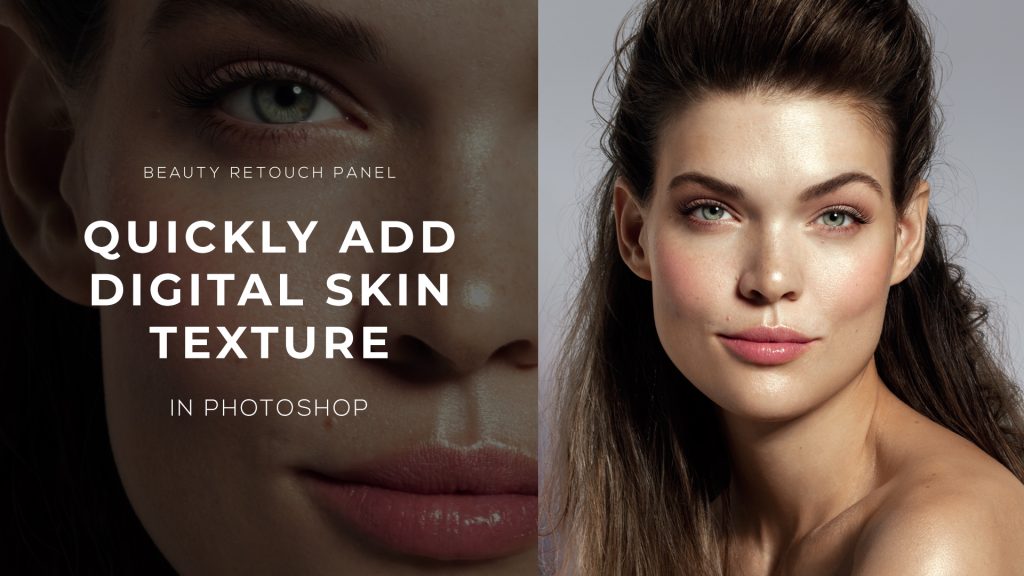
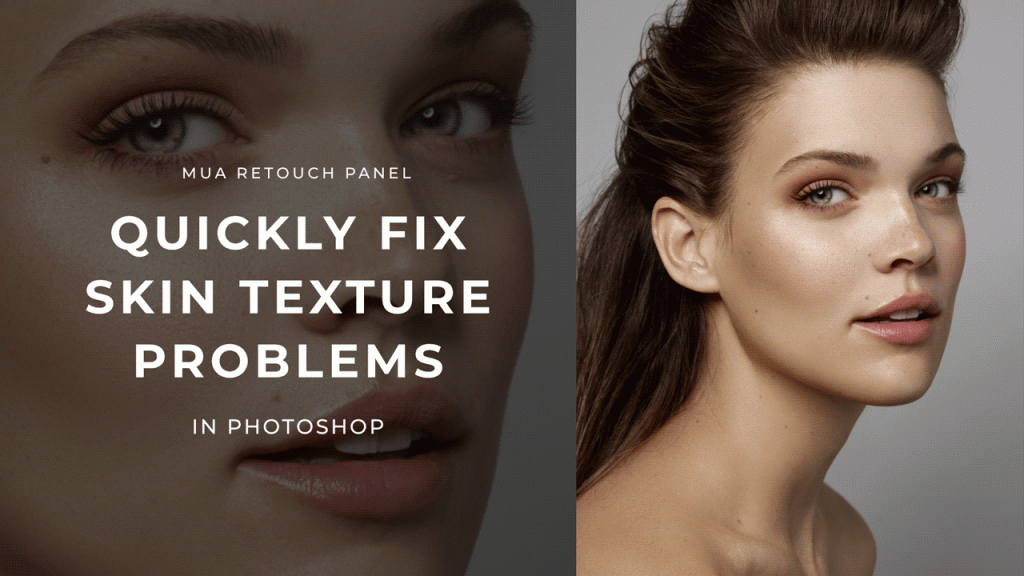
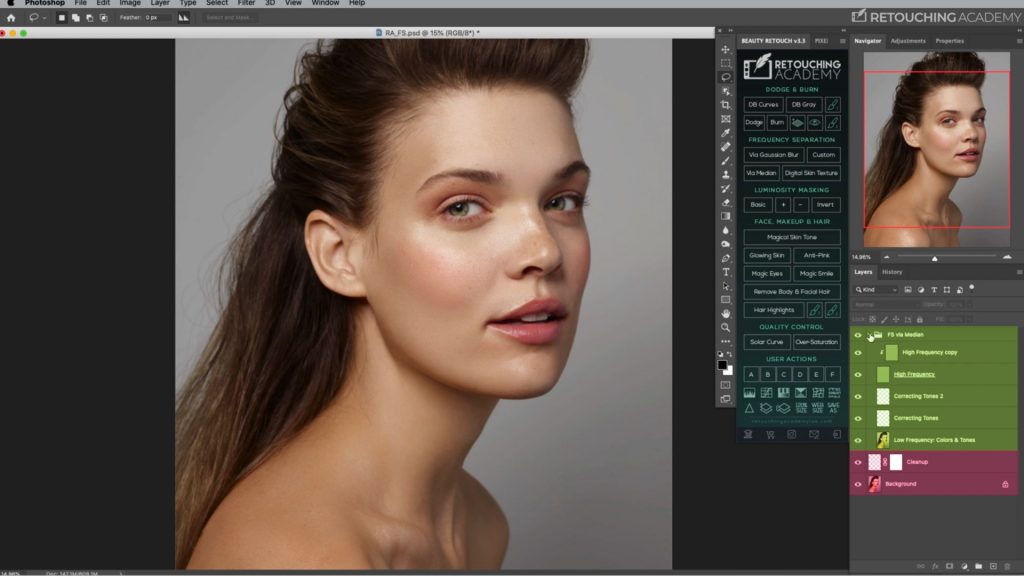
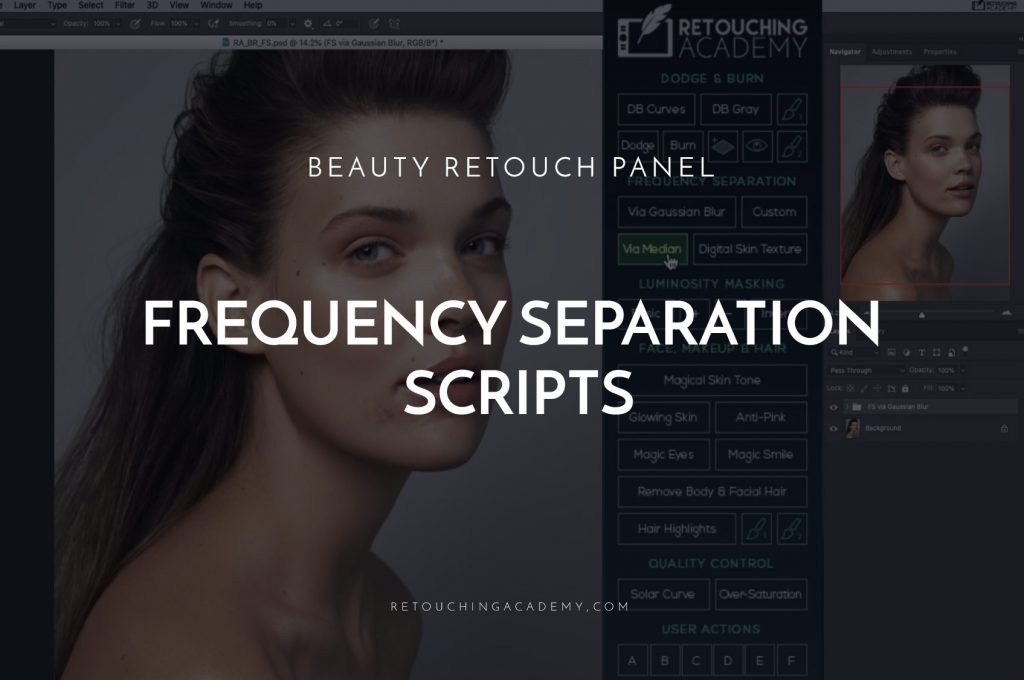
For retouching skin, two primary used techniques are: dodging and burning, and frequency separation. Dodging and burning involves lightening or darkening pixels of the image, a method that is as old as the darkroom. Frequency separation involves splitting the visual data of the photograph into different frequencies, typically one layer as “high frequency” layer, that contains small details of the image such as skin texture, hair, lashes, etc., and a “low frequency” layer that contains underlying colors and tones. Some retouchers even take it further and split their images into more than two frequencies.
RELATED: Check out our video tutorial on Frequency Separation created for the Beauty Retouch Panel Users.
The latter technique is often frowned upon, as it is very easy to misuse, blur skin, or cause a noticeable loss in texture and perceived quality of the retouch, especially for beginner retouchers. That being said, a tool is a tool, and it is only as good as the artist’s ability to use it when appropriate and to achieve quality results.
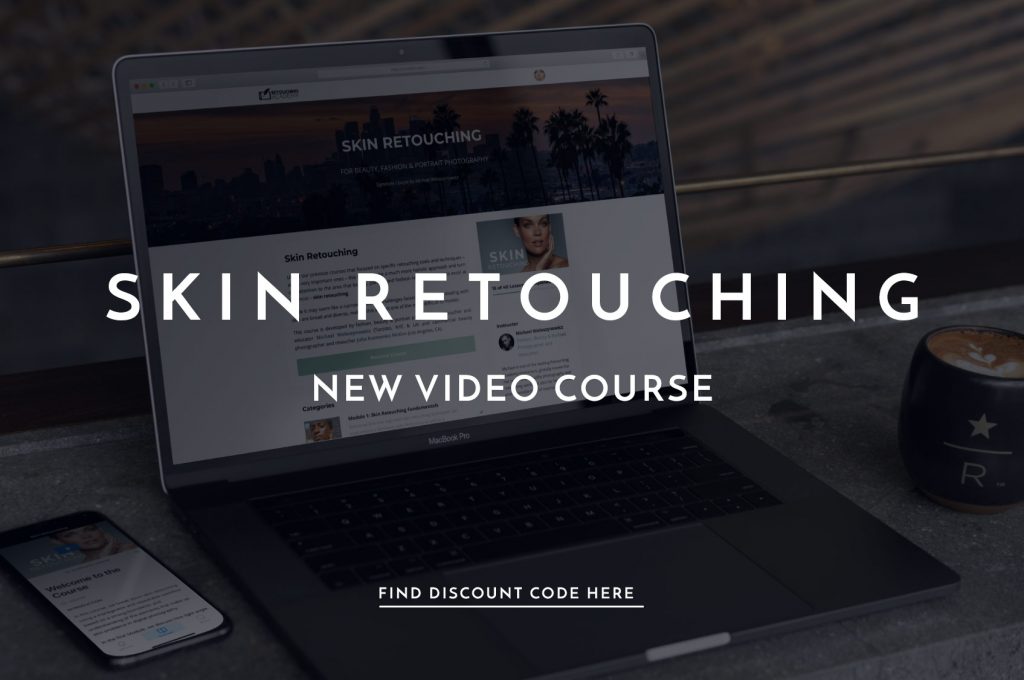
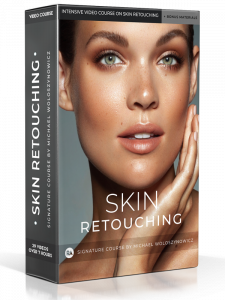
Skin Retouching Video Course
If you are working on developing or improving your skin retouching skills, be sure to check out our new Skin Retouching video course.
In this course, we approach skin retouching using a manageable and repeatable workflow based on a strong foundation and understanding of the elements that make up skin problems in digital photography. We hope that you come away with a great deal of confidence in tackling a variety of retouching skin problems and ultimately build a strong retouching portfolio to land your dream clients.
Learn more here.
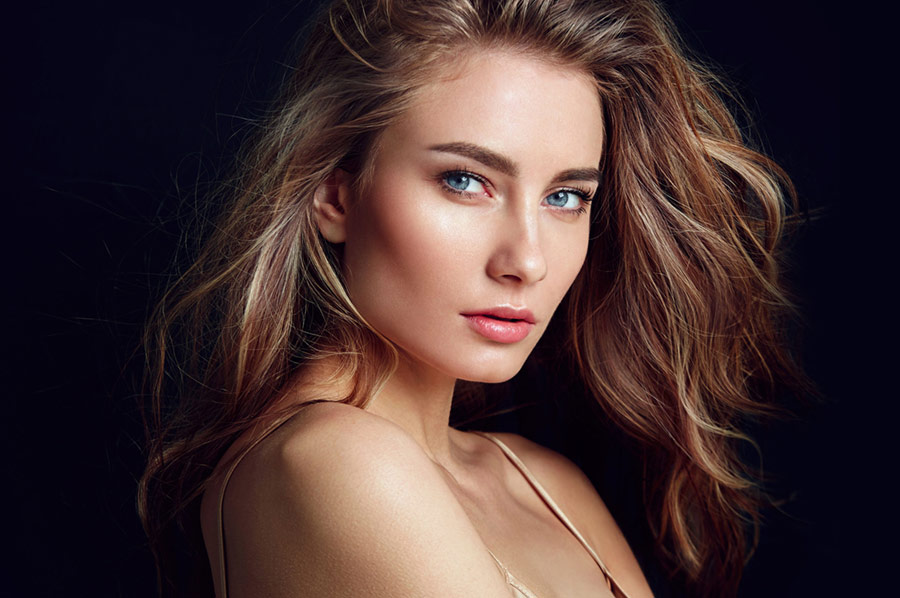
The following video tutorial by Julia Trotti is a wonderful starting point for those that wish to see frequency separation in action. For retouching images captured with sunlight as in the example image, or if you want to have a light-handed and “natural” look to your skin retouching, this tutorial will serve as a guide for accomplishing just that.
You’ll learn what steps to take for creating layers for use in frequency separation, how to make skin texture appear more uniform, and how to use the Healing Brush in conjunction with this technique.
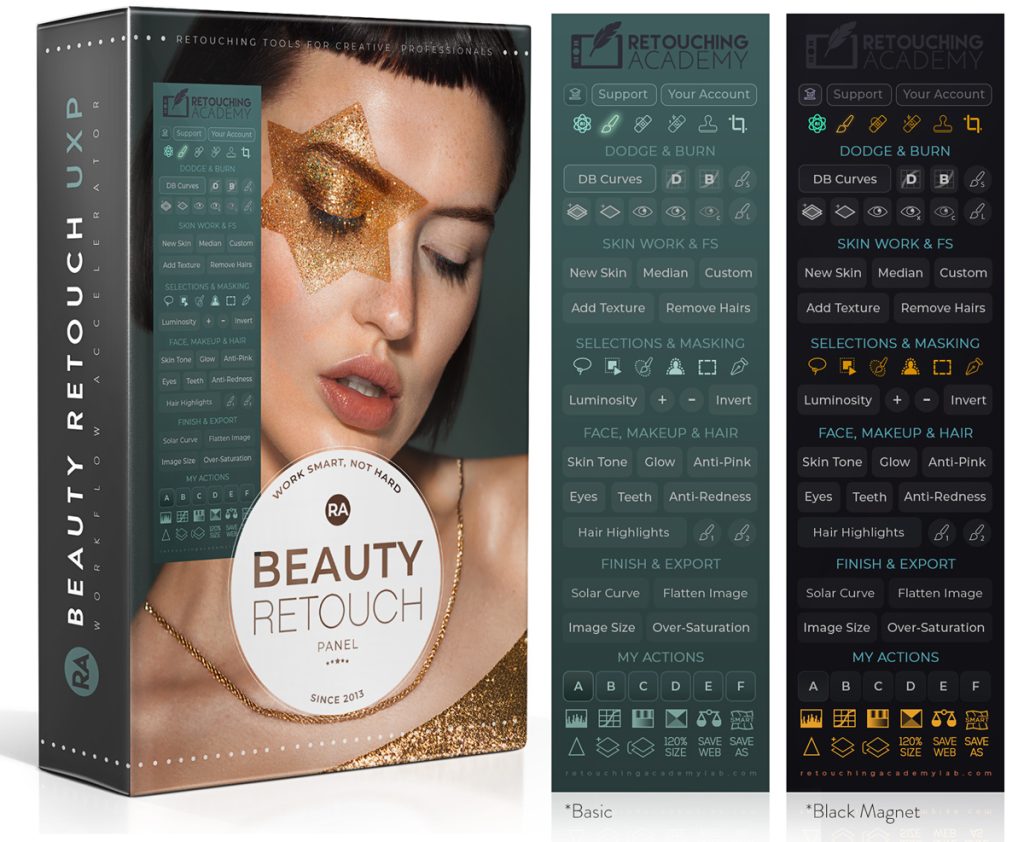
For those of you that are already using our Beauty Retouch Panel, you have built-in shortcuts to creating the layers needed for frequency separation, making this skin retouching method that much more accessible. We also prefer using an empty layer for color and tone adjustments between the High and Low-Frequency layers, rather than adding one more duplicate of the background layer in your PSD stack. Lean retouching, baby!
Source: Julia Trotti | Featured Image: Shutterstock