

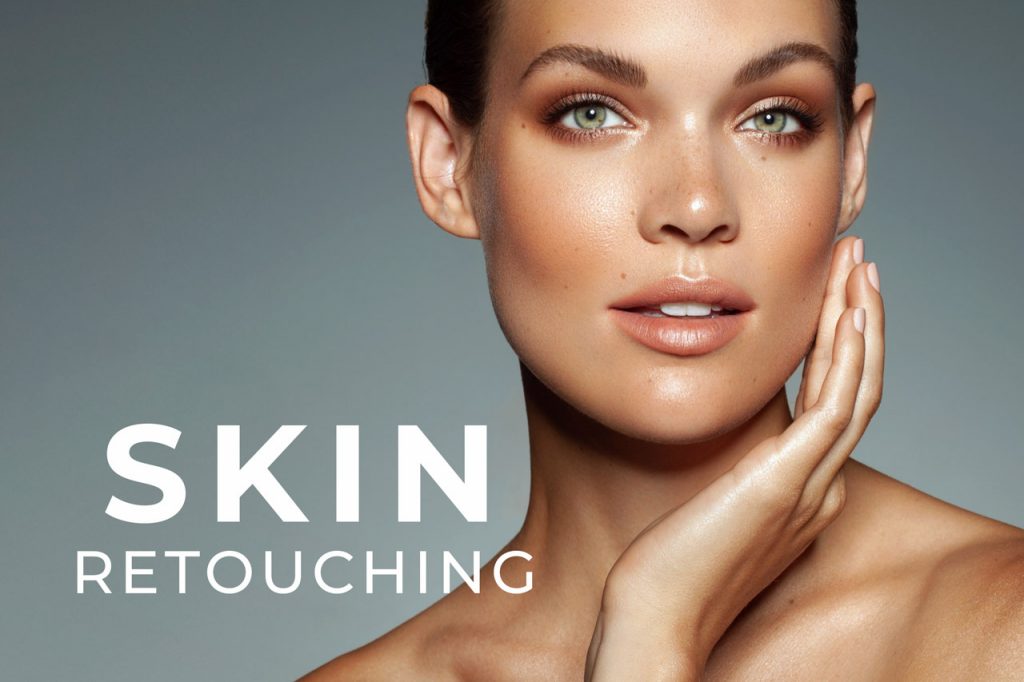
Retouching skin requires attention to detail and accuracy, but not every technique has to be overly complicated or time-consuming. Frequency Separation has grown in popularity due to its ease of use, making it a convenient method for retouchers from beginners to professionals.
Today’s video tutorial by Anita Sadowska simplifies the process for Frequency Separation so that you can follow along with this straightforward approach to correcting the appearance of skin to your liking.
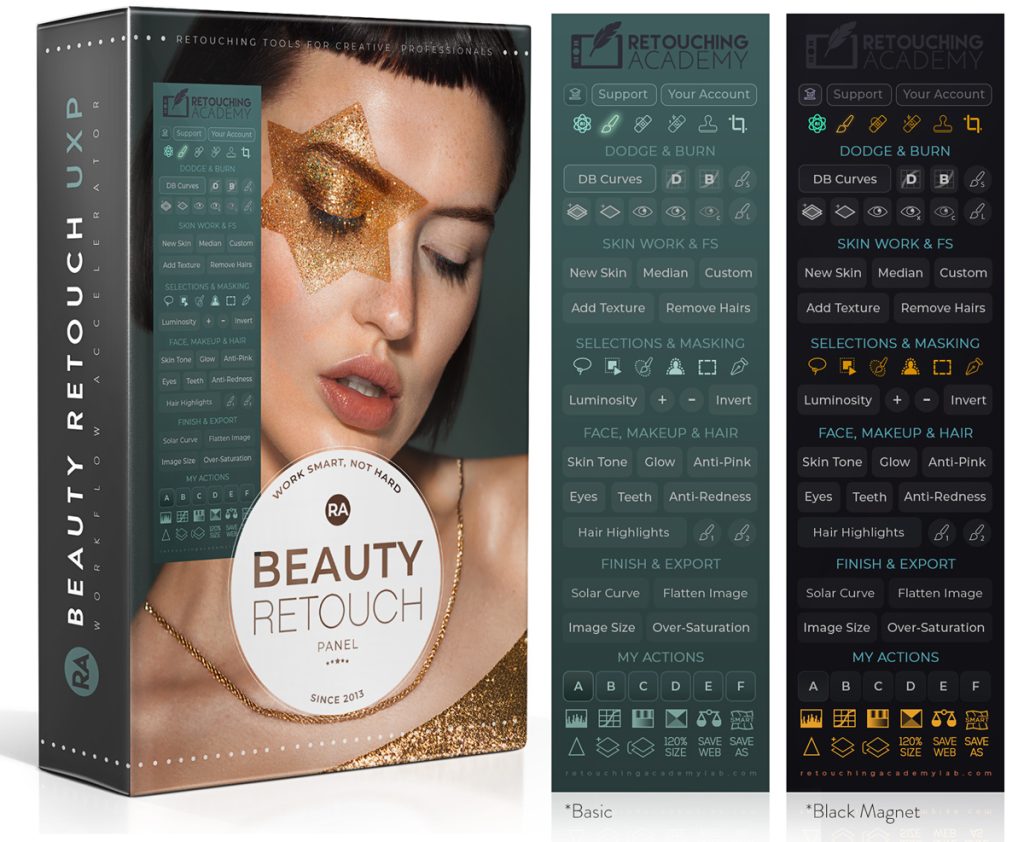
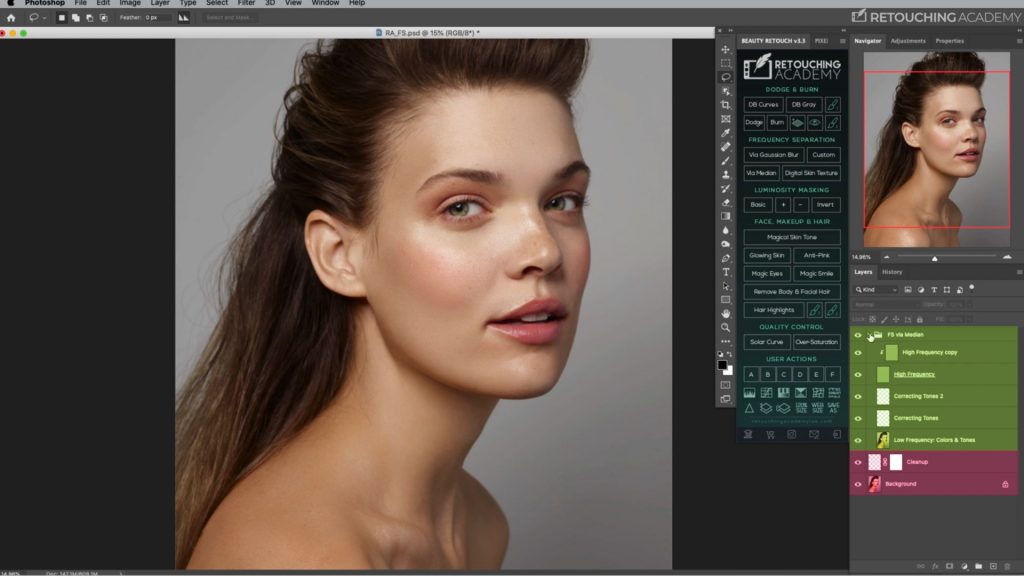
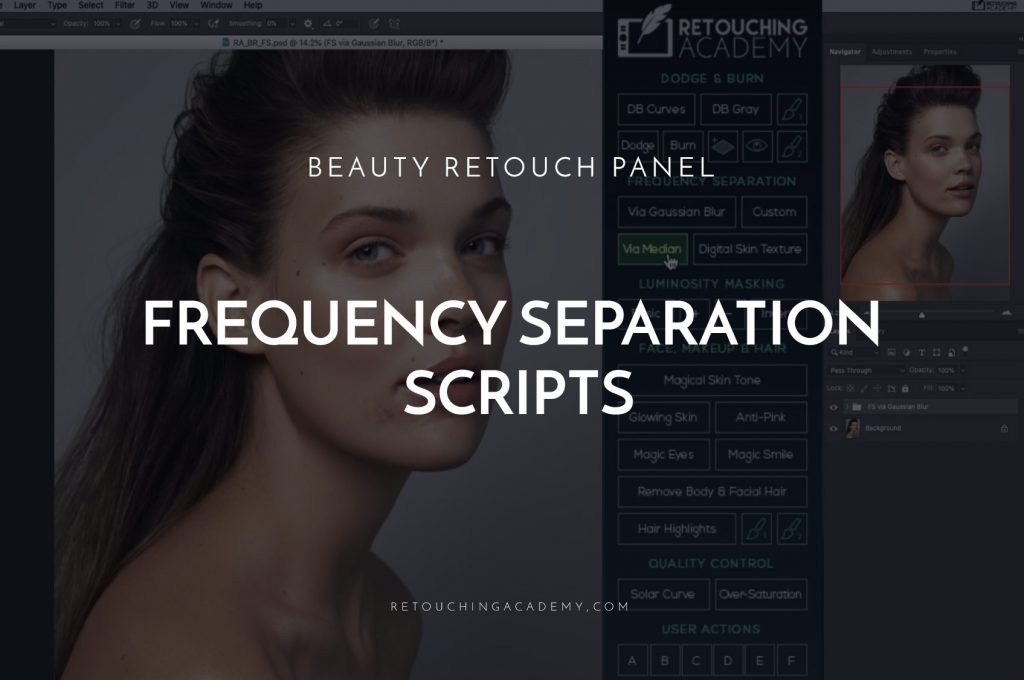
With your image open in Photoshop, you will want to follow the steps below. For an even faster setup for Frequency Separation layers, you can also run the scripts available in the Beauty Retouch Panel.
1. Start by duplicating your image twice, by typing Command + J on your keyboard, twice. Rename the top layer to “texture,” and the other duplicated layer to “color.”
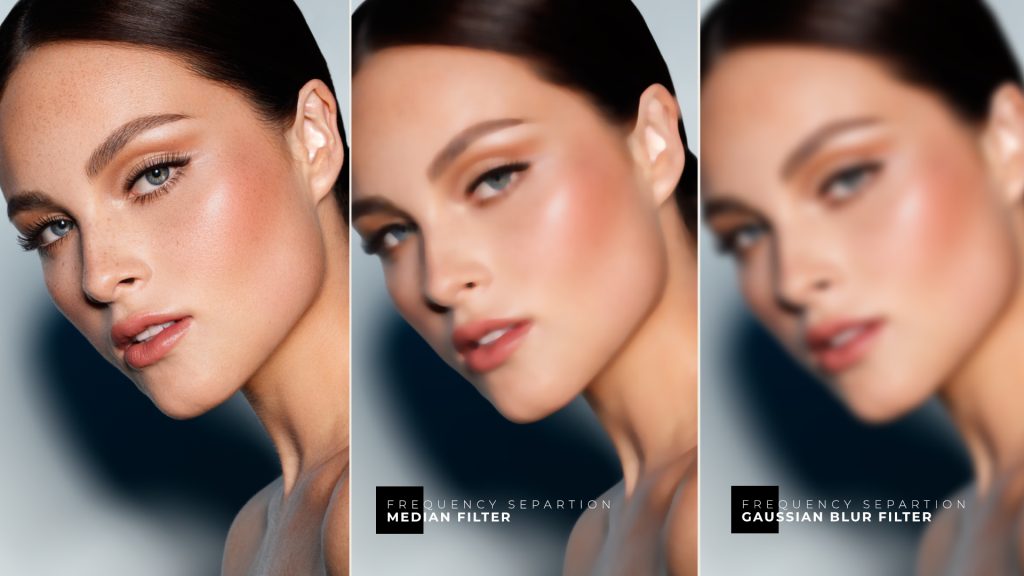
2. Select the Color layer, and then go to Filter > Blur > Gaussian Blur. You’ll want to set the Radius to a number that removes most of the problem areas but doesn’t go too far as to remove all detail and structure. A radius of 6 is acceptable. (Using the Median Filter in place of the Gaussian Blur is another way to set up the Frequency Separation layers, it creates cleaner outer edges on the underlying Low Frequency layer, that we named “color” – note by Julia Kuzmenko McKim).
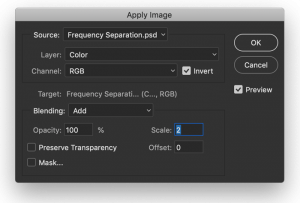
3. Select the Texture layer, and go to Image > Apply Image. The following settings should be used for a 16-bit image:
Layer: color
Channel: RGB
Invert: Checked
Blending: Add
Opacity: 100%
Scale: 2
Offset: 0
 If you are working on an 8-bit image, use the following settings instead:
Layer: color
Channel: RGB
Invert: Not Checked
Blending: Subtract
Opacity: 100%
Scale: 2
Offset: 128
4. With that step applied, change the Blend Mode of the Texture layer to Linear Light. This will make it so that your image appears unchanged, but you now have the appropriate layers for applying your skin retouching.
There are a few ways of performing the actual retouching with Frequency Separation, we recommend adding a new empty layer between the Color and Texture layers to perform any cloning and healing, or even painting on it, so that you have more flexibility to refine any of your adjustments. You can also duplicate the Texture layer and clip it to the original Texture layer, change the duplicate layer’s Blending Mode to Normal – now you can do any adjustments you need without changing the original Texture layer. This, again, allows you to be very flexible with your adjustments.
– note by Julia Kuzmenko McKim.
Anita offers another workflow in her video tutorial:
5. Working in the texture layer, select the Patch Tool. Select any blemishes or areas of concern, and drag your cursor to a healthier / cleaner patch of texture that will be applied to your selection. Be thoughtful with the areas that you select, as you want to ensure the Patch Tool is picking up areas with enough texture. If you drag the tool to areas that are too smooth, the skin will begin to look too waxy or flat.
6. Once you have addressed texture issues, you may want to address the underlying tones of your photograph. Working on the color layer (better yet on the empty layer above the Color layer), select the Brush Tool, with Opacity set to 100% and Flow set to 4-6%. Sample skin tone repeatedly from around your image by pressing Option + click. Paint on the areas where the color or tones become somewhat inconsistent, but be sure to use a light touch. Going too far in this step will overly blur the final product. The goal is to correct and enhance the problem areas of your picture.
7. Repeat the last two steps as needed until you are pleased with the final result!
Watch the tutorial below so you can follow along with the process:
Source: Anita Sadowska | Featured Image: Shutterstock


Skin Retouching became a need of everone.thanks for your guidance about this feature in easy way by telling steps you made very helpful.
https://art-and-see.com