
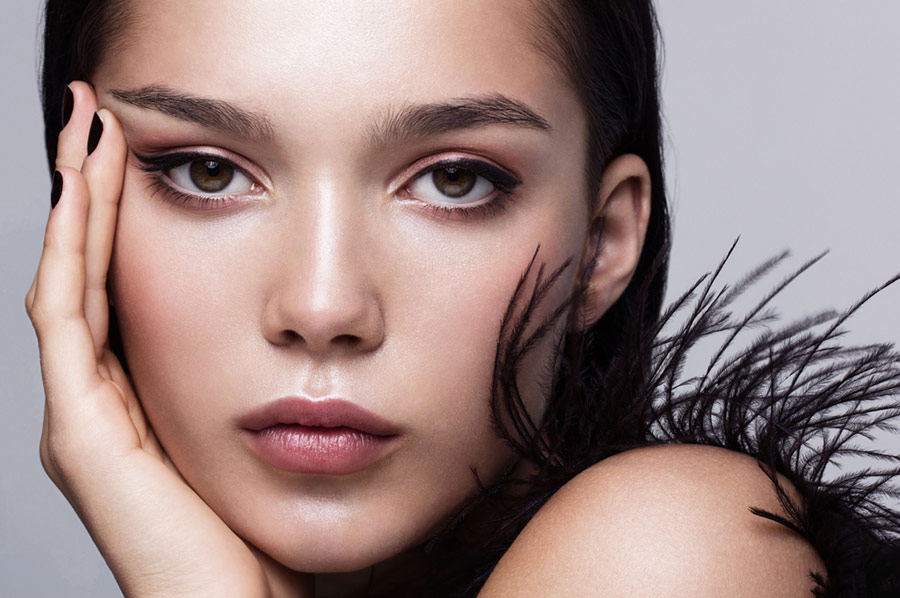
This is an outtake from the RA online workshop Beauty Retouching: Skin & Skin Tones.
The technique of Dodging and Burning, where one selectively adjusts the exposure on various areas of a film is as old as photography itself.
With traditional film photography a dark room with a dim red light is used to aid the process because the Cone-Receptors in our eyes that are responsible for color and details can receive enough information to make out the fine details, while the Rod-Receptors that can only see the tonality and values rather than colors take over the majority of the visual processing – all while the film is safe from exposure from the lighting in the room.
Now with Photoshop as our workspace, to aid the process instead of using a dark room, we apply temporarily adjustment layers to desaturate the image in order to better see the variations of luminosity values in the area you are targeting.
However, the black and white conversion method you choose to help you spot the problematic areas can affect the final image.
We will go over the 3 most commonly used Black and White conversion methods, in relation to the Dodge and Burn workflow:
- Fully Desaturated Hue/Saturation Adjustment Layer,
- Black and White Adjustment Layer,
- 50% Grey (or any solid color with 0% saturation) set to Color Layer Mode.
Hue and Saturation Adjustment Layer
When an image is desaturated by moving the Saturation slider to the left, all pure colors (100% saturation, 100% brightness) are valued equally to 50% grey as this displays only the values of underlying colors.
Refer to the example image below:

Note, if one were to change the hue of the colors in the original image, it would not affect the conversion. Again, this is because all the colors at 100% saturation are valued equally, and it is because of this that the conversion tends to be more muted and with less contrast than others.
Black and White Adjustment Layer
In this adjustment layer you are given sliders to manipulate the luminance of the 6 main colors individually: Red, Yellow, Green, Cyan, Blue, and Magenta. With this, you are given a considerable amount of control with this conversion method.
Personally, I don’t find this to be a very useful conversion to help with Dodging and Burning as you will be working on a drastically distorted representation of the image.
For example, bringing down the red slider in a Black and White adjustment layer can become problematic in a number of ways:
- Areas around the mouth/lips appear darker though it is likely some of the tint bleeding out of the lip border.
- Gradients in the image might appear “off” where the transition bleeds into another color/saturation area.
- Blush, veins, and blemishes would appear dark and problematic.
- Can also occur in micro level skin work if there is enough natural color variation in the skin.
A good example I find, is a small scratch that is barely noticeable. Under a B&W temporary adjustment layer tweaked to darken the reds it will stand out a lot more than it actually is in the color version of the image, and you will dodge it a lot more than it really requires as a result. This method often causes more problems rather than actually helping.
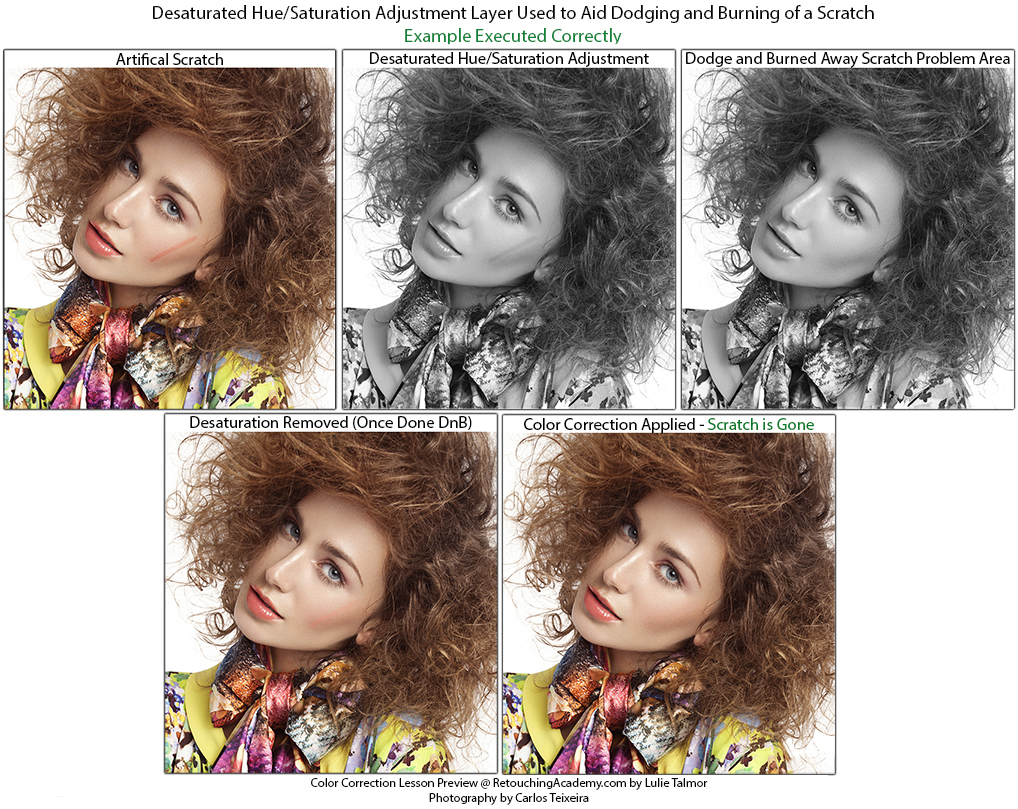
For demonstration purposes, refer to the image below where I have added an artificial scratch:
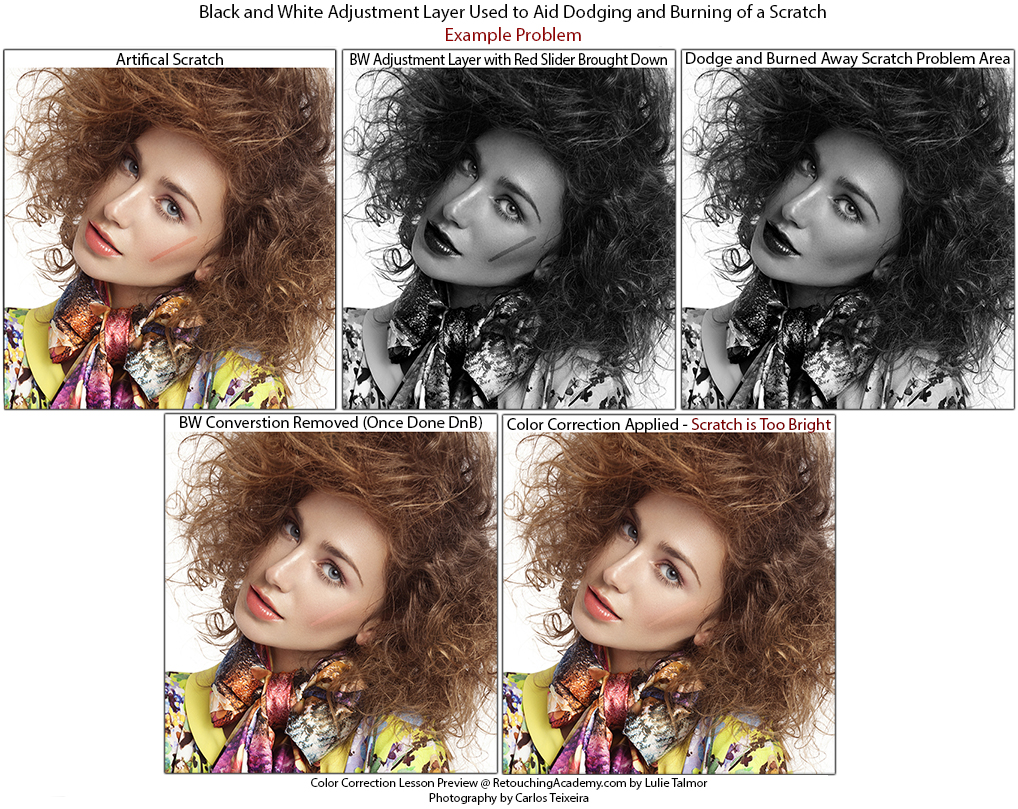
Aside from being a different, more red, shade of skin in the original, it will appear very dark after this adjustment layer is applied. Since one evens out the irregularities of the luminosity on the skin when dodging and burning, the resulting image will have the scratch appear too bright/bleached, and will need to be corrected once the black and white adjustment layer is removed.
50% Grey Layer Set to Color Blending Mode
Refer to the image below for an example with a 50% grey layer set to Color Blending mode used for the conversion instead.
As a result, the problem does not occur, and the scratch has been removed seamlessly:
This conversion best represents the luminosity of each color that the human eye perceives.
- Note that this method works with any color with 0% saturation set to “Color” layer mode, but for simplicity sake, I refer to 50% Grey as this is most often the color used for the conversion.
This conversion is similar to Black/White Adjustment Layer, except the luminosity value for each color cannot be adjusted but is fixed to that which most closely represents the values that the human eye gives to each color. For example, 100% saturated Blue is “darker” than 100% saturated Yellow.
Refer to the Example image below:
Note that the change in colors in the original affects the conversion results.
Boosting The Contrast
Sometimes simply desaturating the image is not enough to be able to clearly see some of the slight variations that you are trying to target in the Dodging and Burning process. When this happens, adding an S-Curve Adjustment Layer that you are constantly adjusting on top of your Black and White Conversion is the best solution.
Below is an example of Boosting the Contrast so that the differences on her face become more noticeable:
In reality this adjustment layer is always changing as you move from one area to another. If my next area to focus would be the hair, the then this S-curve adjustment is too dark for that area and I would make a new Curves adjustment by sampling and dragging from the high and low lights in the hair.
Related: The Visual Aid script on our Beauty Retouch panel uses the Black & White conversion method that gives the best luminosity representation of the colors, in just one click.
This way the spectrum in the original image that you are working on is not altered, yet you can clearly see the details you need for your Dodge and Burn workflow.
What Does This Mean?
For temporary adjustments to aid in the Dodging and Burning part of your workflow, I would not recommend using the Black and White Adjustment Layer for a desaturated conversion or at least be aware to the problems it can cause.
I would recommend using the 50% grey layer set to Color Blending Mode as this is the most accurate representation of the luminosity values in the image, which is what one usually targets when Dodging and Burning.
Desaturating with a Hue/Saturation Adjustment Layer is another fine option. The differences between the Hue/Sat adjustment layer, and the 50% grey layer set to Color are minor. Only drastic color changes would bring up the differences between them, and even this can be avoided if the correct corresponding color correction method is used for which ever desaturation conversion you prefer in your Dodge and Burn workflow. This however is part of another, larger section of my Color Correction Lesson and will be discussed in an upcoming workshop this July (this online workshop has already passed).
Till next time!
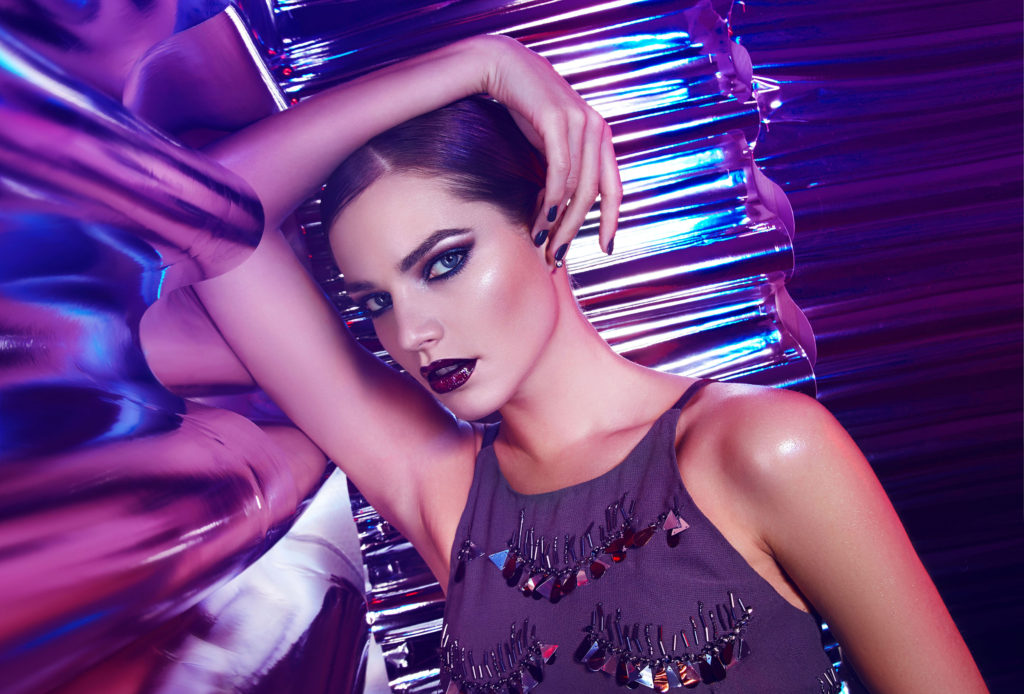
Special thank you to Carlos Teixeira and team for allowing me to use his image (Cosmopolitan Argentina) for this article.
Photography: Carlos Teixeira, Styling: Sandra Coutinho, Makeup: Xana Lopes, Hair: Bruno Bessa, Model: Sveta Kafafova @ L’Agence Lisboa, Post Production: Lulie Talmor.


Thanks for the article! You are right, 50% grey gives most accurate conversion. Actually, it does’t have to be “50%” grey, it can be any grey, white or black layer set to color blending mode. Also channel mixer layer set to monochrome, red: 30%, green: 59%, blue: 11% do the same. If set to luminosity blending mode, layer has no effect, therefore it’s the most accurate conversion – does not affect luminosity at all.
Great summary, thank you!
Such an essential article to read for any retouchers or photographers who really want to hone in their dodge & burning technique. Thanks Lulie and Julia for this!nnnBest,nJoe | fotosiamo.com
This is awesome, Thank you :D!
Very good and thorough explanation of “Help Layers” and the effect they have on the application of them. I’ve always used only curves for this and it serves me well, dragging the DMAX up to 255 and set to HUE. However now that Ive read this I might change that method to the Color Mode technique you describe.
There’s truly a million ways to skin the cat 🙂
Yes, 6 of 1 or 1/2 dozen of another. Although its a constant clean up, I prefer my cat with hair.