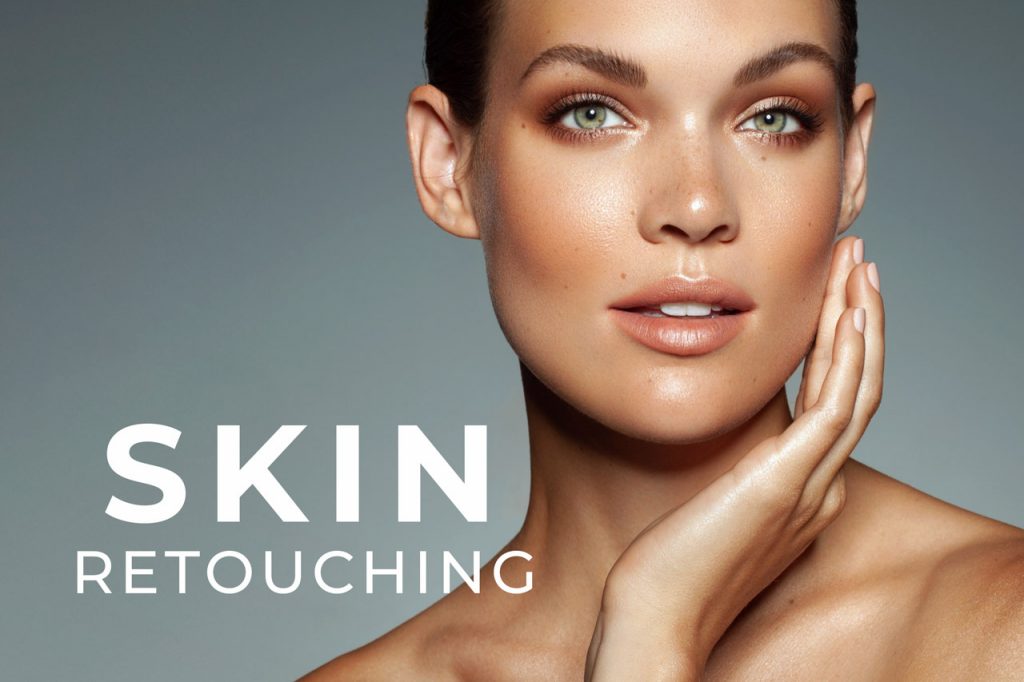
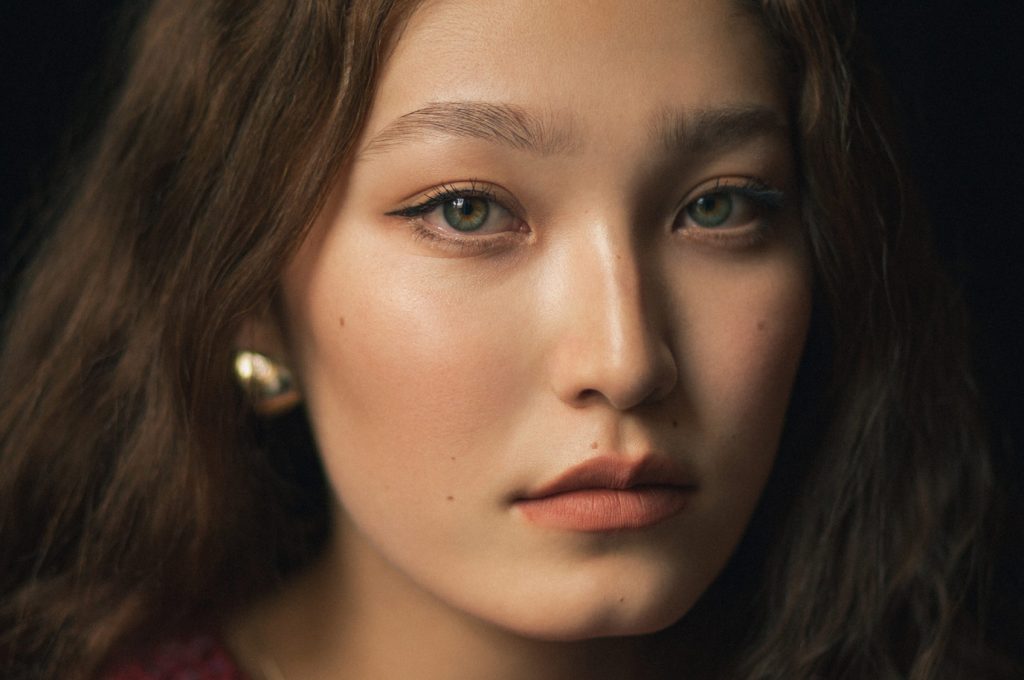
Getting skin tones to look natural and flattering in your photographs can sometimes be a challenge. There are many causes of incorrect colors in-camera, from inaccurate White Balance to random colors from the subjects’ surroundings reflected onto the captured scene.
Being a professional problem solver is part of the job description for every photographer and retoucher, and knowing just how to fix color issues and dial in skin tones precisely is absolutely necessary for every freelancer.
RELATED: Super Quick Technique For Easy Color Matching Elements In Your Images
This tutorial by Aaron Nace of PHLEARN is a great place to start, demonstrating how to use the Selective Color and Hue / Saturation Adjustment Layers to correct skin.
It’s not uncommon to unintentionally spend too much time when color correcting or color grading, so one clever recommendation is to find a reference image that has the desired skin tone you’re aiming for.
With the reference picture laid over the one you’re working on in a separate layer, you can match the tones to that specific photograph. This will help your perception of color zero in on the proper hues, so the adjustments can be performed quickly.
As advised in the video, make sure the reference image takes into account the subject’s skin tone (lighter or darker), and that you also consider the environment, as a studio image may call for a slightly different approach than a fashion image captured outdoors.
Prepare a set of photographs with challenging color correction problems, and give these new tips a whirl.
Source: PHLEARN | Featured Image – Photographer: Kendra Paige | Models: Amanda Elizabethmann & Celeste Rigo | HMUA: Crystal Gossman @ Agency Gerard | Stylist: Tatiana An’Parise | Retoucher: Svetlana Pasechnik


