
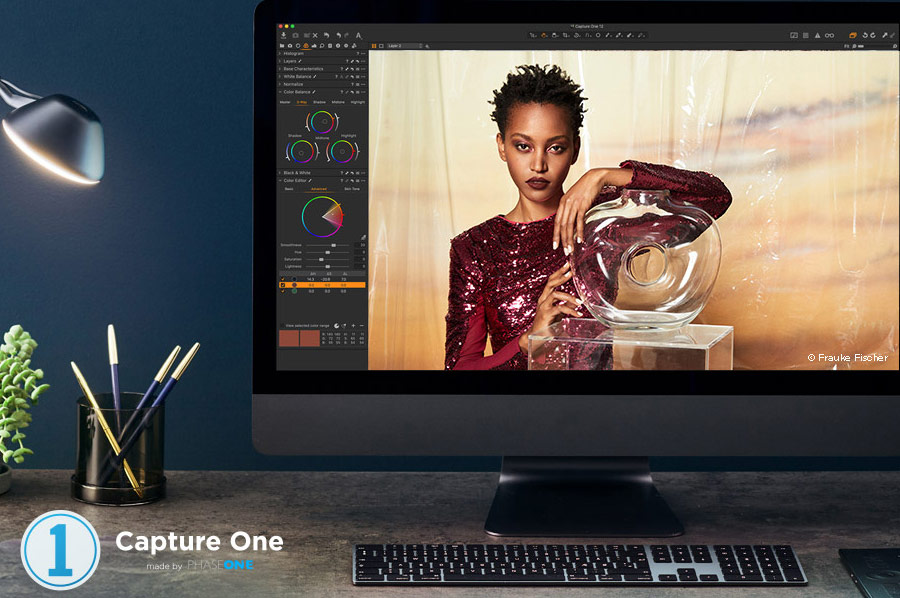
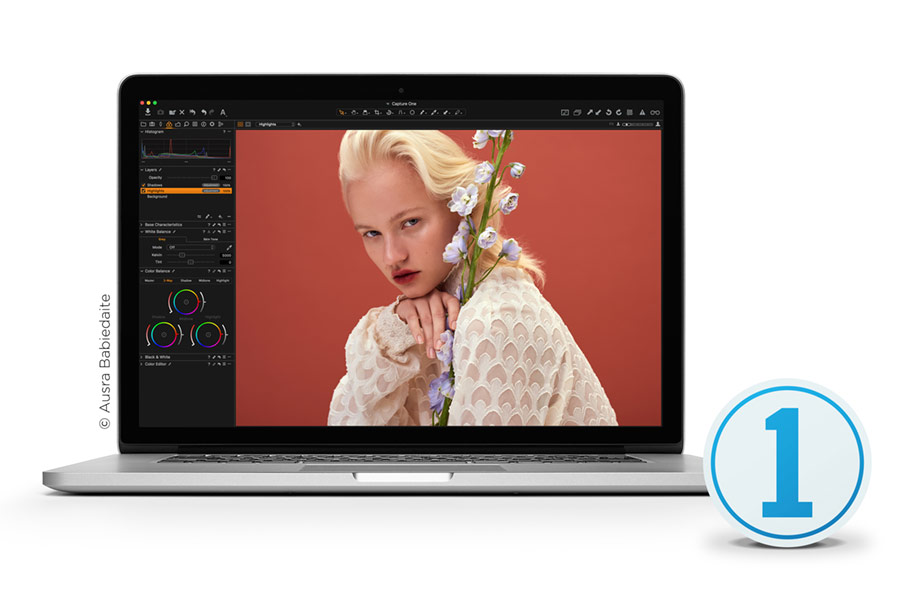
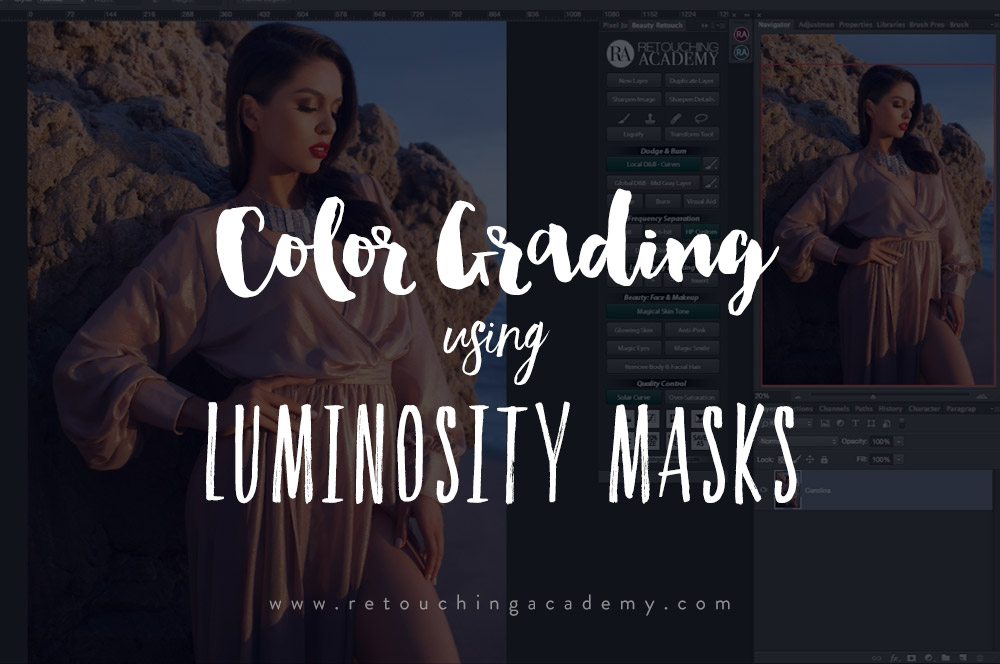
Luminosity masks are a useful tool for manipulating color, texture, as well as contrast. This feature, coined “Luma Masks,” joins Capture One Pro 12, allowing you to easily create masks based on the Luma Range of a file.
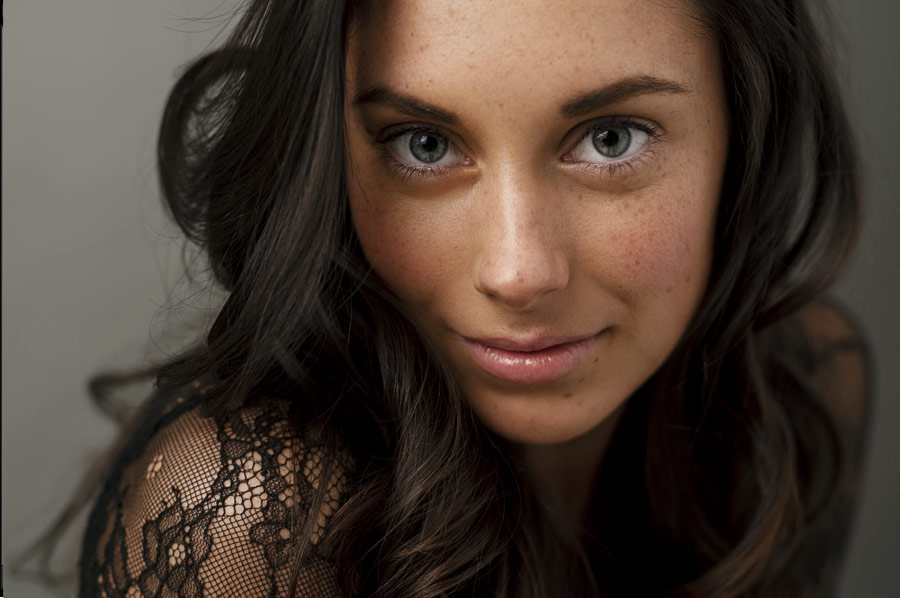
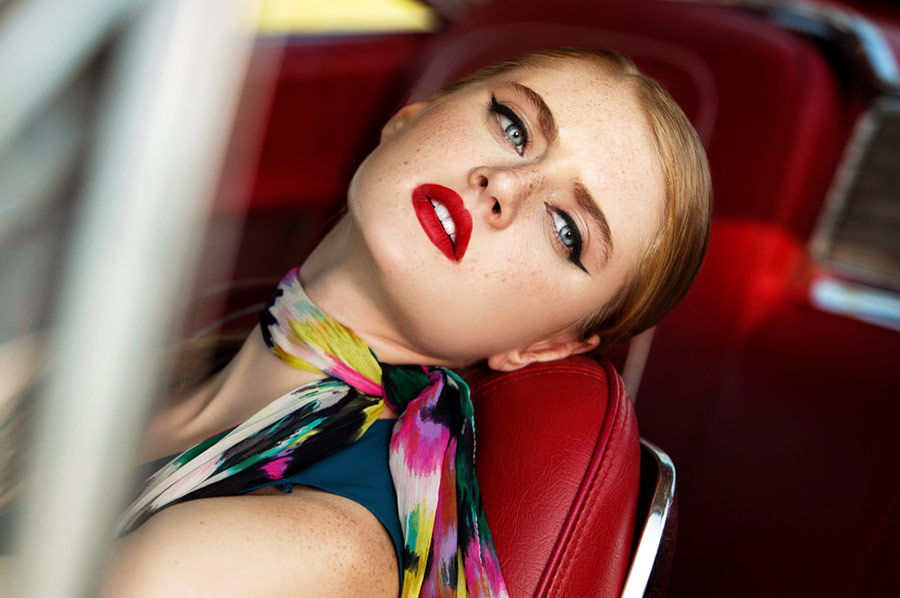
For retouching, this could mean quickly color grading a part of the photograph, or adding contrast to the freckles on your subject’s face. The utility of this new ability in Capture One to precisely manipulate specific details based on their luminance cannot be overstated.
Today’s video tutorial by Zoë Noble demonstrates this new feature step-by-step for beauty photographs and portraiture.
1. To begin, you will want to navigate to the Layers panel and add a New Filled Layer in Capture One Pro 12. This will function as your mask, which you can view by tapping the “M” key. (Optional: rename the layer, such as Shadows / Highlights.)
2. Click on the Luma Range tool, located in the Layers panel. The left side of the bar is for the darker values, while the right side is the lighter ones. Dragging the top control point will conform the mask to your desired value, while the bottom control point will allow you to feather that selection for smoother transitions.
3. Once you have selected the area you wish to alter, you can further refine the luma mask by adjusting the Sensitivity slider, which refines the edges of the mask, as well as the Radius slider for indicating the strength of the underlying Sensitivity.
4. Click on “Apply.”
5. Implement the adjustments of your choice to this mask, such as changes to exposure, color, curves, sharpness, gradients, and more.
6. Repeat this process as needed for the different tonal ranges of your photograph.
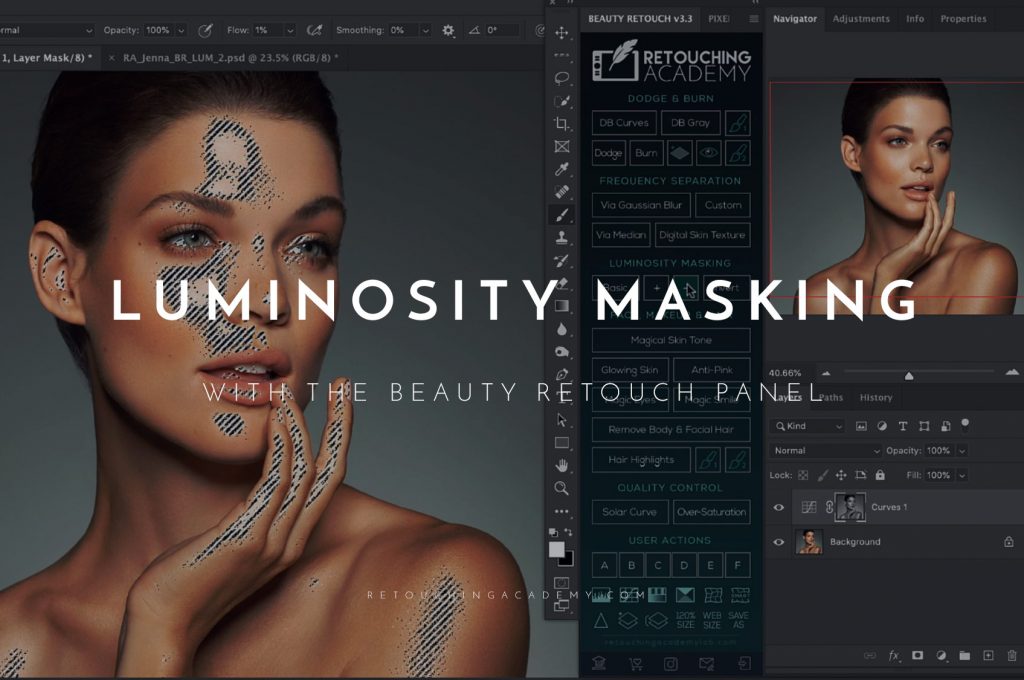
RELATED: Using Luminosity Masking & Blend-If Sliders in Photoshop
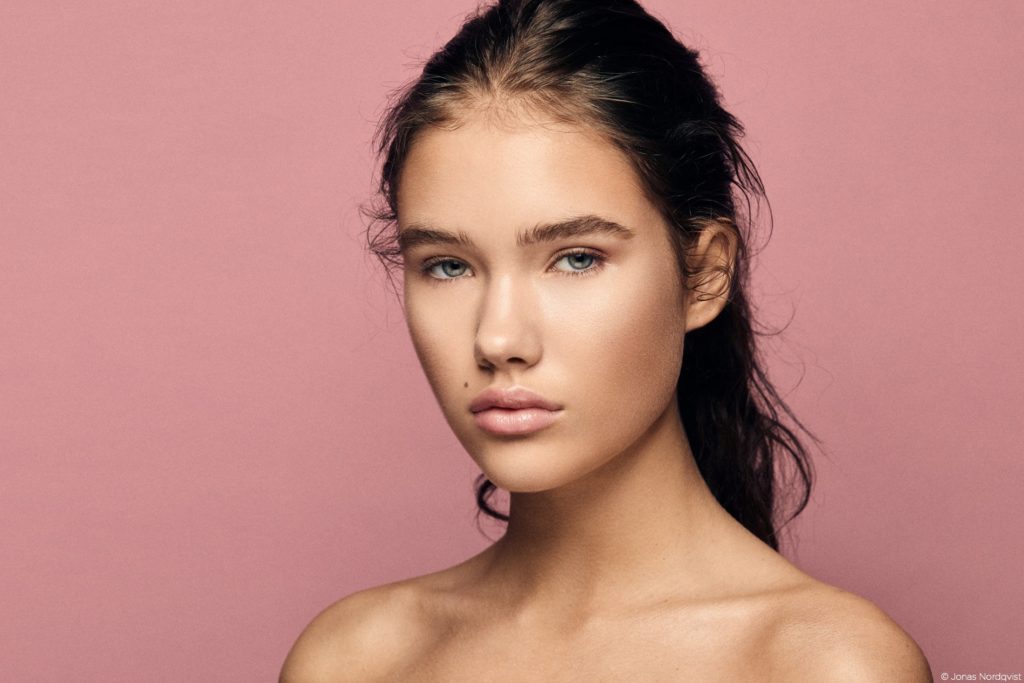
One excellent aspect of Luma Masks is the ability to copy and reapply them to other images that you have captured with similar lighting conditions. This will come in handy for ensuring a consistent look across multiple images. Watch the video below to see this tool in action.
Source: Zoë Noble | Featured Image: Shutterstock

Hi, loved your tutorial it was so useful thank you! If I was creating a luminosity mask for a photo where the person’s face doesn’t fill the frame (full length portrait) would I still use a fill mask?
Hi Catherine, Luminosity masks can be used for absolutely any type of photography.
They are based on the lightness of the pixels in the image, regardless of the subject matter.