To become a skilled retoucher, you must master the use of the basic tools available to you, especially when it comes to perfecting skin.
One such tool is the Healing Brush for cleaning up the skin by removing blemishes, wrinkles, and other distractions.
Today’s detailed video tutorial by Jesús Ramirez will demonstrate how to use the Spot Healing Brush and which settings will produce the best results when retouching skin.
RELATED: Retouching Skin With the Clone Stamp Tool
It is important to know that the Spot Healing Brush with its default settings will often result in a patchwork of textures and tones. By making a few adjustments on a per-task basis, you can leverage this tool to remove distractions much more effectively.
One particularly handy tool in the following tutorial is making use of a Black & White Adjustment Layer so you can easily identify blemishes or areas of uneven texture that need to be addressed.
While the following video uses the Spot Healing Brush, you can easily apply this technique to the Clone Stamp Tool as well. Give this video a watch and let us know your favorite method for removing distractions in your images in the comments below.
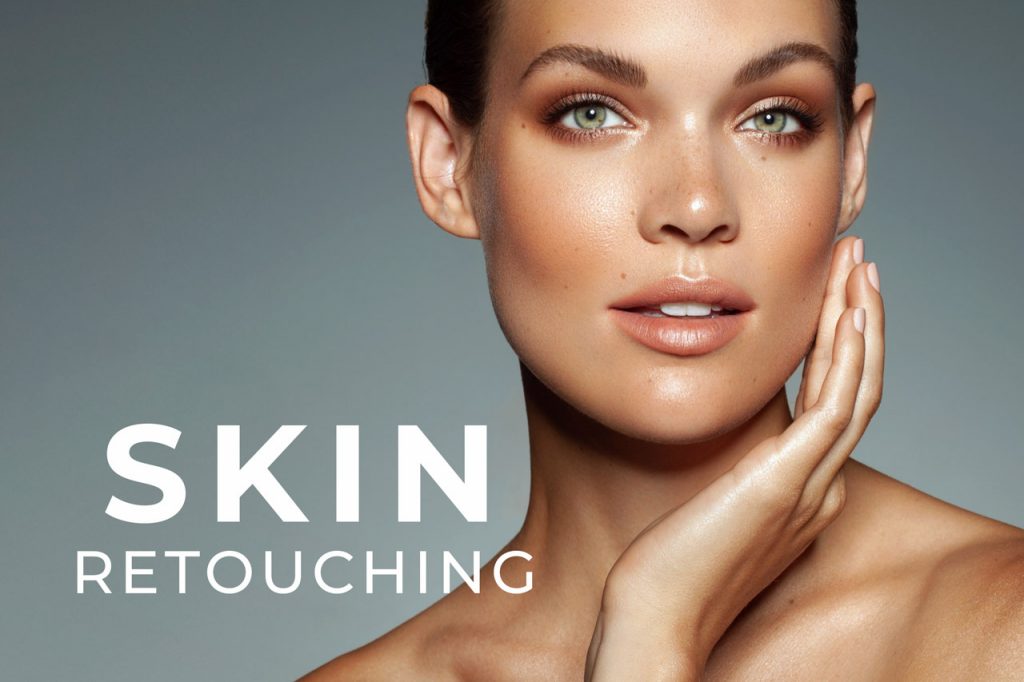
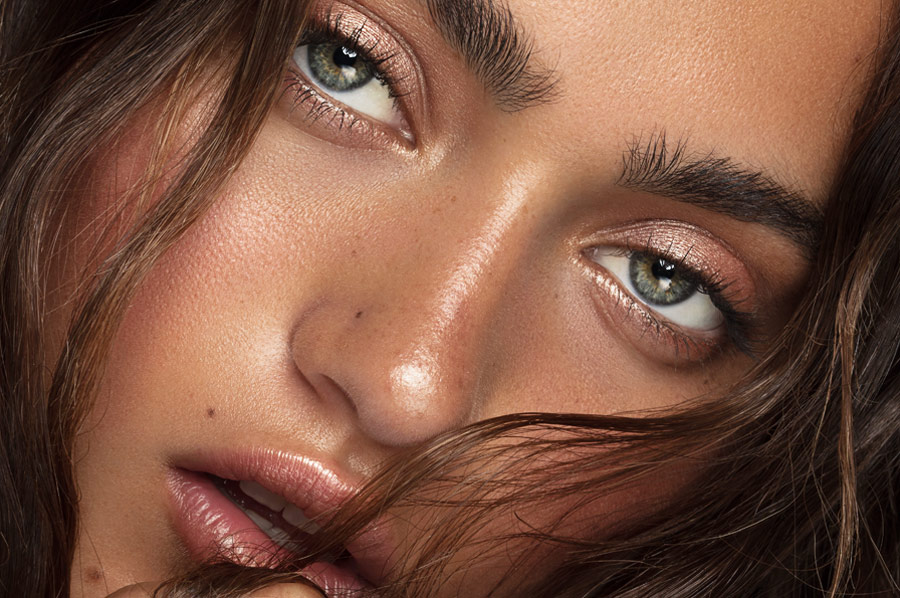
Source: PTC | Featured Image – Photo & Retouch: @juliakuzmenko at @visionairebeauty, Model: @belexib of @newmarkmodels, Makeup by @lupemoreno_mua, Hair by @thebraidsfactory.