If you ever wondered how real-world Advertising Product Photography & Retouching jobs unfold for creative professionals, this article by our talented friends Maier Product Photography, will take you through the project steps from shoot to the final image.
Max & Eli: This is an example of how we completed one of our commercial assignments. In this article, we highlighted each major step we went through during this commercial photography job.
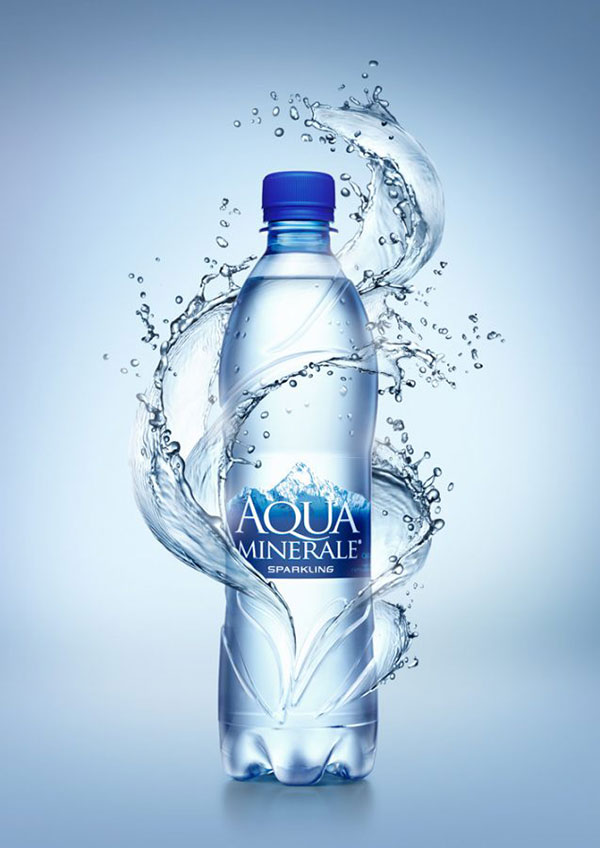
Photography that involves splashes is a very interesting theme that has a lot of attention among product photographers, art buyers, and viewers. One of our first such projects was Aqua Minerale advertising with a splash around the bottle.
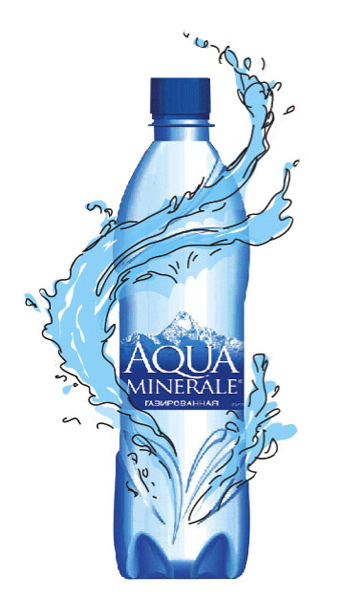
Final Image

Step 1. Advertising Photography Concept
The idea approved by the client was to build water splashes grown from the bottle and support a new bottle design.
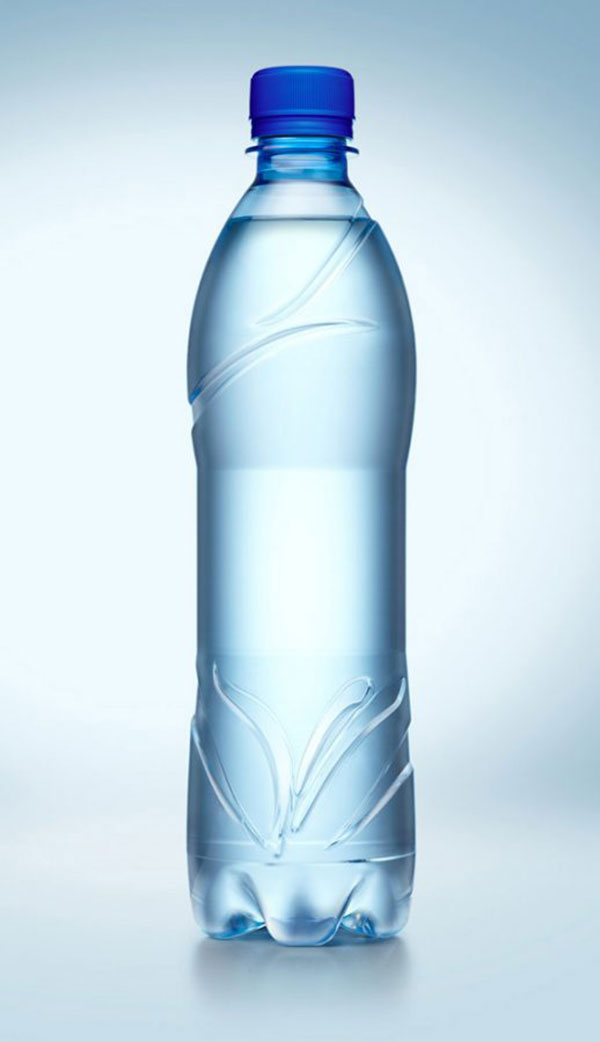
2. The Bottle and Drops Product Photography
The client wasn’t sure about water drops on the bottle, so it was decided to create two images: with drops and without. There were also two options for water drops: perfectly round put one by one on the bottle or more natural.
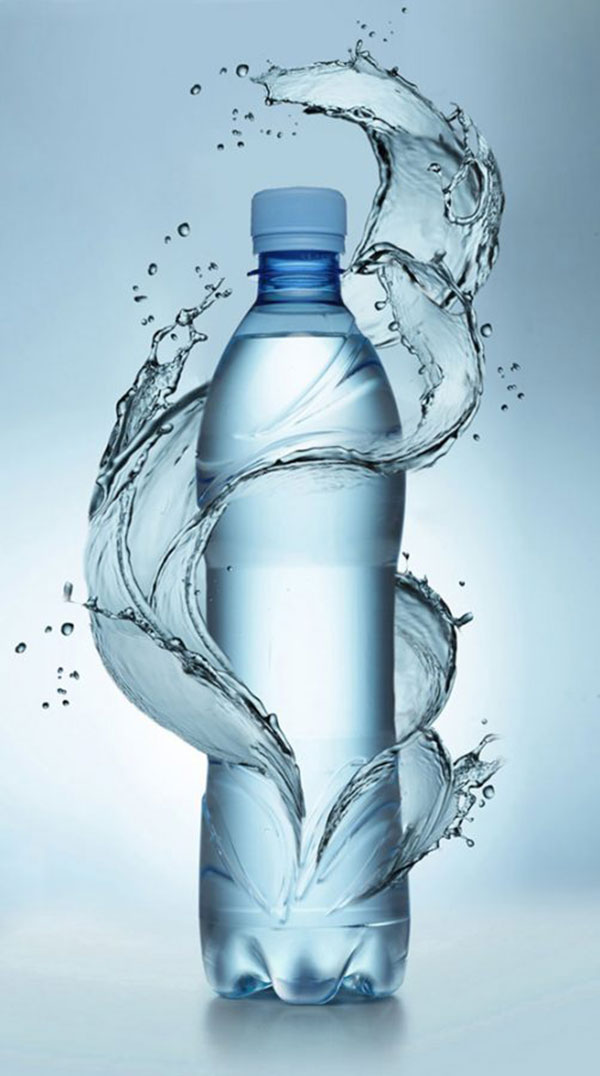
We started with the clean bottle. After the photo shoot, we got rid of some unnecessary refraction and the bottle was ready.
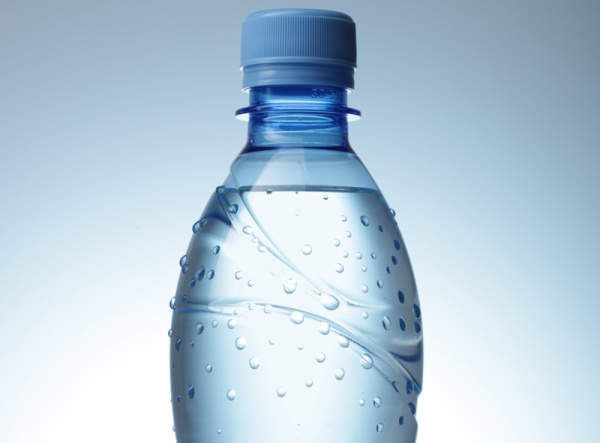
The next part was to photograph natural water drops on the bottle. We used Condor Foto “Dew Effect” to create the drops.
3. Water Splashes Photography
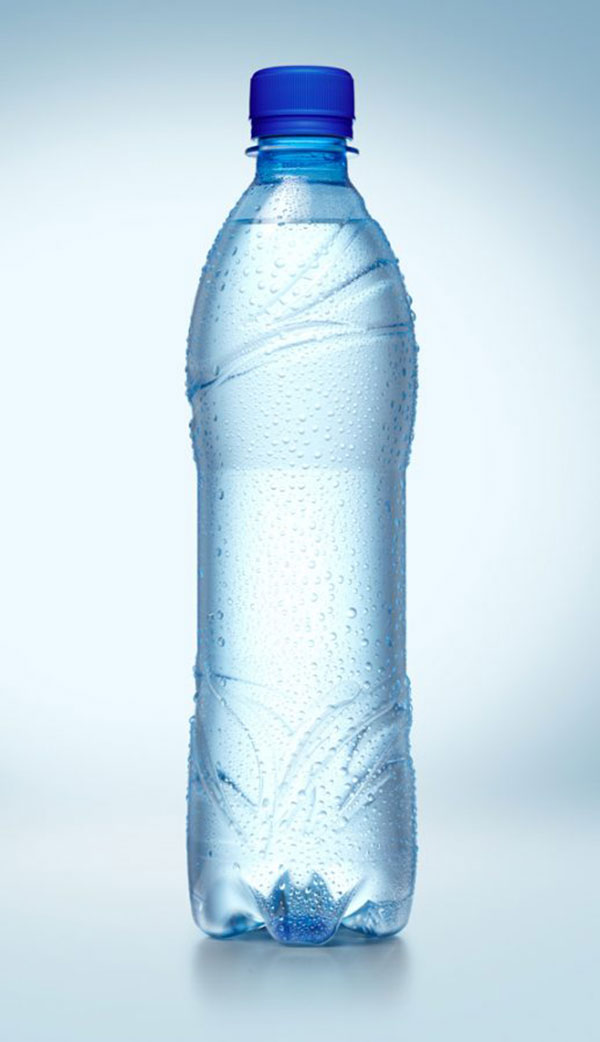
Since the bottle shape was visually lost under the water drops, while the main idea of the advertising was based on it, we ended up choosing the clean bottle without drops.
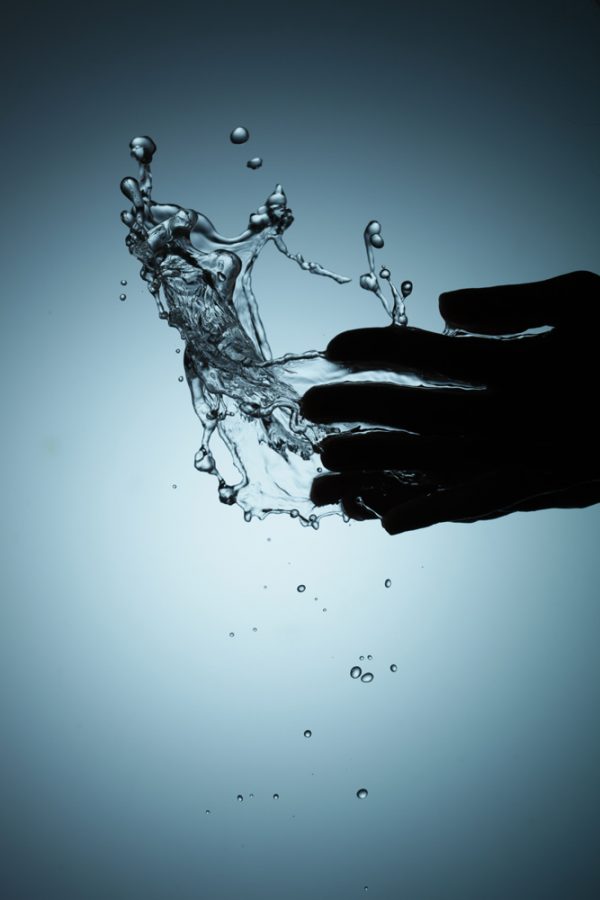
Having an approved sketch and understanding of what kind of water splashes we needed to capture, we started with water splash photos. Since we needed flat and wide splashes, we used wide and not very deep cups.
Separate drops looked the best when we used hands instead of tableware.
4. Post-Production, Advertising Product Retouching
Once we made sure we’ve got enough material, we began the post-production stage and created the first draft of the artwork.
After some feedback, adjustments, and final approval of the shapes of the splashes, the long and laborious retouching process began.
One of the most challenging parts of post-production in commercial photography is that you should always be ready to revise the image according to the Art Director’s and client’s feedback until the very final approval, although it gets increasingly more complicated to make changes in the image the closer you are to the final stage of retouching.
RELATED: Product Photography & Retouching: Light, Shadows & Reflections
During the post-production process, you often may have to change the initially approved shapes too.
Some details in the original sketch may look alright but do not work for the final image. An advertisement piece might be printed in very large sizes and it’s essential that every pixel of the image is in the right place.
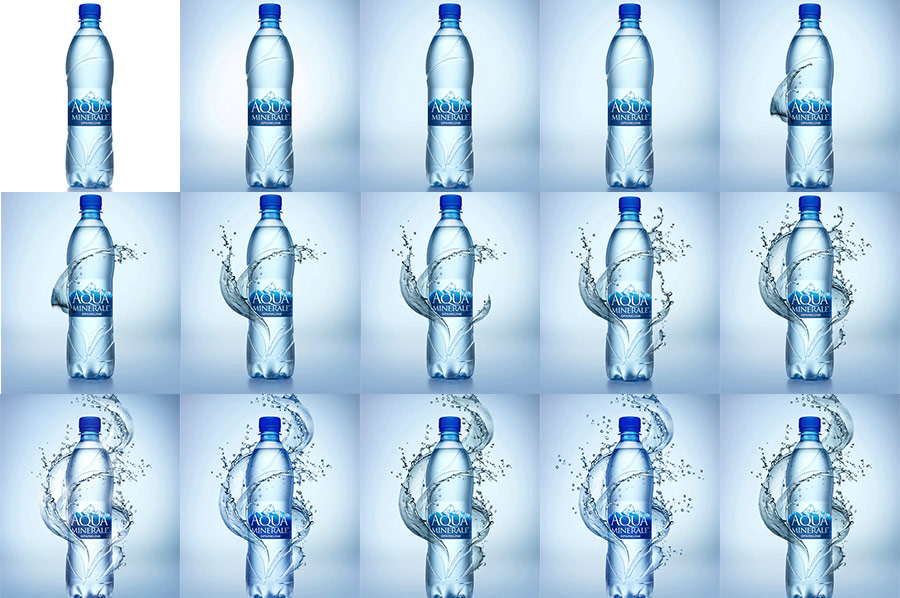
Here is how the retouching steps looked for this project:
Client: PepsiCo
Photography & Post-Production: Max & Eli Maier