In this tutorial we will cover what Clipping Masks are and how to create them in Photoshop. We will also touch on some retouching scenarios when they can be very useful.
KEY POINTS:
- Clipping Masks allow you to apply pixels on a layer or color and exposure adjustments via Adjustment Layers to only one particular layer as opposed to all layers below it.
- A clipped layer’s pixels or adjustments will be applied to any opaque pixels in the layer it is clipped to.
- The opaque pixels essentially form a mask for the one or more layers that you clip to it.
- When a layer that has other layers clipped to it is disabled/hidden, all clipped layers will automatically hide as well.
- Clipping Masks can be created in a variety of ways, with the easiest being to select the layer you want to clip to the layer below, then use the keyboard shortcut Command+Option+G (Ctrl+Alt+G).
- The most common use for Clipping Masks is to apply various adjustment layers to a specific layer as opposed to the entire image
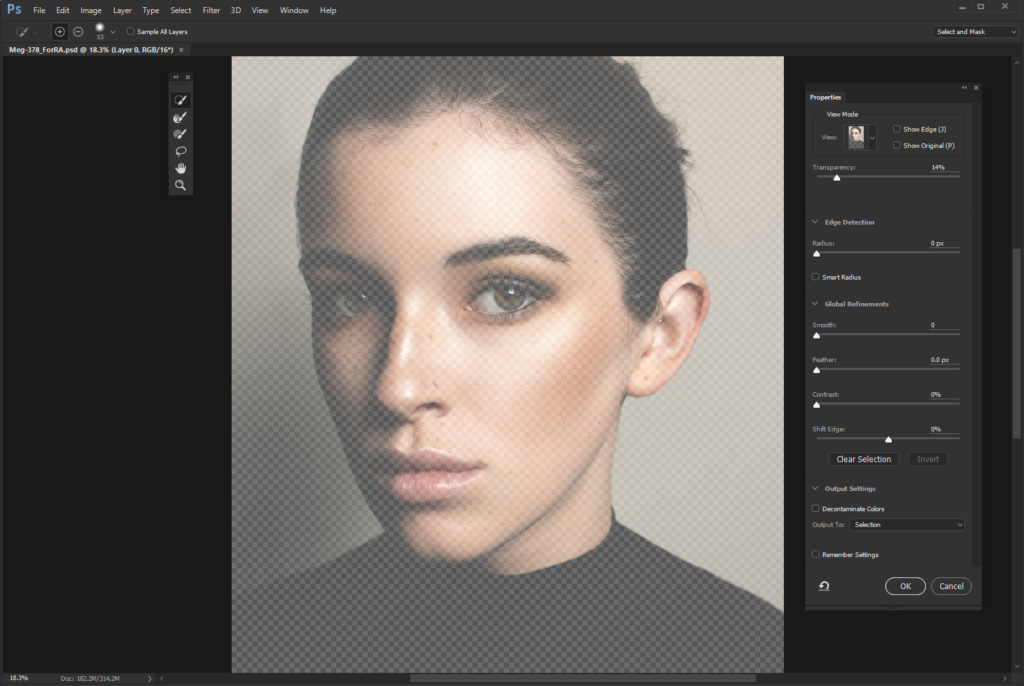
- Clipping masks are also very useful for removing fringing in a subject cut-out within a composite image, or to add texture to areas of smoothed skin as demonstrated in the video.
RELATED: Learn All 19 Adjustment Layers in Photoshop in Just 33 Minutes