Working non-destructively in Photoshop is the best way to edit photographs as each modification can be revised throughout post-production.
Using Adjustment Layers allows making changes to your photograph without permanently altering the underlying image. There are nineteen adjustments available in Photoshop, each one paired with a Layer Mask for making accurate, pinpoint alterations to your work.
However, that’s a lot of tools to grasp, and their usefulness may not be readily apparent. Some Adjustment Layers are powerful tools for color grading, others are better suited for exposure or luminance adjustments, and others may have a very limited use.
This fantastic tutorial by Dansky is a great way to familiarize yourself with every Adjustment Layer in just thirty minutes. Take a look at the timestamps below for the specific segments of interest, or watch the entire video from start to finish to pick up every tip possible.
1:20 Color Fill
3:42 Gradient
5:38 Pattern
7:54 Brightness/Contrast
8:57 Levels
10:54 Curves
12:58 Exposure
14:45 Vibrance
15:46 Hue/Saturation
17:45 Color Balance
19:30 Black & White
21:38 Photo Filter
22:40 Channel Mixer
24:50 Color Lookup
25:50 Invert
26:22 Posterize
28:06 Threshold
29:57 Gradient Map
31:20 Selective Color
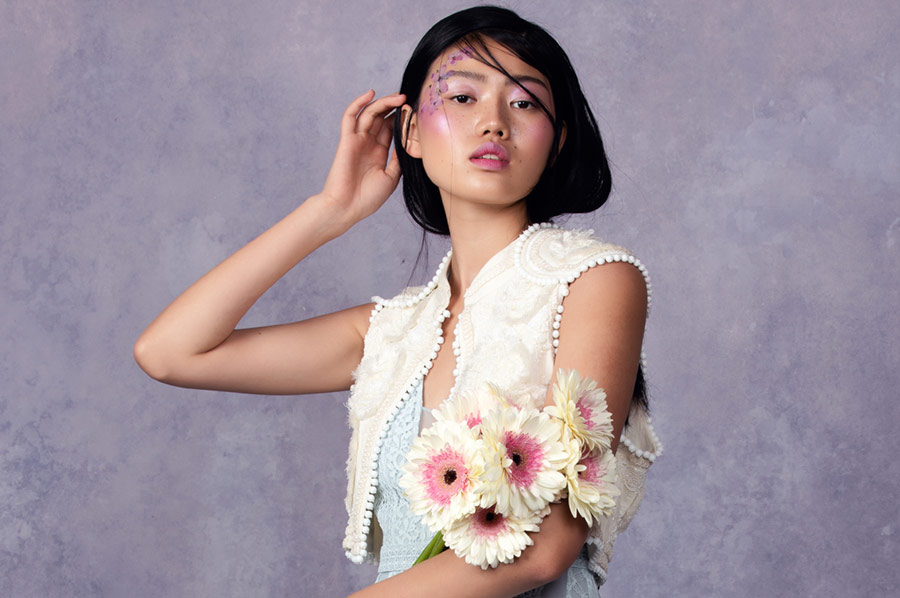
Source: Dansky | Featured Image – Photo: Sam Asuncion | Art Direction, Makeup, & Styling: Simone Zbinden | Model: Siyu Yang @ Biba Models | Retouch: Anastazja Szulc