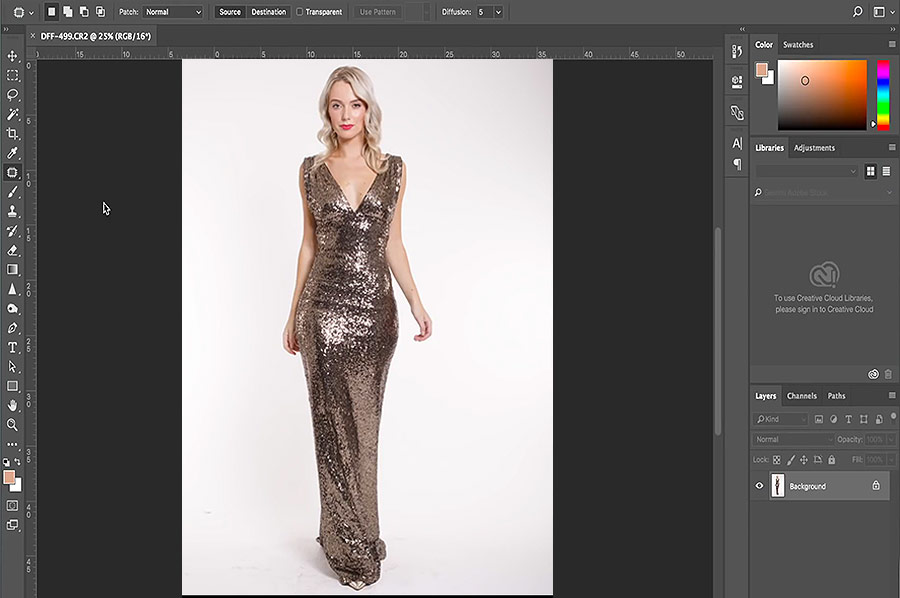
A neutral gray backdrop is a staple of any studio setup, a versatile choice that can be easily adapted for various lighting situations. However, too much of a good thing can be bad, as too much gray can begin to feel monotonous.
For those photographers and retouchers looking to add some visual interest to their studio imagery, this tutorial by Tatan Zuleta will show you how to change your background color in seconds.
The method described in this video utilizes the Color Range Selection tool and a Curves Adjustment Layer, enabling you to select the gray tones of your photograph for easy manipulation.
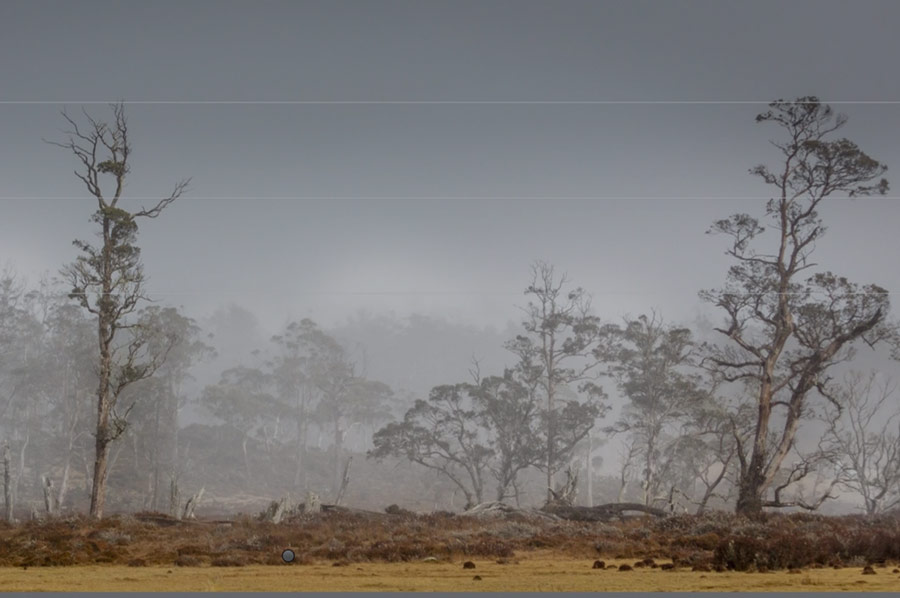
Refining your selection takes seconds, by sampling the grays from the background and adjusting the Fuzziness slider within the Color Range tool.
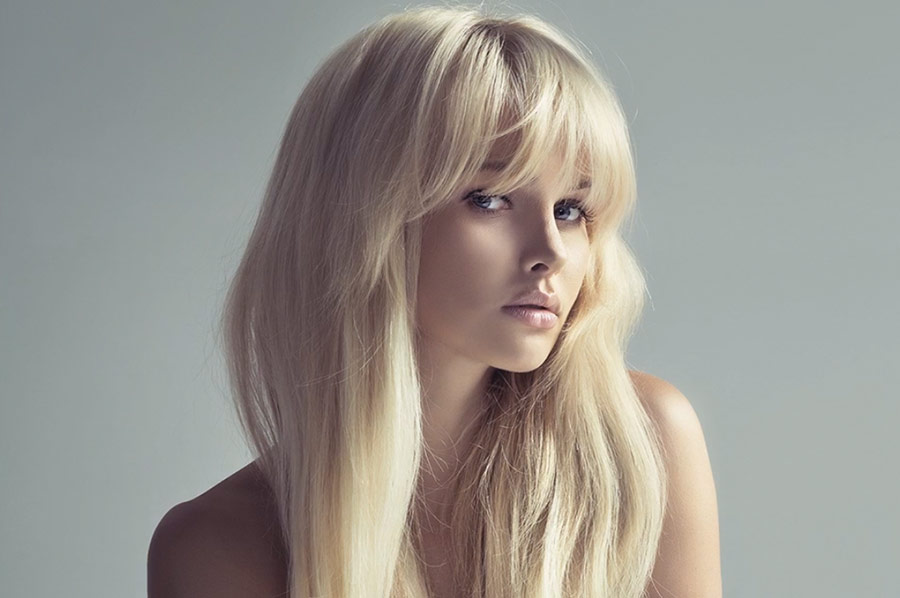
From there, by holding down the Alt key while clicking on the layer mask, the selected areas of the mask are made even more visible. Cleaning up your selection is an efficiently painless process, even with more complex subjects that may have various textures such as stray hairs.

There are various techniques for altering the color of your background, but we find this one to be one of the most effective.
RELATED: How to Quickly Change Your Background Color in Photoshop
Source: Tatan Zuleta YouTube Channel
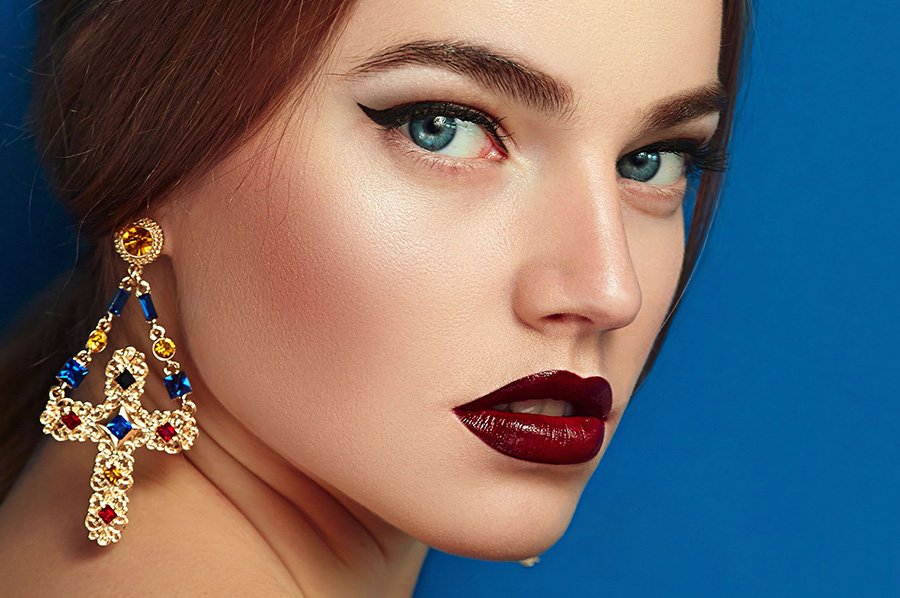
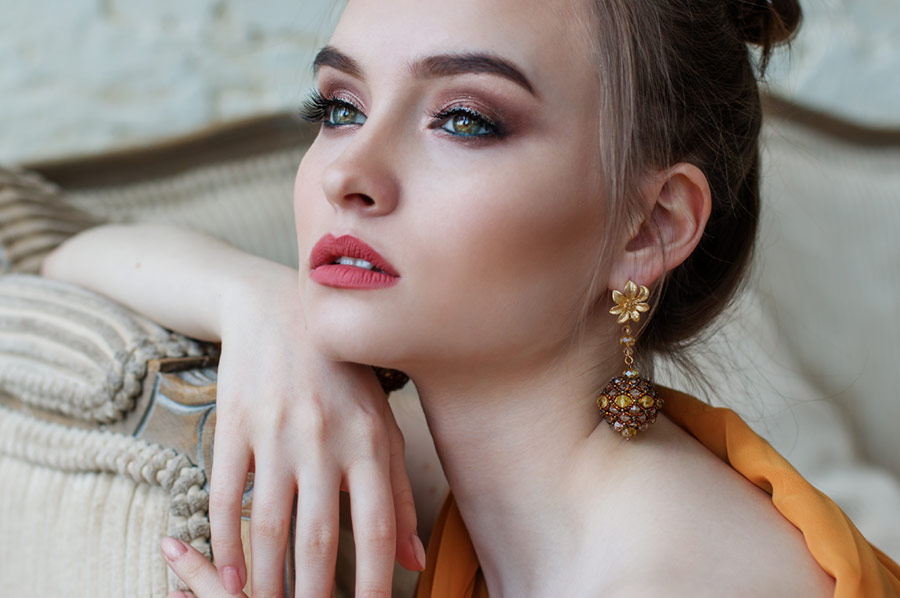
Image Credits – Photo: Kendra Paige | Model: Rita @ MP Management Miami | MUAH: Miki Sarroca | Stylist: Zlata Kotmina