
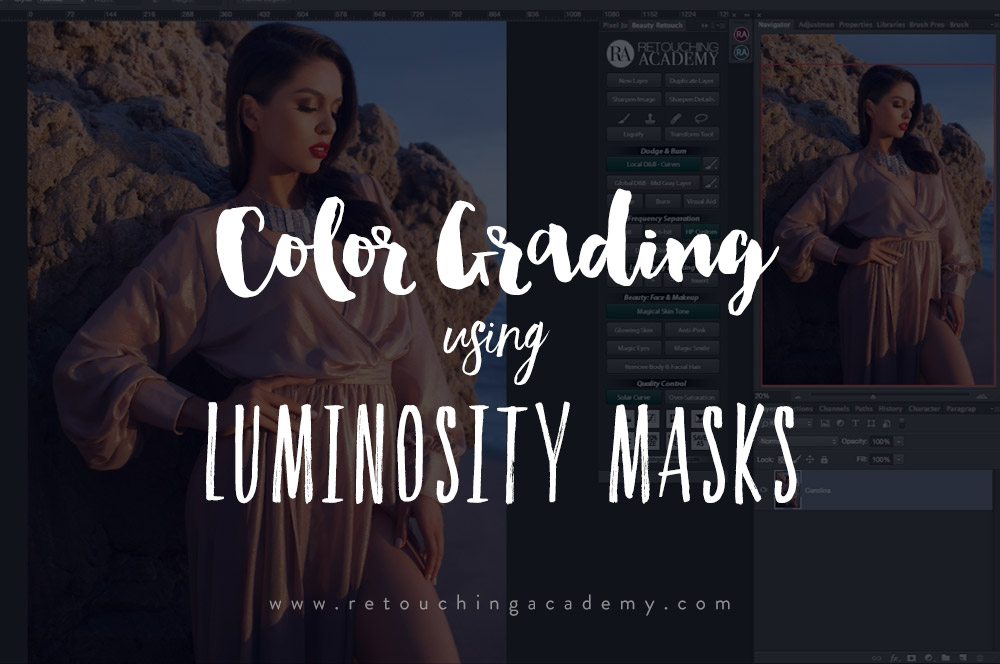
I have been using Luminosity Masks in my retouching for many years now and I absolutely love the flexibility they offer when making selections for exposure adjustments and color grading in Photoshop.
I love how Zoë Noble explained her color grading process in this detailed How to Colour Grade with Luminosity Masks in Photoshop tutorial. Download her action and follow her along while watching:
We have a slightly different approach to setting up and adjusting Luminosity Masks on our Beauty Retouch Photoshop panel, but the way I personally use them after they’ve been set up is very similar to Zoë’s.
RELATED: Color Grade Like A Professional
The main difference between the two methods is that when using Zoë’s action you have multiple channels created in your PSD, to help you visually select the right one for your task while clicking through them. The Beauty Retouch panel Luminosity Masking feature creates the basic selection right on your image, so you can see the marching ants, and then you can expand or contract the selection with the + and – buttons. You can also invert your selection once you’ve adjusted its “map”.

Regardless of whether you choose either of the automated methods, or continue creating your Luminosity Masks manually, it is a very powerful tool for your retouching workflow in beauty, portrait or fashion photography, and it totally deserves you to get to know it better through continuing practice.
The older version of the Beauty Retouch panel was used for this video, but the current version has the same exact Luminosity Masking feature as well.


You have really high quality tutorials.
By the way, there is a really in depth blog post on Luminosity Masks on Davide Barranca’s Blog.
It is called – Luminosity Mask – How Does It Really Works?
Link – http://www.davidebarranca.com/2018/03/luminosity-masks-how-does-it-really-work
Maybe you could incorporate it in your tutorials.
Thank You.
Thank you Mark,
We will definitely look into it!