One of the most overlooked tools in Lightroom is the HSL (Hue, Saturation, and Luminance) color adjustment window. If you’re just beginning your journey into editing your images and learning Lightroom, you’ll find that HSL is a powerful color grading tool that targets specific hues in an image. You can change selected hues by moving the sliders associated with them.
This tool allows you to color correct or color grade your image without having to bring the photograph into Photoshop. You can also easily sync these adjustments across a batch of images with a few clicks.
RELATED: Master The Curves Tool to Color Grade Your Images Like a Pro
In this video tutorial by Chelsea Nicole, she breaks down the meaning of Hue, Saturation, Luminance, and shows you the exact steps she takes to color grade an image and achieve a signature look.
Starting with your basic adjustment is best, she states, as both contrast and brightness will affect your colors. While she prefers adding her Curves adjustments next, she will always tweak the HSL sliders for her final edits, especially for creating “luminescent skin tones” or a more film-like look.
Watch the video to learn how to create your own color grading aesthetic and let us know in the comments below how you see this tool fitting into your retouching workflow.
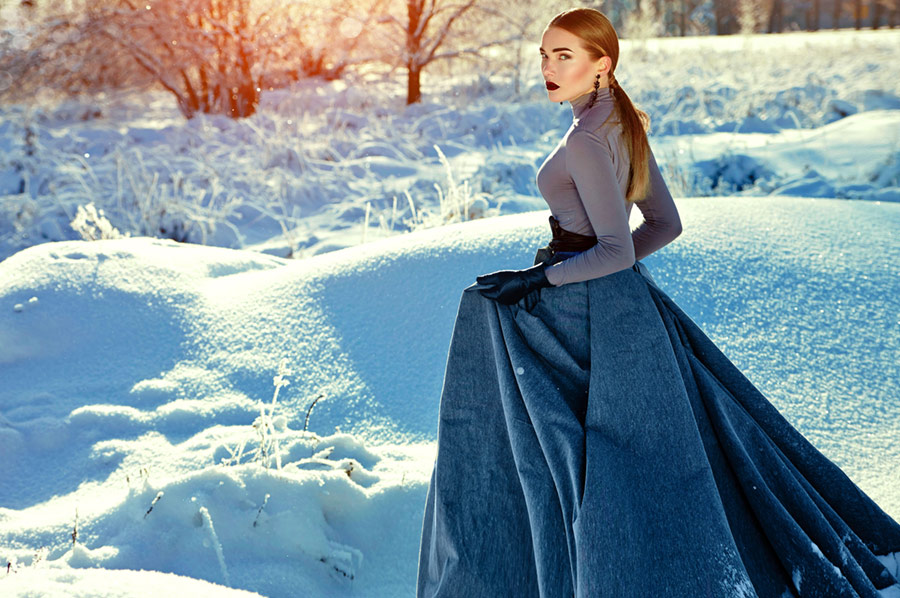
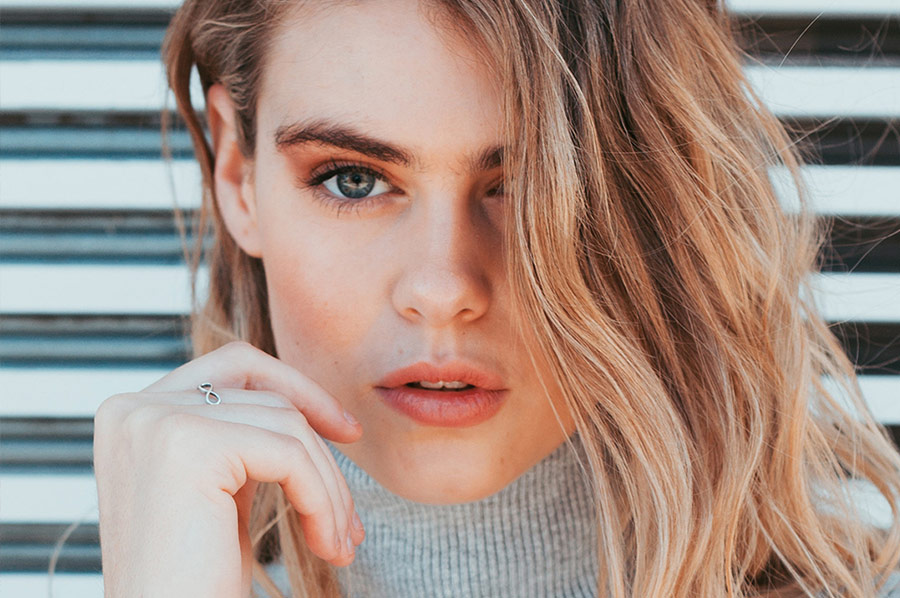
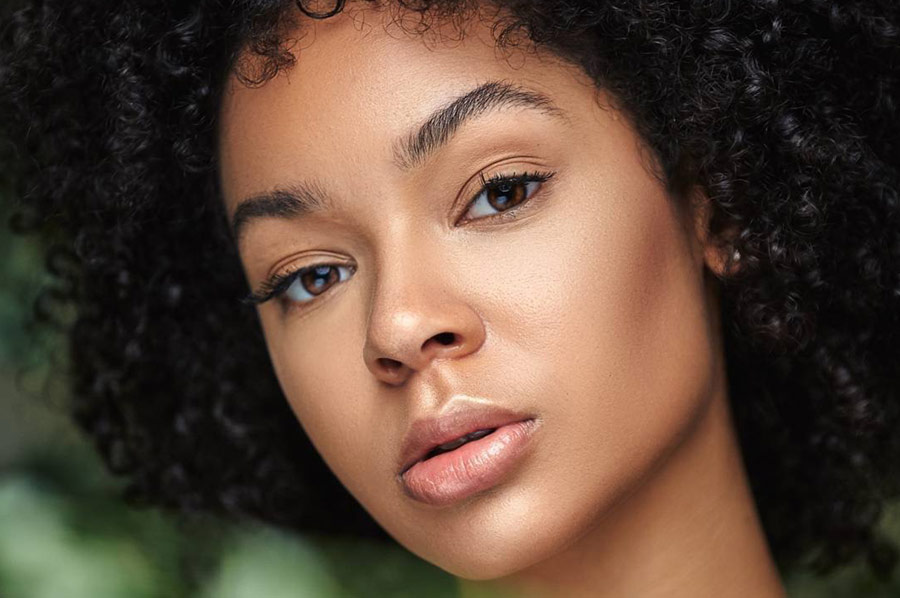
Source: Chelsea Nicole | Featured Image – Photo: Kris Fulk | Model: Kristina Stephens | Retoucher: Pratik Naik