In this video we’ll be discussing some of the most important layer Blending modes for retouchers to understand, as well as present practical examples of when they are used.
We’ve divided our discussion into four main Blending mode groupings:
- Lightening Blending modes
- Darkening Blending modes
- Contrast Blending modes
- Colour based Blending modes
The key element with Blending modes is to understand how each of these groupings behaves so that you can establish a starting point, and then experiment until the one that produces the desirable result is found.
RELATED: Understanding Blending Modes in Photoshop
.
KEY POINTS:
Blending modes can be intimidating to start to work with, but they are actually very easy to use once you get the hang of the Blending modes list structure. You need to have at least two layers in your file – a base layer and a blend layer, which is applied to the base layer – to create a Blending mode interaction between your blend and base layers.
In our description we will describe what the result will be when a specific Blending mode is set for the blend layer (the top layer in the interaction).
DARKENING BLENDING MODES
- The darkening group of Blending modes:
- Darken
- Multiply
- Colour Burn
- Linear Burn
- Darker Colour
- These Blending modes will darken your image whenever the blend layer has pixel values darker than pure white.
- Of the darkening Blending modes the most commonly used options are Darken and Multiply.
- Multiply has uses for colour grading by applying a black and white adjustment layer and adding textures.
- Darken is helpful for applying sharpening selectively to the dark part of the edge, fixing light fly-away hairs, cloning eyelashes and blending multiple exposures.
LIGHTENING BLENDING MODES
- The lightening group of Blending modes:
- Lighten
- Screen
- Colour Dodge
- Linear Dodge
- Lighter Colour
- These Blending modes will lighten your image whenever the selected layer has pixel values lighter than absolute black.
- Of the lightening Blending modes, Lighten and Screen are the most commonly used.
- Screen works well for applying light textures captured on a dark background (e.g. bokeh, smoke)
- Lighten is very helpful for fixing dark fly-aways, applying selective sharpening, and blending multiple exposures
CONTRASTING BLENDING MODES
- The contrasting group of Blending modes:
- Overlay
- Soft light
- Linear Light
- Vivid Light
- Hard Light
- Pin Light
- Hard Mix
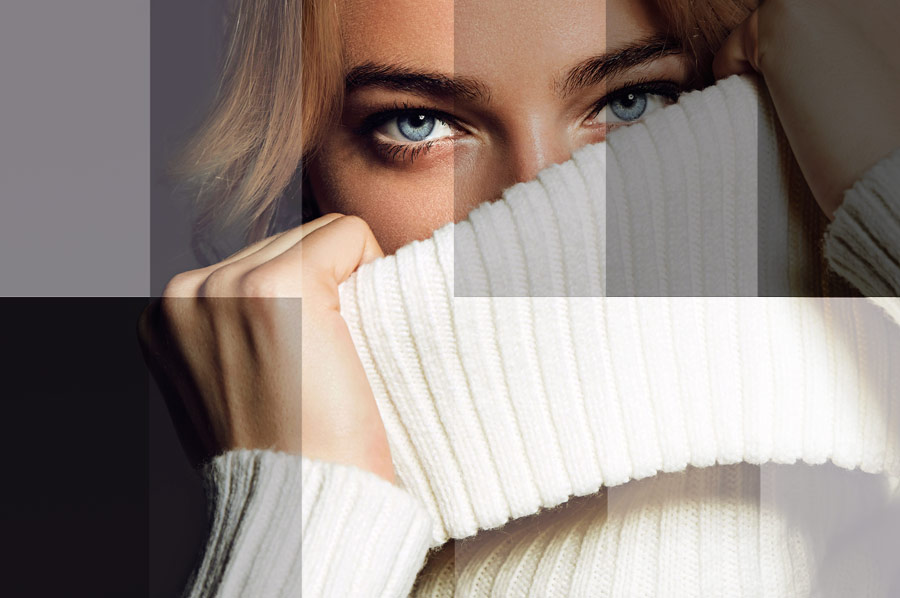
- These will lighten your image if the blend layer has pixel values lighter than 50% grey, and darken your image whenever they are darker than 50% grey.
- Blending modes like Overlay and Soft Light work well in combination with a 50% grey layer for dodging and burning, a black and white adjustment layer for modifying colour based contrast, layers with the High Pass filter applied for sharpening and building contrast, as well as adding noise or texture rendered on a 50% grey layer.
- Linear Light and Vivid Light are most commonly used with a High Pass layer for sharpening or texture extraction as well as Frequency Separation.
COLOURING BLENDING MODES
- The colouring Blending modes:
- Hue
- Saturation
- Color
- Luminosity
- These will allow you to apply hue, saturation and lightness elements from the blend layer to your image, so only the Luminosity Blending mode will affect the brightness level of your image while the others focus on the actual colour value.
- The Luminosity Blending mode is often combined with curves, levels or black and white adjustment levels to negate the affects of contrast induced saturation changes.
- The Colour Blending mode allows the hue and saturation value of a layer to show through while the luminosity value is ignored, making it an excellent choice for applying solid colour layers for colour cast addition or negation.
Return to the main page of the course to select the next lesson.







I always messed around with those blending modes and just went for what I though was better. Having a good explanation about it totally made it better for me. ahhaha Thanks Michael!!
It’s great article . thank you so much Michael.
Always love Michael’s tutorials!
Your post are always great and always learn from them be sure to poslalos, congratulations admire your work!