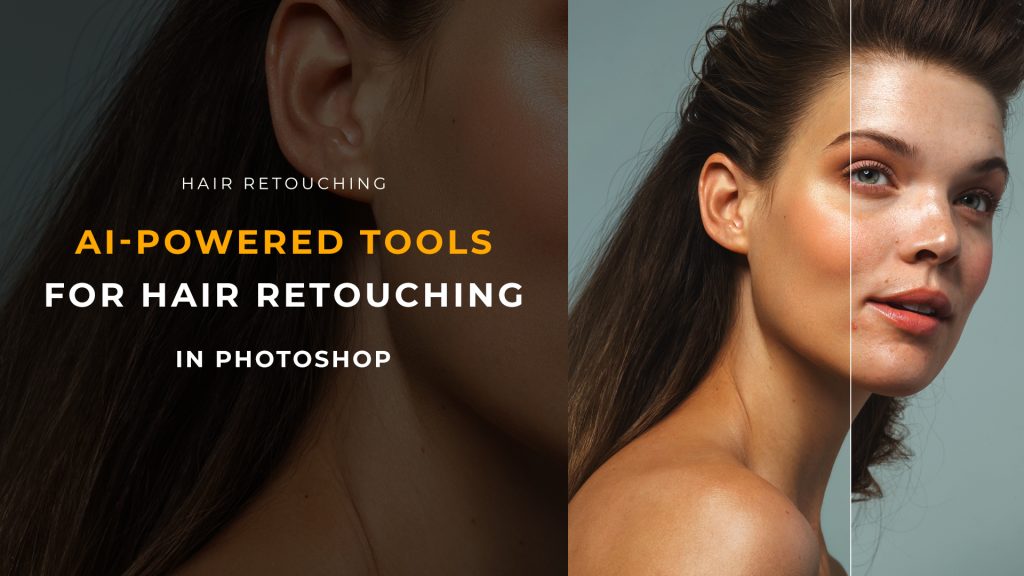
One of the major components in our interpretation of healthy-looking hair is its shine. Apart from giving the hair a shiny look, highlights create the much-sought-after volume. As with almost every task, Photoshop gives us numerous ways of tackling it.
Effectively our goal is to create more contrast between lit and shadowed areas but it can be rarely achieved by simply bumping up the global contrast. More often we have to take a more local approach, lightening selective strands and darkening others.
Check out our in-depth Hair Retouching video course
After commencing a basic clean-up, removing the stray hairs and addressing the inconsistencies in the hair luminosity we often proceed to add volume to the hair via dodging and burning with a round soft brush. This may result in the added highlights being too uniform and the hair losing its natural feel.
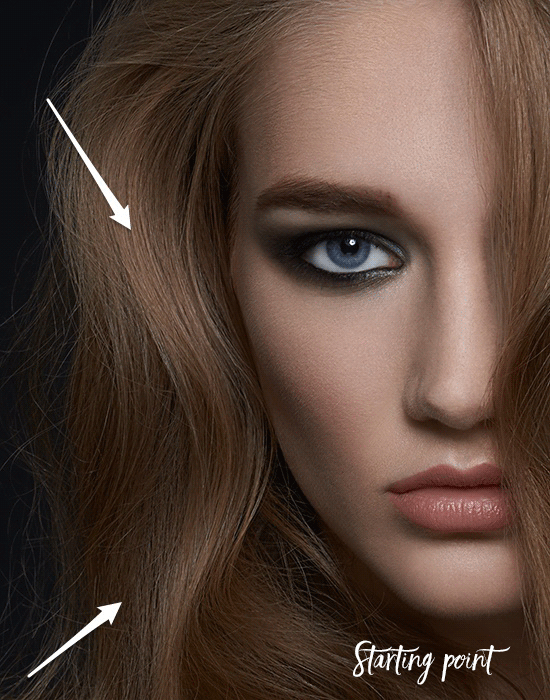
The starting point: hair looking flat and “lifeless”.

Highlights added with a round brush.

Triple Dot Brush
In order to avoid getting large unnatural looking highlights, we can use a “triple-dot” brush, which is mainly used for painting hair strands.

Set your Dodge and Burn group by creating two Curve layers – one for dodging and one for burning.
More in-depth information can be found in the RA “Master Dodge and Burn” video course with Fashion, Beauty & Portrait Photographer and Retoucher Michael Woloszynowicz.
With a small brush size and flow set to 7-14% paint on the Dodge Curve mask over the hair strands where the light hits them.
Proceed by adding darker strands on a Burn Curve and move slowly around the image. Keep changing your brush size to match the size of the strand you are working on.

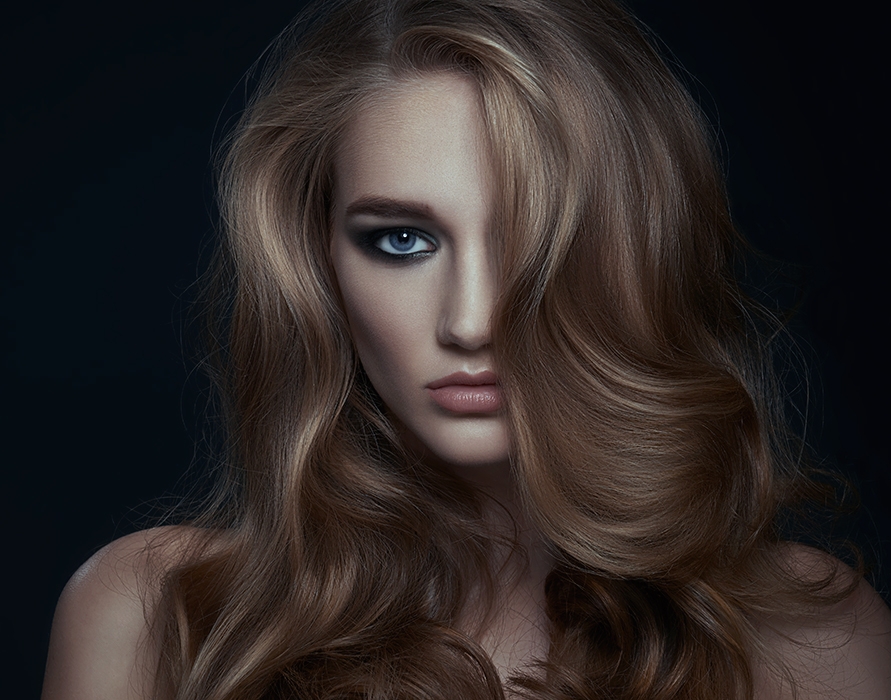
Final result of Dodging and Burning with a triple hairbrush.
As a result, your highlights match the hair mid-range contrast better and the hair gets a “shine” without losing its natural look. Remember, when retouching hair, smoother is not necessarily better.
Luminosity Masking
Another useful tool to operate when adding hair highlights is luminosity masking. Working on our example image we will brighten the highlights even further without painting them over again.
RELATED: Changing Hair Color In Beauty and Fashion Images
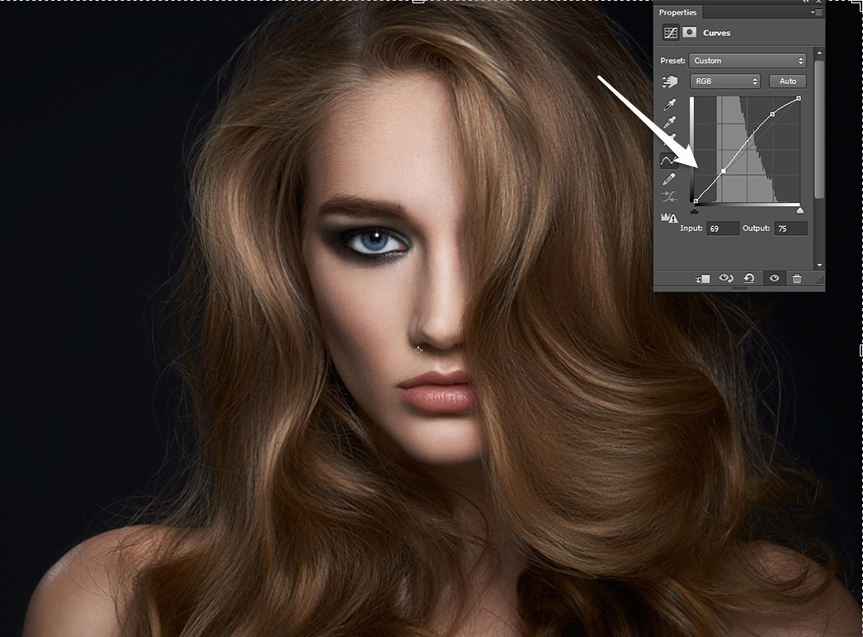
Select a luminosity mask that will best capture the highlights in the hairdo not worry about it affecting the rest of the image. RA Beauty Retouch panel has a handy script that allows you to create luminosity masks with a single click, otherwise, get your selection from the Channels.
After finding a selection that best fits the parts of the hair you wish to lighten, add a Curves Adjustment layer. Raise the part of the Curve that corresponds with the highlights and evaluate how it affects your mid-tones.
If the mid-tones and the shadows become lighter than you intended, create a middle point on the Curve and drag it down until you get the desired result.

Curve with a luminosity mask, highlights bumped up.

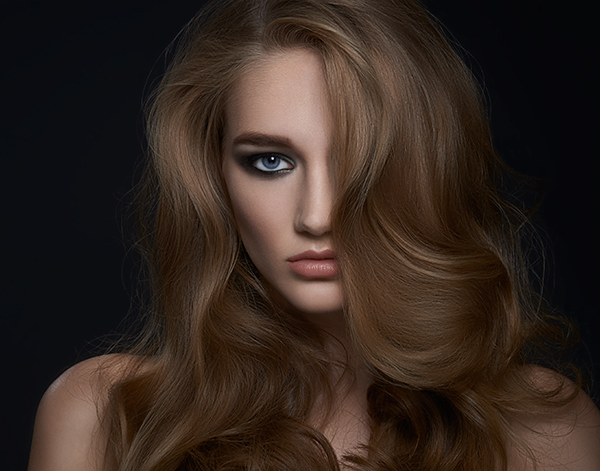
A second point added, bringing the shadows and mid-tones back down.
Now change your Curve’s blending mode to luminosity, place it into a new group, add a black layer mask to the group and reveal on the hair only.
Add color grading to taste, but be wary: any adjustments that further affect the contrast of the image may throw your hair luminosity off-balance, so keep coming back to those opacity sliders!
Final result after color grading.
Good luck and may the flow be with you! 🙂
P.S. The Triple Dot brush can be downloaded for free from here.
Photo: Marcus Turner Photography
Model: Meredith Malin | Modelogic Midwest
MUA: Megan OKuesa | Factor Artists
Hair: Donté Mitchell
Post: Kateryna Konstantynova