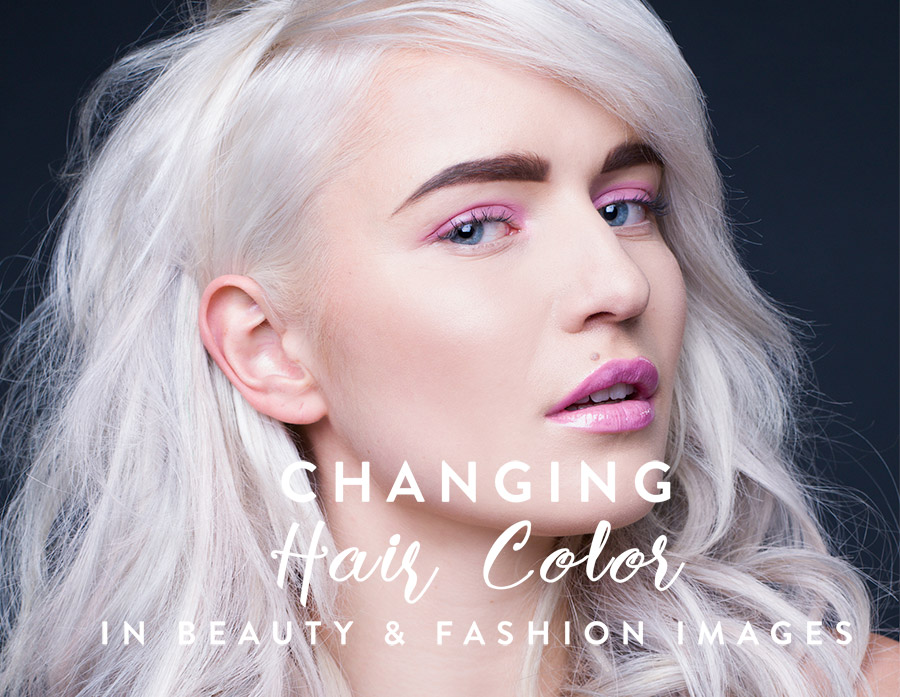
In beauty and fashion photography sometimes we want to have our model to look a little more extravagant, but not many professional working models will allow a permanent or even an extended temporary change to her appearance without costing you an arm and a leg. So, Photoshop comes to the rescue!
Anita Sadowska, fashion, beauty & portrait photographer and retoucher, has shared a simple video tutorial that will help you change hair color in your images in a minute. This method will work on any hair color from blonde to brunette, just as long as there’s a visible separation between highlights, midtones and shadows. It can also be very helpful for evening out skin colors in beauty retouching. Check out her video that explains this quick process:
ANITA: The first step to changing hair color quickly and efficiently is creating a new blank layer and setting it to Color blending mode. This way your brush strokes will only affect the color and not the luminosity or texture in your image.
Next, select a color in the Color Picker. I decided to go for a pastel pink as I felt it would be the most complementary to the model’s skin tone and makeup.
I always work with a brush at 100% Opacity and low Flow to fill in the hair. This way I have more control over the amount of color I add into the hair. Also, since I’m building it up gradually I don’t have to be too careful with my brush strokes and can freehand easily.
RELATED: Adding Shine To The Hair Using Custom Photoshop Brush and Luminosity Masking
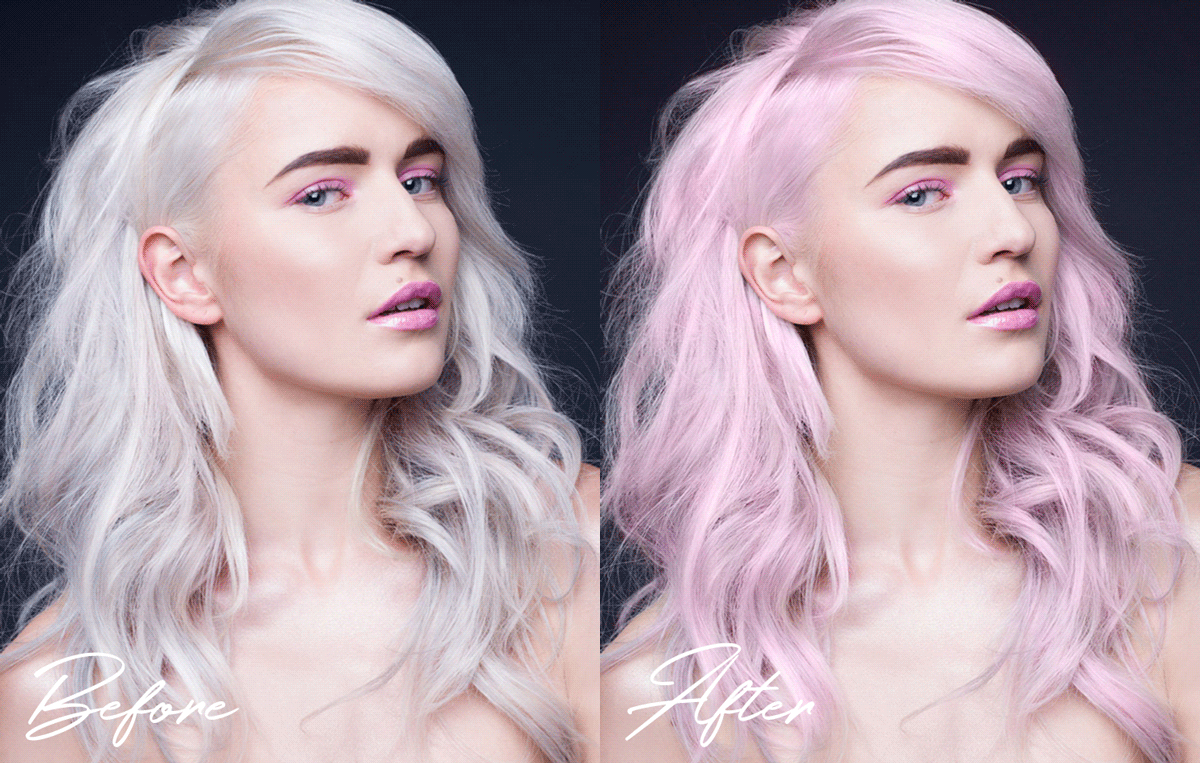
Sometimes you may want to tweak this new hair color, and for that you can create a Hue/Saturation layer right above the layer with the applied color and create a Clipping Mask by holding Alt key and clicking right in between the two layers. This way the Hue/Saturation adjustment layer will only affect the layer it’s bound to via the Clipping Mask and not the rest of the image.
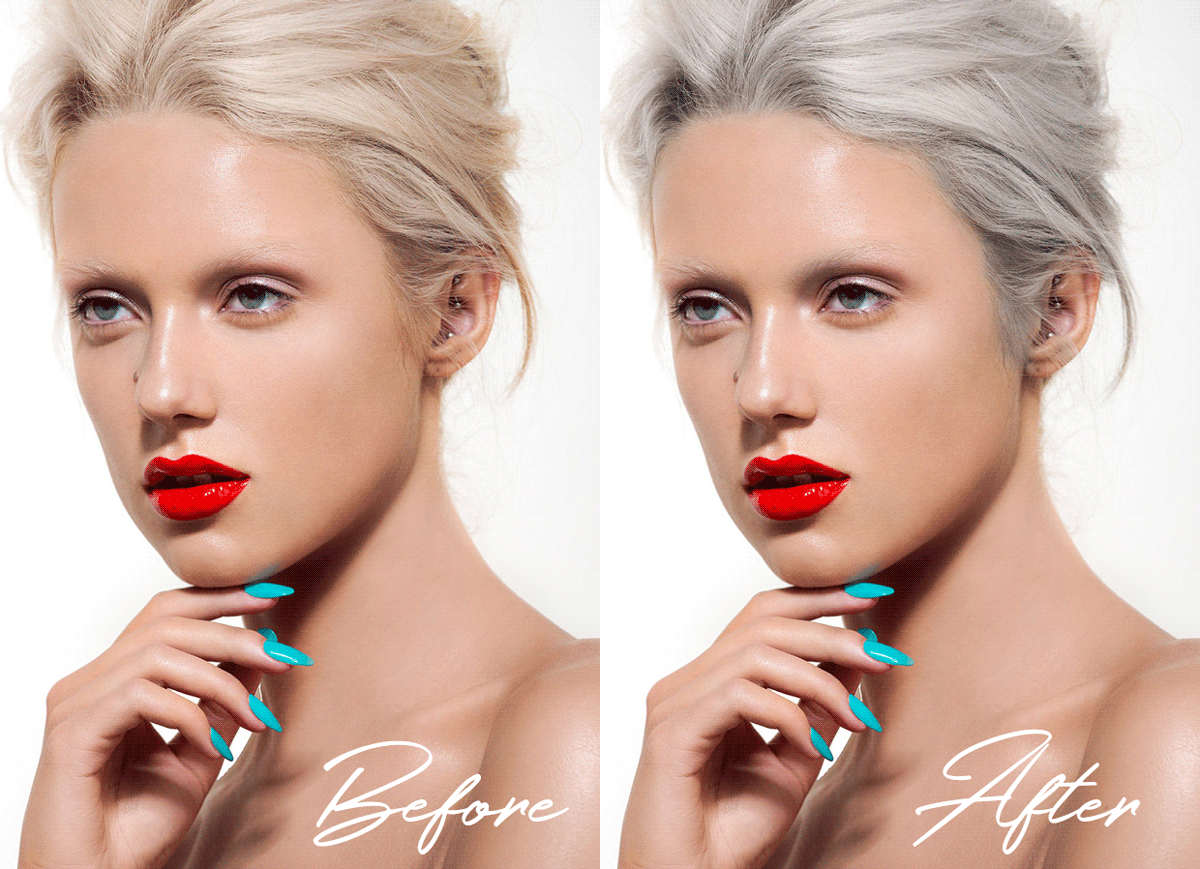
In the second half of the video I demonstrated a similar trick on a different image and added a couple extra steps to add a little more realism into the resulting look.
Follow Anita on Instagram: @sadowskaphoto


