
It is common knowledge in the beauty and fashion photography world that eyebrow shape can “make or break” the face. And while in most cases we, as retouchers, are lucky to have make-up artists style and shape the models’ brows in a fitting way, sometimes this task falls to us.
In any case I can not stress enough how important it is to get a clear idea of your team’s vision before starting to work. Ask yourself: “Is the eyebrow shape part of the make-up concept? Was there a make-up artist present on set? Are the eyebrows appropriately styled and groomed?” Communicate with the team to get a clear image of the task present in order to be able to get a result that fits the original concept.
Now having said that, whether you are following an already clear image and just “cleaning and filling up”, or reshaping and restyling eyebrows completely, there are a number of thing to keep in mind.
In this tutorial I will cover the basic of eyebrow-shaping and the basic techniqies for applying that knowledge in Photoshop.
Correct eyebrow shaping
While eyebrow shape heavily depends on the face shape of the model, there is a general “rule of thumb” that should be followed.
- The inner edge of the brow is supposed to line up with an imaginary vertical line along the middle of the nostril and the outer part of the nose bridge.
- The highest point of the arch occurs at the imaginary line that starts at the middle on the nostril and goes through the middle of eye. This way the eyebrow arches at the last third of it’s length.
- The tail of the brow ends at the imaginary line that starts at the middle of the nostril and lines up with the corner of the eye or goes just slightly beyond it. The tail is meant to be slimmer than the edge, tapering at the end.
RELATED: How To Fill and Shape Eyebrows Using Photoshop
Now let’s see how we can vary the eyebrow shape while keeping the above-mentioned rule intact, in order to match the face shape.
Make up artists separate face shapes into 6 prominent categories.
1. Oval. Forehead is wider than the chin, gracefully tapering from prominent cheekbones to a narrow oval chin. The perfect eyebrow shape is widely considered as soft angled, which starts going straight up, then makes a gentle curve at 2/3 of the length and goes down.
2. Long. Forehead, cheekbones and jawline are approximately the same width, the face softly tapers to a narrow chin. The goal of the eyebrow shape here is to make the face appear shorter visually, so the eyebrow is supposed to be almost flat in order to place a horizontal line across the face. In this case it is wise to extend the tails slightly beyond the eye corner, creating an even more west-to-east line.
3. Round. The face is widest at the cheeks and seems to be almost as wide as it does long. This can be counter-balanced by creating a very high eyebrow arch, which will make the viewer’s eye go up and down the face, thus making it appear longer. The eyebrow shape should follow a straight line to the peak of the high arch and then go down. Try to avoid softly curved brows, as they will make the face appear even rounder.
4. Square. While forehead, cheekbones and jawline are about the same width, the most prominent feature is a strong, heavy jaw. You could either try to balance it with a thick angled brow which will make a defined angle at it’s peak, or try and soften it with a gently curved brow.
5. Heart. Heart shape is similar to that of an oval face, but the chin tapers to a thin peak. Shape the brow with a low curved arch, which will lengthen the forehead and balance the pointy chin.
6. Diamond. Diamond-shaped face are usually quite angular with short forehead and wide temples. A thin curved eyebrow will soften the angles and visually reduce the widest part of the face – the temples.
As you can see, correctly identifying the face shape will aid you in finding a perfect brow match.
An important thing to remember, as the make-up artists often quote, is: “Brows are sisters, not twins”, going for perfect symmetry might give the face an artificial look.
Practical application
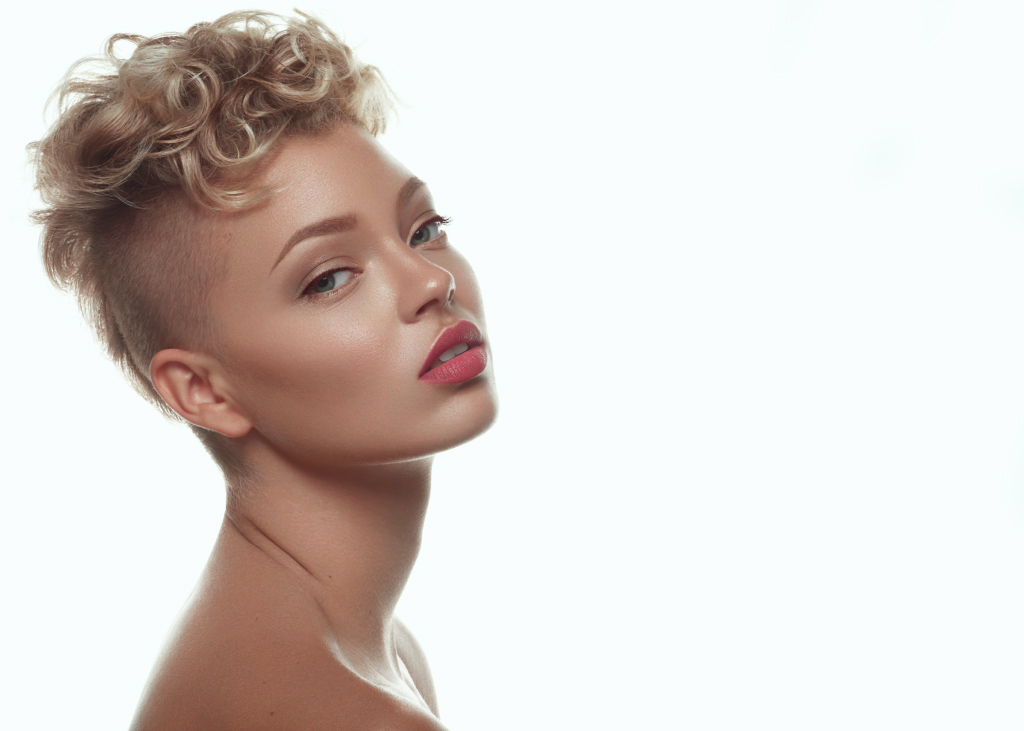
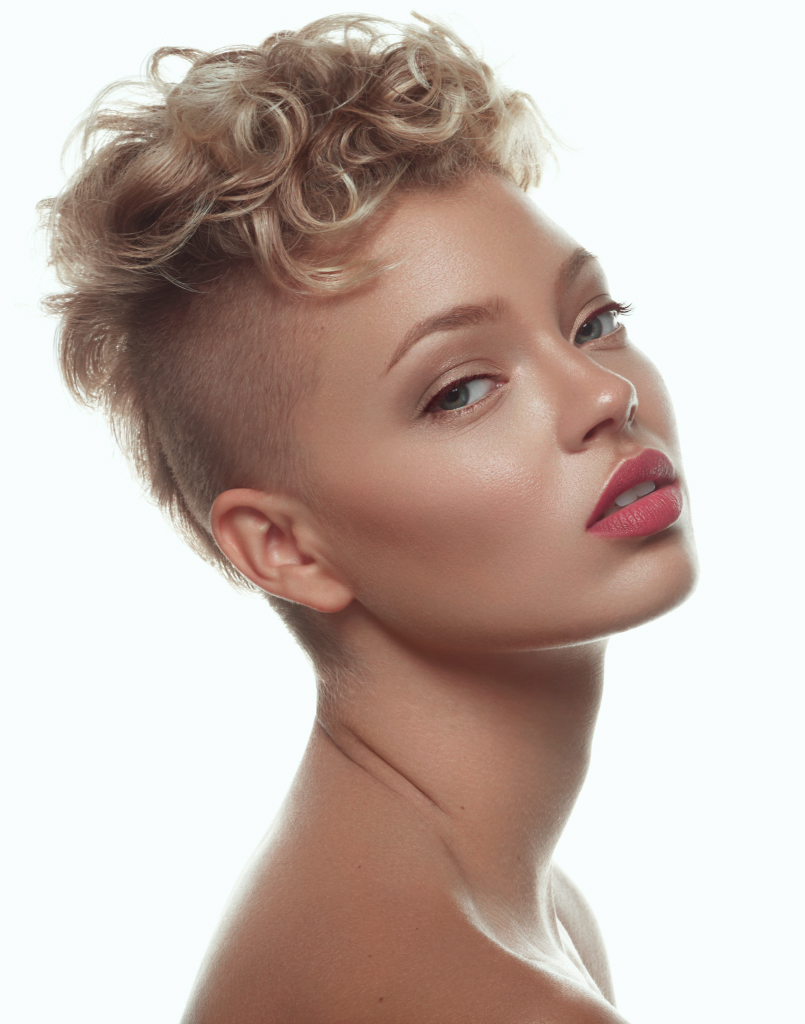
Start by evaluating the eyebrow and face shape in the image you are working on.
Click to enlarge.
Here we can see that the model’s face shape comes close to square, with a prominent jawline. That means that our goal should be to create a thick eyebrow with an angle strong enough to balance out the jawline, but not so sharp that would break the general softness of the model’s expression.
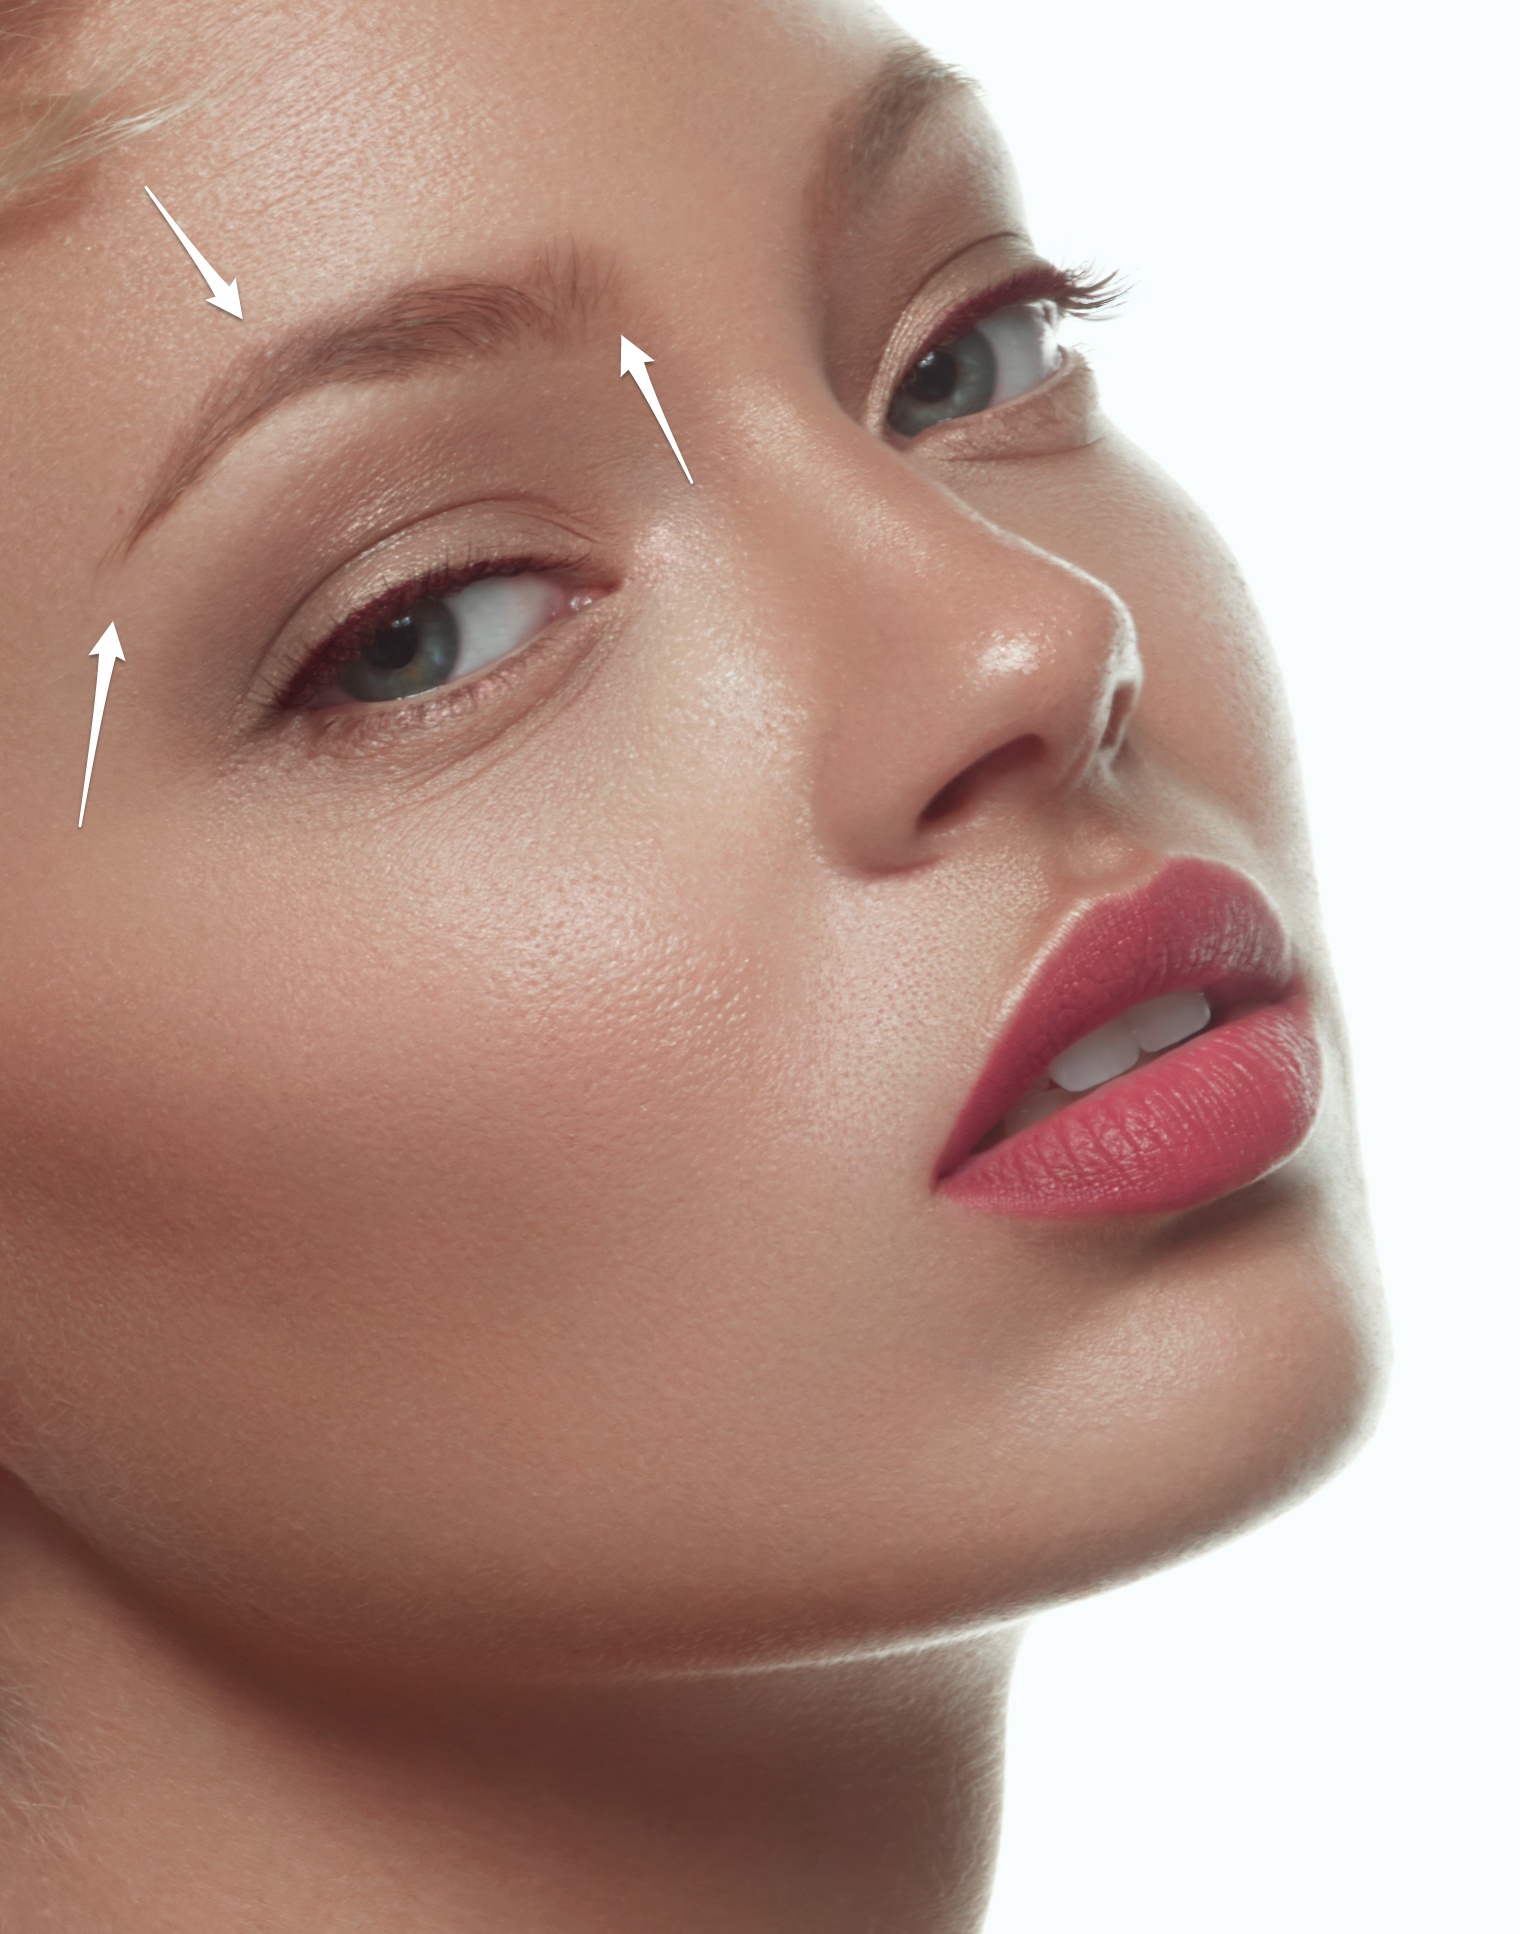
Taking a closer look at the brow itself we can notice that it is quite high, with soft arch and a short tail. Tracing the steps of the make-up artist it is distinguishable that the hairs at the inner edge were cut short and brushed up and a thicker, more angular arch was created with the pencil.
Since we do not intend to deviate from the original shape too much, the length of the brow is going to be slightly shorter and the arch slightly more centered, than the supposedly “perfect” shape but in this case our task is to preserve the integrity of the original proportions and work around the make-up artist’s intent.
Click to enlarge.
Now we will try to slightly correct the brow shape while preserving the original grooming and keeping as close to natural shape as possible.
The first step is cleaning the area around the brow from any stray hairs and trimming the ones that get out of the shape you intended. Your tools of choice should be the Clone Stamp tool and the Healing Brush.
Next set a brush to paint in the missing hairs. You want a soft brush with Shape Dynamics Size Control set to Pen Pressure and both Flow and Opacity set to 100%. Shape Dynamics is principal since you want the hairs’ end to taper. Try playing with small amount of roundness jitter to make the hairs appear less perfect.
RELATED: Retouching Eyelashes and Eyebrows in Beauty Portraits
Use short brush strokes and start filling up the gaps in the brow on a new empty layer. Here our intent is to add more short hairs to the inner edge, fill in the top edge outlined by the eyebrow pencil and extend the tail a bit towards the temple.
Stop frequently, zoom out and cross-check if the shape you are creating is the one you originally intended.

After you have finished painting in the hairs examine the area. If the color of the hairs you have painted in seems off due to picking a wrong shade with the eyedropper, clip a Selective Color adjustment layer to the one you are working on. The problem can be solved usually by correcting the reds.
Often the hairs you have painted in stand out and seem “sharper” than the rest of the image. Apply a small amount of Gaussian Blur to the layer with the new hairs to make them blend in with the rest. In rare cases (extreme close ups where your brush strokes are thick enough) you might need to add some noise to match the original texture.
Your next step should be Dodging and Burning to cover the “gaps” even more and make the edge cleaner. Be careful as it is easy to overdo the Burning and make the brow darker than you intended. Once again be sure to zoom out and evaluate the progress often.
If necessary, clean around the edges again with a cloning stamp.

Zoom out and check the result by toggling the visibility of the layers with your retouching off and on. Make sure that the work you have done integrates seamlessly into the image. Go back and correct things if needed but remember that sometimes leaving a small stray or letting the edge be a bit “muddy” might contribute to overall perception of realism of the image.

Click to enlarge.
Good luck and may the shape be ever in your favor!
PHOTO: Marcus Turner Photography
MODEL: Portia Watznauer
MUA: Ashley Jones
RETOUCHING: Kateryna Konstantynova


Thank you so much for this. As a male photographer, these little mysterious details can be challenging to understand. This is the first article that explains the mystery of eyebrows to a layman.
Thank you for your feedback, DJ! 🙂
Please feel free to share other typical issues you may think of, so we know what to write about.
Thanks for asking Julia. FYI, I am an RA Panel owner. Lips! I often work without MUAs on shoots. Sometimes, I’ve noticed that my subject’s lipstick extends beyond the lips (beyond the lip- extending above the lip texture). Is this a mistake? Is it bad application? I can spot mistakes and clean up a lip line in post, but when it extends beyond the lip and liner is exaggerated, when is is it deliberate and when is it bad makeup application? I just don’t know. Another mystery.
Yes, it’s definitely not a good makeup application. I know what you mean, some girls do that to visually enlarge their lips, but it really never looks good in reality or in photos. So if you can spot it before the capture you should ask the model/client to fix that and explain that if she really wants it you could make her lips larger in post, but it is very time-consuming to fix the lipstick that is applied outside of the natural lip line.
Hope this helps!