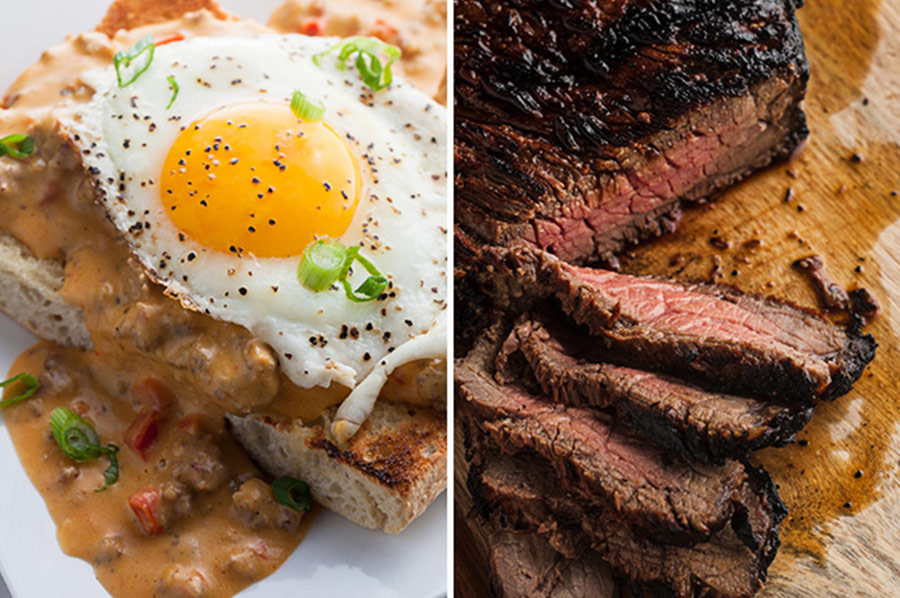
Shooting food is different than portrait, architectural, or landscape photography. When shooting food, there is one end goal of your image. YOU WANT YOUR VIEWER TO BE HUNGRY! If the viewer wants to eat what is in your shot, then you have done your job.
The challenging part is the range of shapes, sizes, colors, and textures found in food. The approach to shooting pizza is different than shooting a chili cheeseburger. The approaches to shooting may be different, but the post-production and retouching will be very similar.
RELATED: Commercial Product Retoucher: Key Skills and Knowledge
Crumbs, blemishes, cracks, and other imperfections in a dish will require cloning, healing, or compositing techniques to remove. Like any retouching, it is always best to fix what you can on set. If it takes 2 seconds to move something in the shot and it takes 5 minutes to fix in Photoshop, it makes more sense to fix it on set. Here are three ways in which you can save your retouching time in Photoshop.

Take The Time To Find The Hero
With food there are terms called a stand-in and a hero. A stand-in is the food that is used to test your lighting and camera angle. It will resemble the final dish, but isn’t perfect yet. The hero is that ideal perfect looking ingredient. Let’s pretend you are shooting a burger and need a beautiful bun to top your sandwich. The stand in can be any bun in the bag, but the hero needs to be the best looking of the bunch. It needs to be the bun that hasn’t been squished and has a perfectly smooth surface. By using the best looking bun, you won’t have to retouch the bun to make it look ideal.
Keep The Dishes’ Set Life In Mind
Some foods can sit in front of the camera all day, while others will have a few minutes before they start to melt, congeal, dry out, or otherwise not look ideal. Trying to fix these problems in post is challenging and time consuming. When working with a dish, plan your shoot so that you are prepared to shoot when the food is ready. Communicate with the stylist or chef and decide on an order and timing of when the dishes will arrive. Shooting the food at the right time will allow you to capture it looking its best and save you time retouching in post.

Use Styling Tools
Preparing a dish for shooting is very different than preparing for eating. Tools like basters, funnels, 12-inch tweezer tongs, and cotton swabs are necessary tools to style a dish for an image.

For example, pouring a drink using a baster or funnel allows you to precisely add the drink to the glass without splashing any of the liquid onto the sides of the glass. You could remove splashes in Photoshop, but it will take less time to pour it correctly on set.

I hope these tips will help save you time on retouching your next food shoot!