One of the secrets of retouching at a high level is that you can cheat. There are countless dirty little tricks you should completely avoid as a beginner, and that once you’ve achieved a professional competence might just save your skin.
These are tricks that I’d tell my student to avoid but my co-worker (albeit quietly) ‘…give it a shot.’
Last year I had a look-book with a lot of bare feet and open-toed shoes and a model with very dry, rough skin on her toes. Gaussian Blur, Add Noise. No really. I can hear you laughing but it worked beautifully. It’s about recognizing the occasions when you can throw out the rule book.
In this article and short video at Fstoppers, photographer and retoucher Bill Larkin discusses one of those tricks; the Dust and Scratches filter.
Larkin makes a great point near the start of the video; “if it’s not a billboard…‘ I’d extend this to in-store banners and probably even to most magazine print, but for web and small prints cloning out this many pieces of dust might just be overkill (always proof and check filter results carefully).
- First, make a copy of your working layer (command/control-J)
- Go to Filter > Noise > Dust & Scratches…
- Adjust settings to remove the desired areas from photo, while not over-blurring the rest (this is the key). In other words, start with none, then raise the settings until it barely removes the unwanted dust from your photo.
- Apply a layer mask to that new layer and invert.
- Using a white brush, paint only over the areas you wish to correct. ~ Bill Larkin
Be aware that one of the problems I’ve seen with Dust and Scratches is that it can leave behind some very sharp edged artifacts, certainly not the kind of thing you want to show up in large print. Other times it can work wonderfully, even at full-res. I actually managed to save a little time by using it on a rubber panel on a sneaker a few weeks ago that now hangs in a store at four feet wide.
RELATED: 5 Ways to Remove Anything From an Image in Photoshop

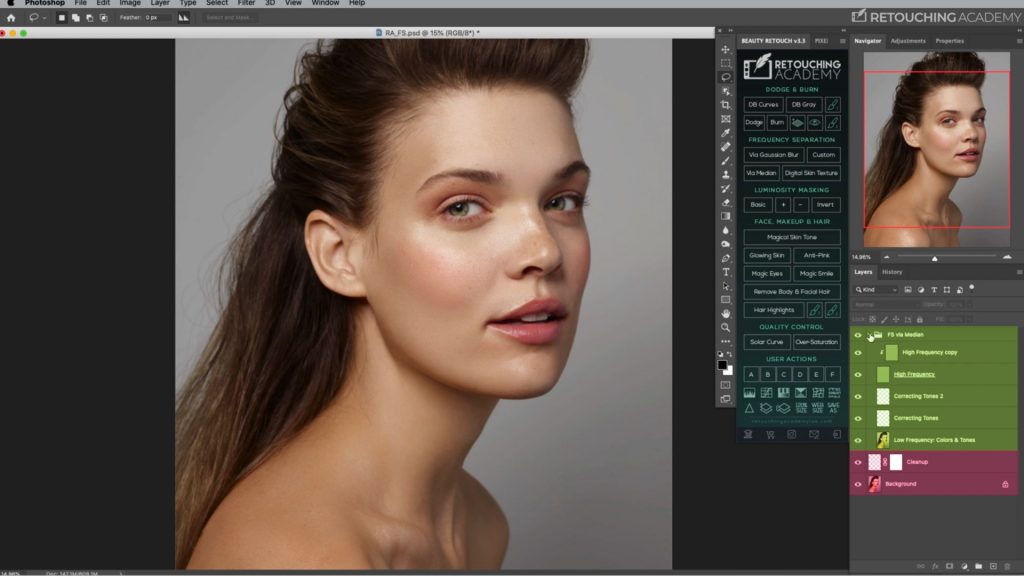
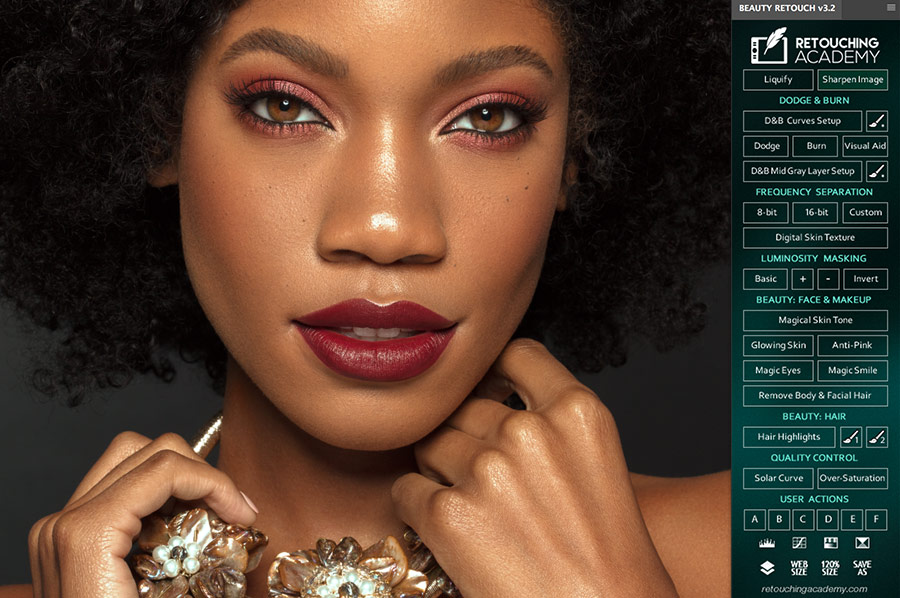
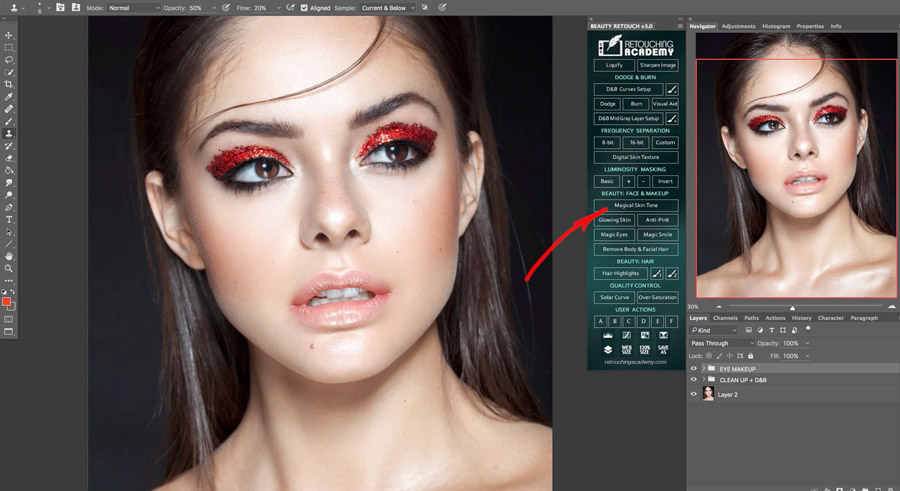
Beauty: Face & Makeup part of our Beauty Retouch Panel
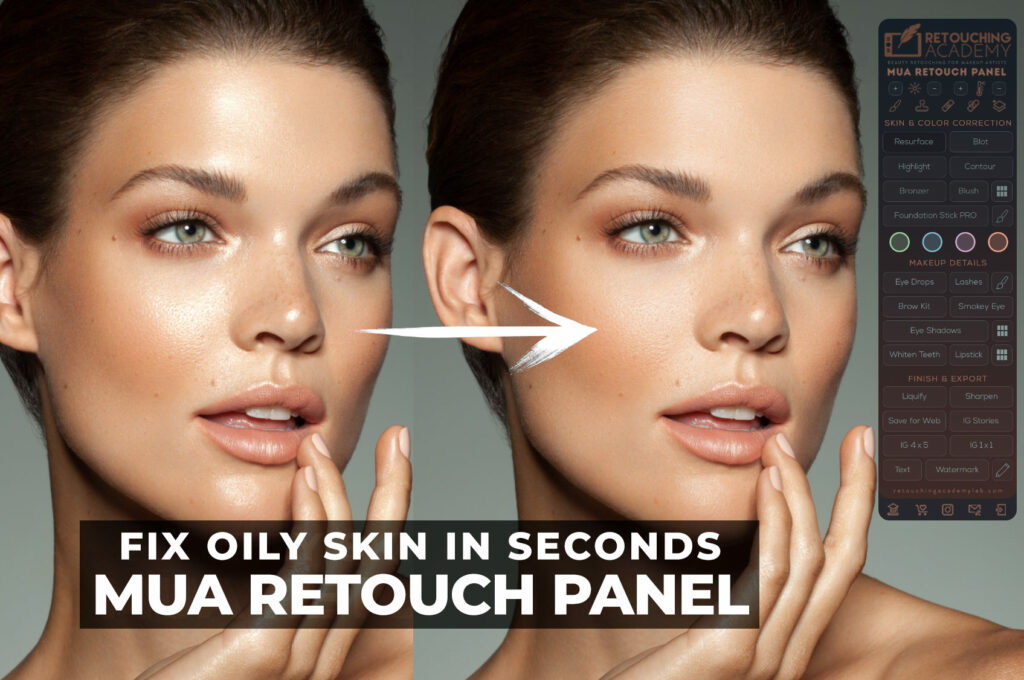
QUICK NOTE FROM THE RA PANELS TEAM: The Remove Body & Facial Hair script on our Beauty Retouch panel will save you even more time and run all the necessary steps in a click of a button, allowing you to adjust the filters’ settings.
With any quick filter technique, even for small print and web, it’s important to check your results carefully, and if you’re in the beginner to intermediate camp aiming for high end output, avoid it and stick to careful cloning. I promise that this approach will pay dividends.
And remember, there are no quick and easy workarounds until your eye is practiced enough to briefly and occasionally hide the rule book. Just don’t tell anyone.
You can read Bill Larkin‘s accompanying article at Fstoppers.





I really enjoyed that lesson because, I always find it difficult to make my photo to glitter, because of that dust of a thing.