

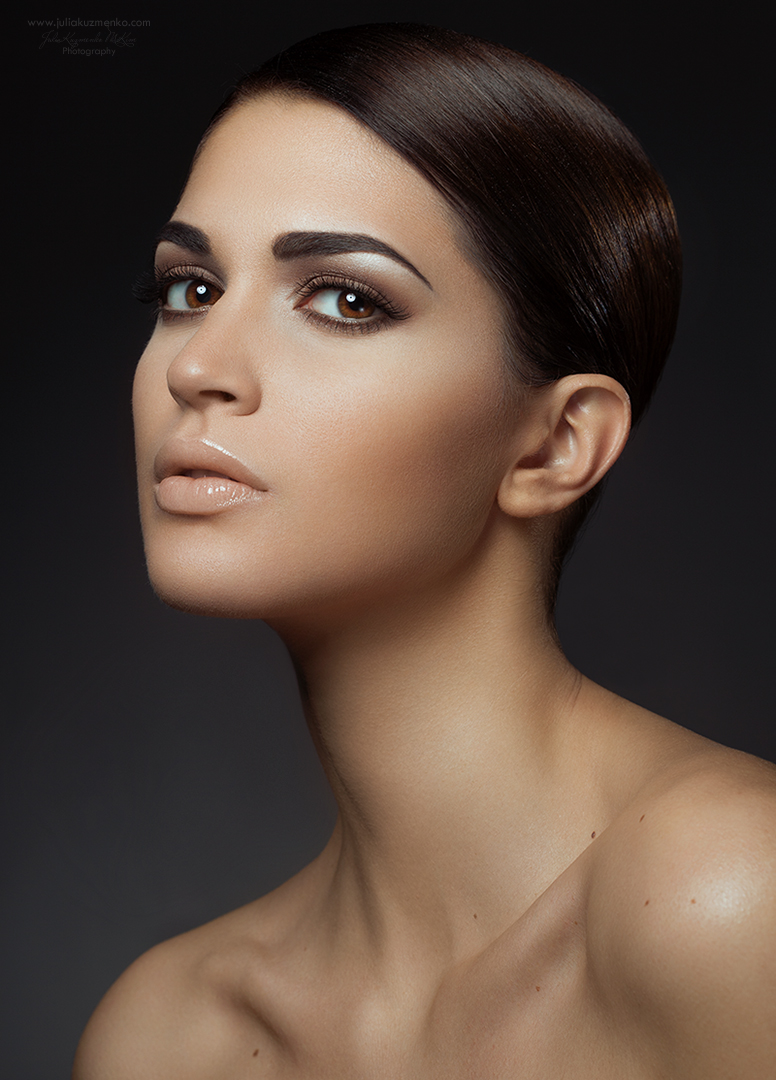
In today’s RA Quick Tip I’d like to share my favorite way to quickly clean up the outline of the neck and shoulders from stray and body hair.
I am a big fan of getting everything right in camera as I shoot, but this seems to be one of the little issues that often still need to be taken care of in post-production. I usually deal with this part of an image after the skin and makeup are cleaned up.
Main Points:
- I add a new layer;
- Make a relatively precise selection of the hair that I’d like to remove along the outline of the neck, head and shoulders with the Polygonal Lasso tool – my personal favorite selection tool;
- Match the softness of my selection to the softness of the outline that I am aiming to clean up from the hair with the Refine Edge tool;
- I typically only adjust the Feathering and Contrast sliders to get the selection edge as soft or sharp as I need it for a specific task;
- I keep the Smooth slider at the same position most of the time; it will mainly be helpful when you have sharp corners that you want to soften in your selection, or need to straighten out a wobbly line;
- And I will only use the Shift Edge slider if I did not do a good job at selecting the outline precisely.
- If I am working on a dark image I will usually have my View Mode set to “On White”, and “On Black” for a bright image;
- I always have the Remember Settings option at the bottom of the Refine Edge dialog window checked, so I don’t have to start over every time I need to adjust a selection. Because I work with female faces most of the time my base Refine Edge settings are usually very similar for different images;
- Once the edge of my selection is adjusted I will pick up the Clone Stamp tool at about 100% Opacity and Flow somewhere between 30% to 70% depending on the background behind the hair that I am removing;
- The more uniform the color of the background is, the higher the Flow percentage I can select;
- I also prefer to work with Custom Brush tips and for this specific task I prefer a brush tip that is not too soft, so I don’t soften the background texture, but also not too hard as a hard edged brush may make it difficult to avoid leaving residual brush strokes in the areas that I worked on;
- I sometimes use Adjustment layers and Clipping masks to adjust the brightness of the cleaned up areas.
- Sometimes, after the messy stray hair has been removed I paint in hair strands to make the areas around the model’s head appear more realistic.
RELATED: How to Cut Out Hair Quickly in Photoshop
The beauty of this setup is that I can work right along the outline of the neck (or body) and not worry about getting over onto the neck (or body), so I can work very fast. I also don’t need to spend any extra time fine-tuning the new outline after I removed the messy hair, as I can quickly adjust the sharpness and precision of my selection before I get down to cleaning it up.
I have been using this approach for years, and I love it as it is a huge time saver, while I have a lot of control over the process.
I hope you find it helpful as well.
Till next time!
Please watch in HD and full screen for details:


Awesome! Love quick tips! And that format is great so you get a good overview of what is going on!
Thank you Ulrich!!!