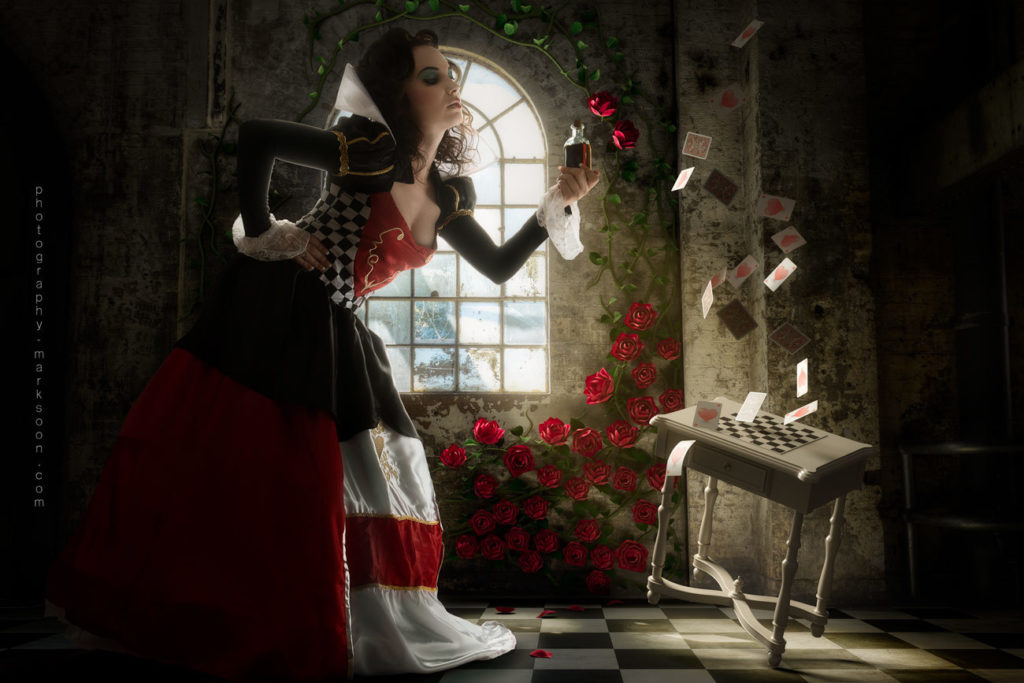
Guest artist Mark Soon continues our Making Of segment with the creation of his whimsical “Queen of Hearts” image. We first shared the finished image in our Artists You Should Follow feature in Issue 2 of [RE]TOUCHED magazine. It’s always a privilege to share another artist’s process and BTS story for a well-conceived project.
I hope you enjoy getting a peek behind the scenes at Mark’s creative work.
The idea for the Queen of Hearts image I created was deeply inspired by Tim Burton’s Alice In Wonderland movie; I’ve always loved Burton’s wacky design style. After several weeks of planning and getting Russian model Ekaterina Kochelovskaya in on my project, the work began.
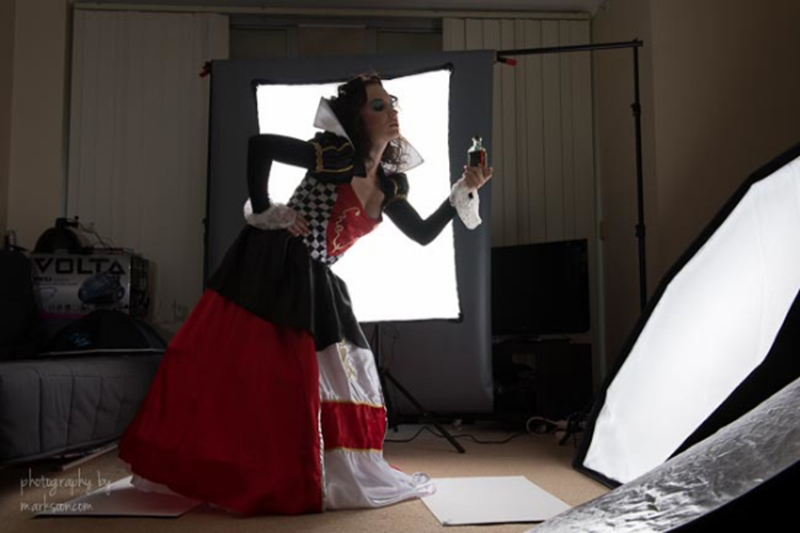
We sourced the right costume for the Queen and brought Elena in, a talented hair stylist who was responsible for bringing the fantasy hairstyle to life. Even though I photographed the model in my tiny one-bedroom apartment, I still managed to match the lighting to that of the background scene’s.
The Background
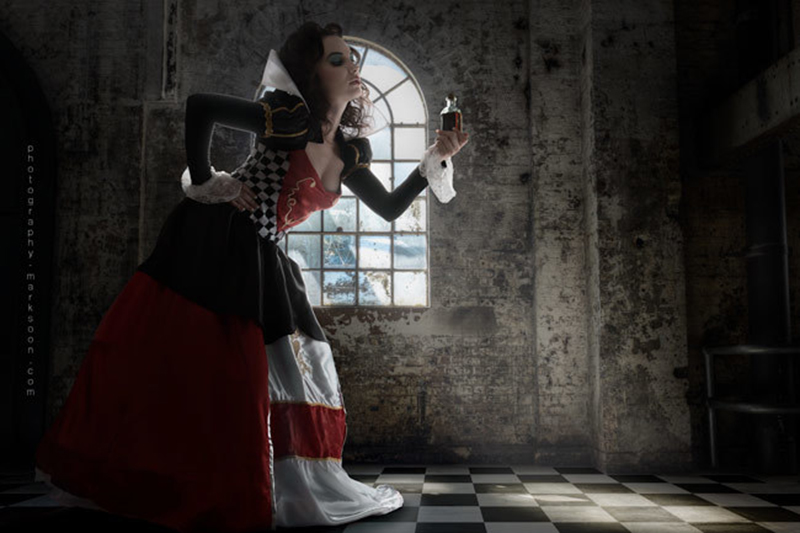
The background helped set the mood for this image and was the part of the production that took the most effort. I shot it at a warehouse near my place of work using my Fujifilm X100s. I used a tripod, so I could capture multiple exposures and later expand the dynamic range of the image.
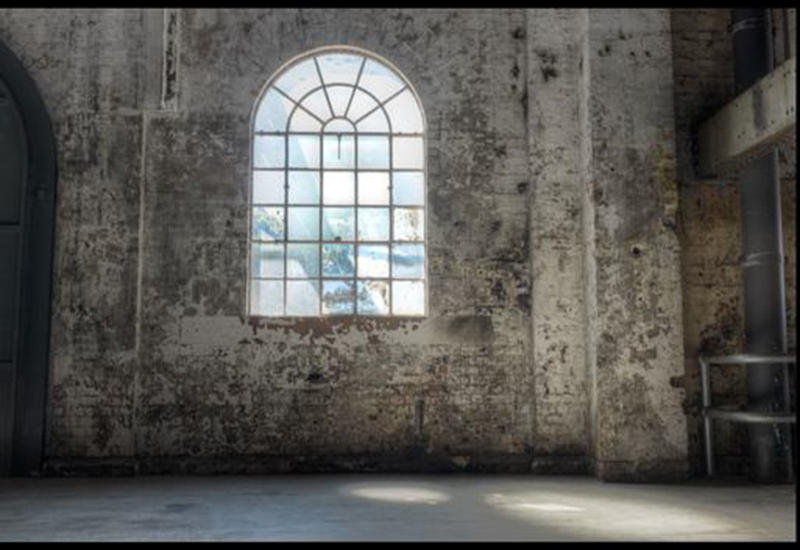
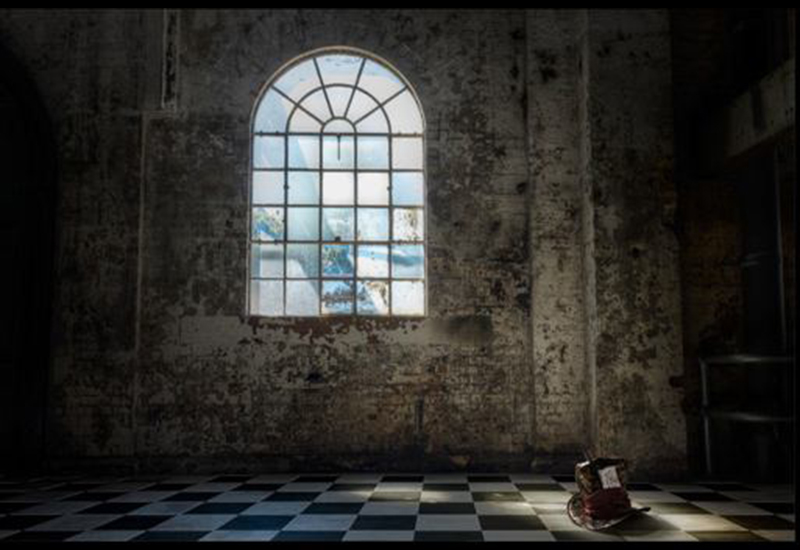
The warehouse setting was still a little too boring and slightly too industrial looking for a fantasy image, so I created a checkerboard pattern as an overlay for the ground plane using perspective transformation in Photoshop to adjust the vanishing point.
The Elements
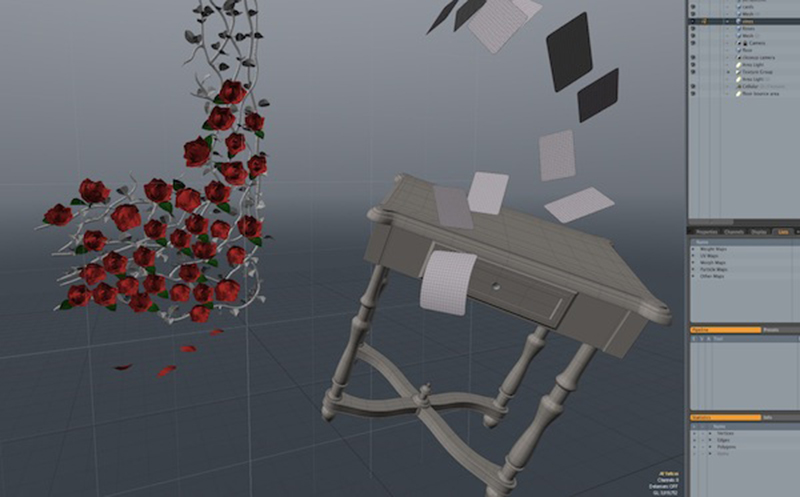
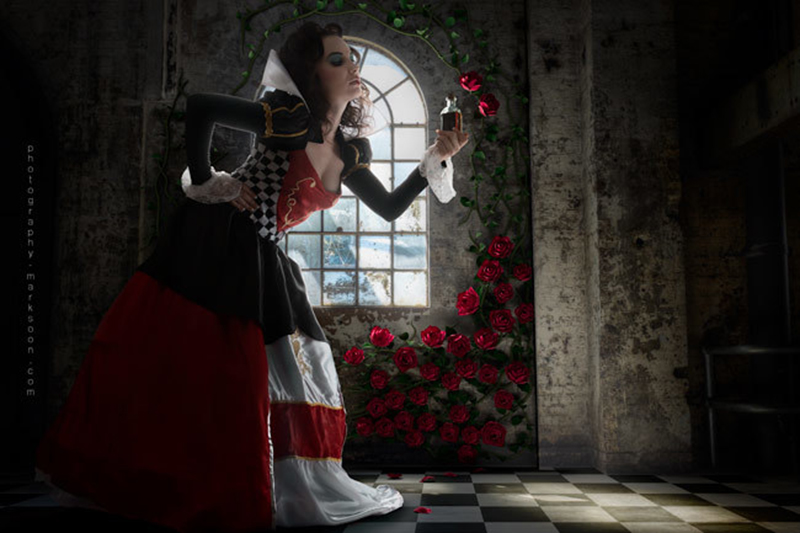
Although the background was looking cool, it needed more elements to tell the story of the Queen of Hearts. I used MODO, a 3D modeling application, to model and render the Victorian table, the flying cards, and the rose vine creepers along the wall.
Precise lighting within the application was required to match the background plate.
Compositing
Once I had created and rendered all of the elements, I used Photoshop to bring everything together in a final composite image. I used different adjustment layers to unify the colors and lighting, then used Nik Color Efex by Google to add a filter and micro contrast to the entire scene to give it more “pop.”
Gear used:
- Fujifilm X100s
- Profoto 5.0’ RFI Octa Softbox
- Paul C Buff Rectangular Softbox
- 2 x Paul C Buff Einstein strobes
- Nikkor 24–70mm f/2.8
- Nikon D600
- PocketWizards
You can see more of Mark’s work here:
Website: marksoon.com/portraits
Facebook: facebook.com/cgiphotography


