Adobe has recently released a substantial update to Camera RAW and Lightroom in the form of “Profiles.” These profiles determine how the software renders color during initial RAW conversion. In this article, we will compare the new profiles from Adobe with Capture One’s color rendering.
Adobe now has 6 profiles to choose from:
- Adobe Color
- Adobe Neutral
- Adobe Vivid
- Adobe Portrait
- Adobe Landscape
- Adobe Standard (still in, but no longer the default)
Before we compare the two, it’s essential to make a distinction: Adobe Profiles and Camera Matching are not the same thing. Camera Matching Profiles attempt to match the camera manufacturer’s color appearance under specific settings, while Adobe Profiles are how they interpret the color data of a photograph.
RELATED: How to Use Color Calibration Profiles in Lightroom
When it comes to color rendering, Capture One is often touted as king. Within Capture One, color rendering can be adjusted via the “Color Panel” using “Curves” found within the “Base Characteristics” pane’s submenu. Capture One also has 6 variations to choose from as follows:
- Auto
- Film Extra Shadow
- Film High Contrast
- Film Standard
- Linear Response
- Portrait
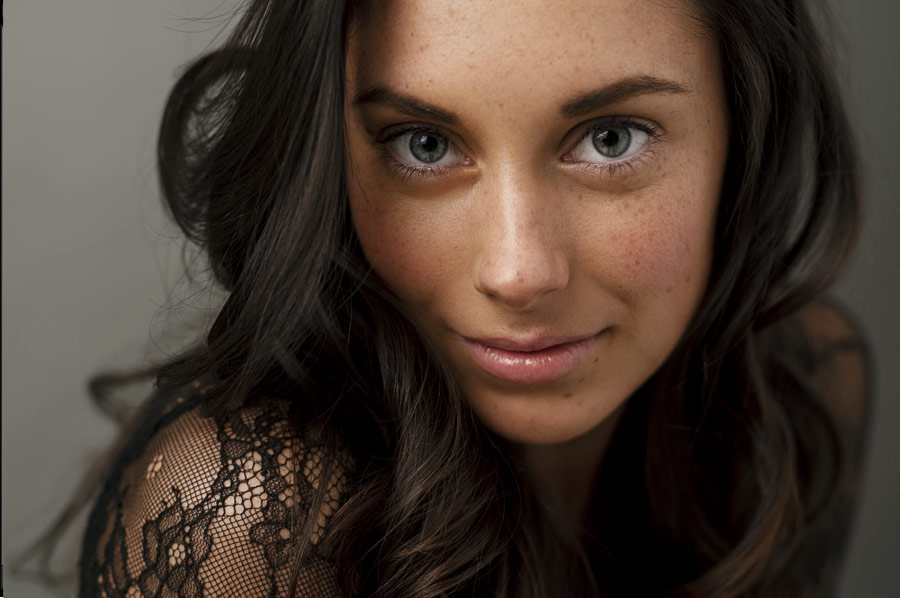
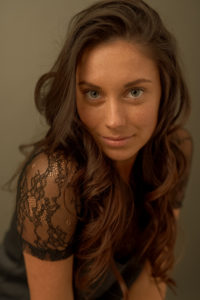
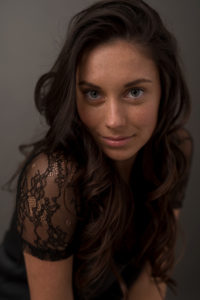
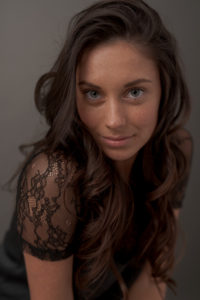
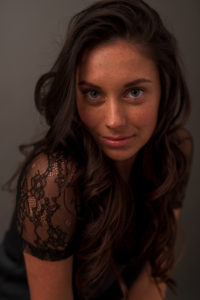
The intent of this article is not to go into the science of how color is interpreted and rendered between Adobe and Capture One’s engines, but more so to compare the aesthetic difference between the two as demonstrated below:
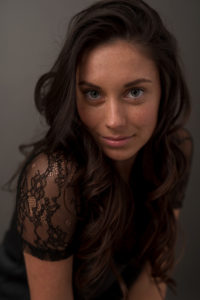
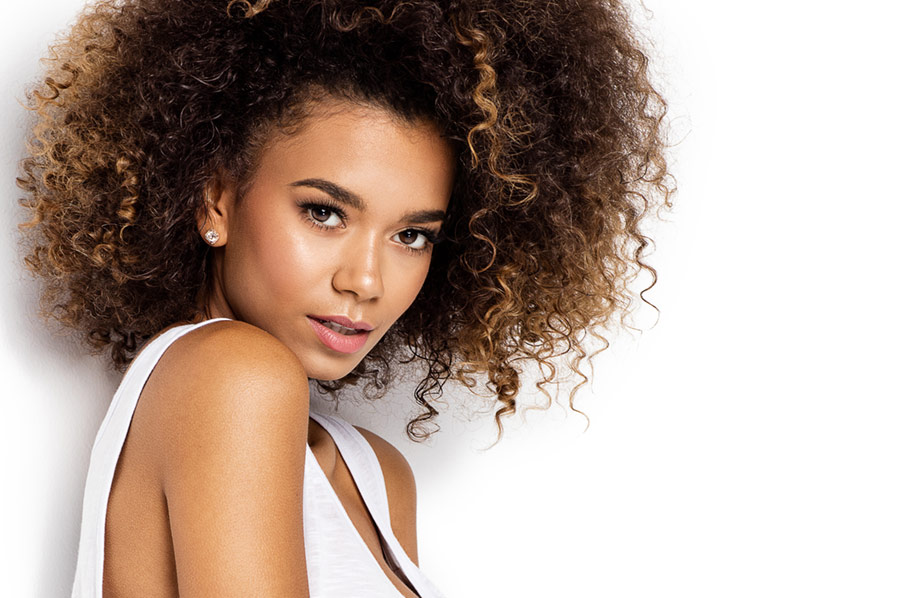
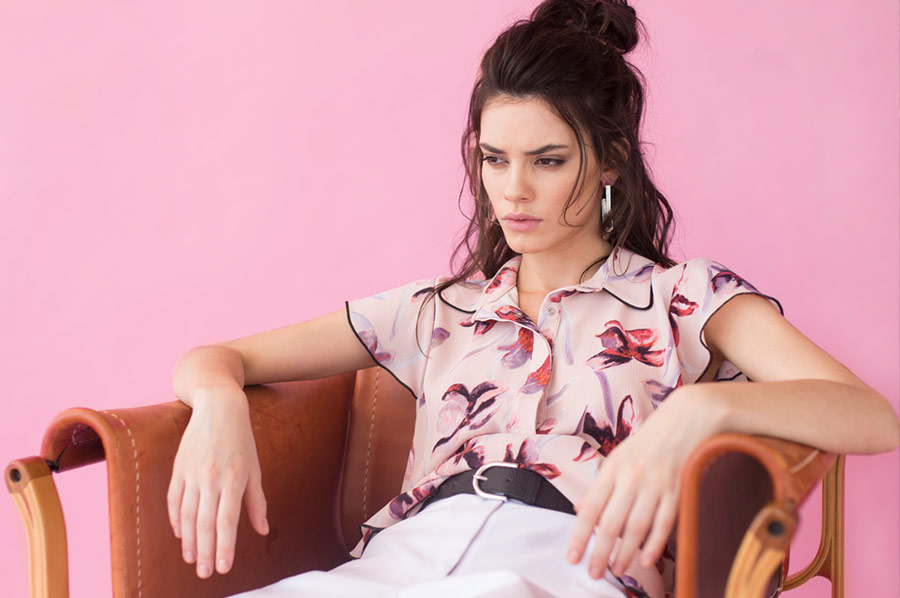
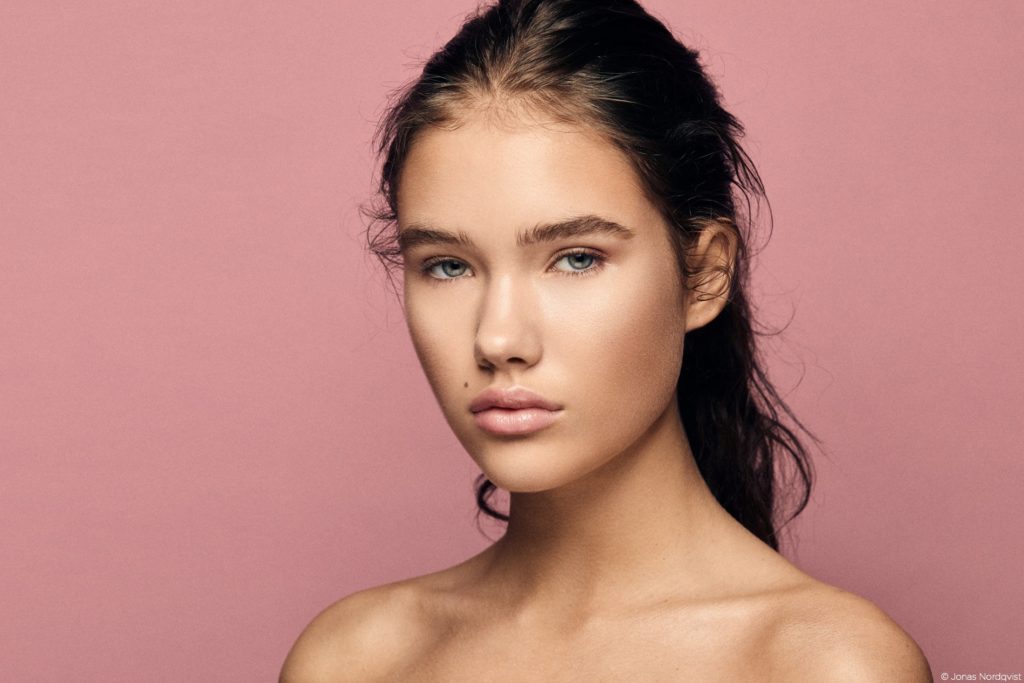
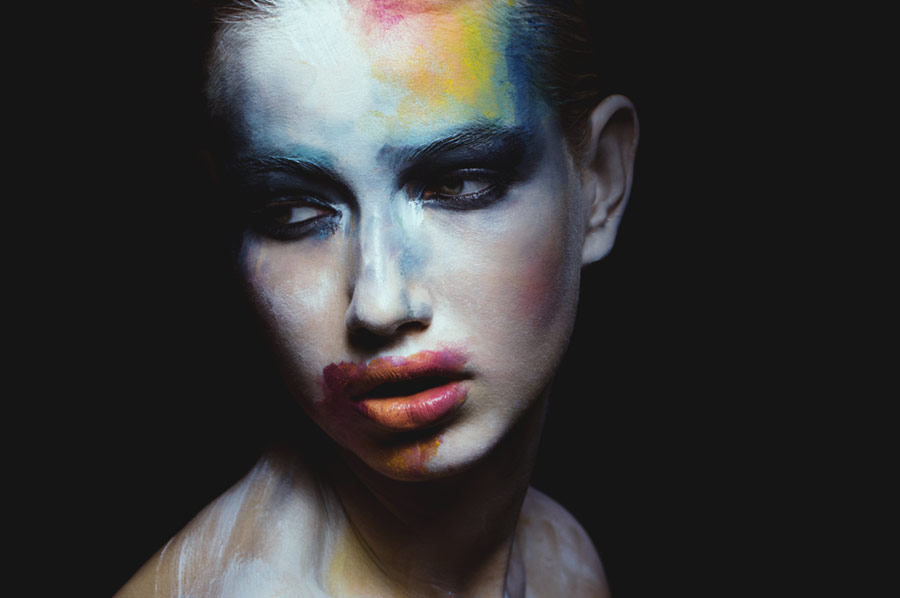
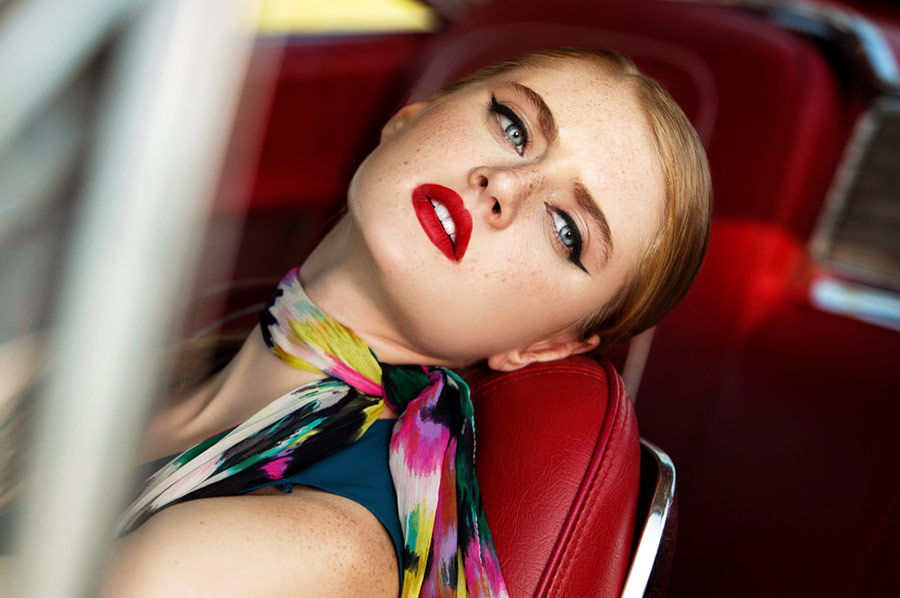
Here you can preview the same image with all 6 of the C1 Curves renders:
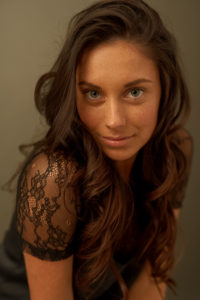
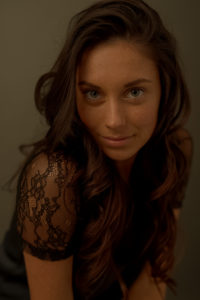
Now compare Adobe’s new Profiles.
Which do you find looks better?
While I think the difference is pretty dramatic, I find that for this particular image, that the Adobe profiles are more accurate and true to reality, while Capture One seems to have more saturation to the colors, which can look slightly unnatural. There are other factors to consider when it comes to color rendering, such as the specific camera and lighting setup, so results may vary.
The samples above had no retouching performed apart from changing the Adobe Profile or the Capture One Curves. One thing to note, however, is that the Capture One files were twice the size of Adobe’s after export. At this time, the cause for that increase in file size remains to be seen.
Which profiles do you prefer: Adobe Profiles or Capture One Curves? Let us know in the comments below.
Source: Gerry Kingsley | Image Source: Gerry Kingsley









I actually like the level of details of Capture One but I can’t cope with it’s native color rendition. Namely, I can acheive the same exact result of Capture One for what concerns the colors by setting lr on camera standard and red saturation on -14. By I can’t acheive the same sharpness quality of capture one. So I ask you a way to obtain the Adobe Standard colors in Capture One. Is there a way?
At the moment Capture One doesn’t seem to allow 3rd party support for custom Curve profiles like Adobe does. So the closest thing would be to create a recipe to mimic the look of Adobe Standard and apply it to your images. Which is what I used to do, perhaps we’ll see this change in a future update.
It’s comforting to know that I’m not the only one to prefer Adobe Standard color rendition. The only way that works for me to retain the detail accuracy of c1 is to open both lr and c1 exports in ps and, by using the frequency separation, to extract the texture from c1 version and replace it with lr version texture. And it works quite well
I’ve been an avid C1 user for a few years now. Your examples, to me, look like the White balance was off. I’ve never seen C1 produce shots that warm when white balances are set right. No matter which profile you’re choosing.
That being said if Lightroom was given the exact same shots, there shouldn’t be that much of a shift this would lead me to feel that Lightroom messed up the conversion.
Hi Adrian,
The difference is quite dramatic, I agree. This is only one example of many tests that I’ve done all exhibiting the same thing, I’ve been a C1 user for over a year now. This has nothing to do with white balance though. When you import RAW photos in C1, it interprets the color data from the RAW file before any adjustments are applied based on the ICC profile of the camera. The color data is interpreted by the built in Curves, in Adobe by the Profiles. Regardless of white balance there is a clear difference in how it interprets color.
The problem I see here though is you are the only person that I’ve seen compare LR and C1 head to head and get these results. No one, and I mean no one else has ever demonstrated this wide a shift between the two applications. It looks to me like the C1 set of shots was taken in tungsten and not corrected and the Lightroom shots in daylight with the proper settings.
Ted Forbes of The Art Of Photography did a comparison very recently and his results were much much closer together. I still felt C1 resulted in a more pleasing base though.
I’m not trying to be a C1 Fanboy here. It just clearly looks like there was a mistake made. At least, I hope that’s all it was.
Hi: I have several issues with this comparison starting with the authors lack of information on the camera make, model and camera settings. I have been working with LR and C1 for a long time and I have found that for some manufactures, in terms of basic raw processing there can be little difference between C1 and Lr. But in other cases, there are significant differences. For example, I am now a Sony shooter and I believe Sony has a special relationship with Phase One because there is a material difference between LR & C1 and I have performed the same test the author has done.
Second, it is important to understand the differences between the two entities. Adobe makes no camer and one can assume they lack the in-depth understanding to converting digital signals the way that C1 does. Most all of what Adobe does is reverse process the RAW files unless the Camera manufacture gives them the detail specifics of the raw file. Also, it makes a difference wether this is a new camera model or a model that has been in existence for a while.
Third, granted that the image color rendering straight out of the camera is a material consideration, yet there are other elements that also play a part. For example, I find C1 Shadows and Highlight sliders to work significantly better, their color wheel more expansive and their levels provide a feature that LR does not have. There are other nuances between the two. I wish that C1 had a vibrancy adjustment, dehaze, white and black sliders, but the biggest element that keeps me using LR is their database.
Finally, I am particularly surprised at the author’s choice of using a model which produced surprisingly different skin tone results because accurately representing skin tones in one of things C1 is beset noted for and the reason that a lot of pro studios use C1 and Phase One bodies
Thanks for your comment!
Regarding what camera was used….several testing was done using a Nikon D810 with a Sigma 50mm Art lens shot around f2.2. First, I agree with you on many aspects of what I like about C1, the expansive color wheels ets… but as stated this is only to demonstrate color render between the two engines for aesthetic purposes and not intended to be a scientific comparison. However, it does seem the case that the rendering in C1 has overall more color data, though I’m not entirely sure why considering it’s a base side by side comparison of the native color rendering between the two.
Hi: The reason I asked about the camera body because, as I mentioned, with the Nikon bodies that I owned (like the D810), Adobe has had time to perfect their color rendering and when I have made comparisons between the two, they are close. Adobe has to rely on camera manufactures giving them information on new camera’s raw specs and/or reverse manufacturing thei raw conversion. For me, there is a huge difference between the A7rIII conversion between LR/CR and C1. I would imagine this would exist between Fuji bodies and either their X raw converter or Silkypix.. Fujifilm is even more protective of their secret sauce.
Finally, I am traveling so I don’t have the opportunity to sit down on my monitor, but in my recollection, C1 has a basic color profile for converting images, they may have “profiles or preferences” that can be applied but I don’t quite remember them as being like the Adobe ones.
I want to make it clear that I am not bashing LR. I use it a lot. However, for my Sony files, my workflow is to do the initial conversion through C1, to Photoshop and then to LR.
Best, Earl
For what regards me, I found that, using the Canon 6d, Adobe Standard works perfectly for colors. If by converse I set the profile to Camera Standard it gives me an image with skin tones almost at all similar to capture one 6d icc profile that makes me think that the actual output of Canon sensor would be that one, with an overall shift towards reds. So I’m not sure if the trick behind adobe standard would be that of adjusting the color shifts of a particular sensor. Sony and Fuji icc profiles by the way, in c1 ,appear to be more near to the balanced skin tones of Adobe Standard so I think that this is a proof of the popular opinion of those camera having a more balanced color rendition. Anyway, though I’m new to c1, it appears to be very powerful
Remember though, ICC profiles is to ensure the sensor data is accurately displayed on your screen, while the profile data is how the sensor data is actually rendered.
Hey! Yeah you’re totally right, Adobe does rely on camera manufacturers to provide camera matching profiles as well at C1, it’s important though to make the distinction between Camera Matching and the Adobe RAW Profiles.
Camera Matching profiles attempt to match the camera manufacturer’s color appearance under specific settings. Use Camera Matching profiles if you prefer the color rendering offered by your camera manufacturer’s software.
While Adobe Raw Profiles are there to improve upon the color rendering. Which I view as being more or less intended for aesthetic purposes.