
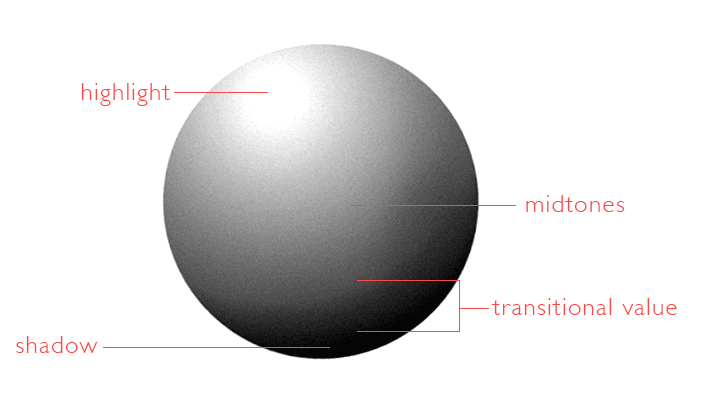
Transitional Values, Tonal Transitions, and Micro Transitions are a big part of how we define the qualities that make up an image in photography.
Transitional Values are the values found between the midtones and the shadows, and between the midtones and the highlights of a subject. The amount of transitional value we see on a portrait subject, for instance, is determined by the quality of the light source.
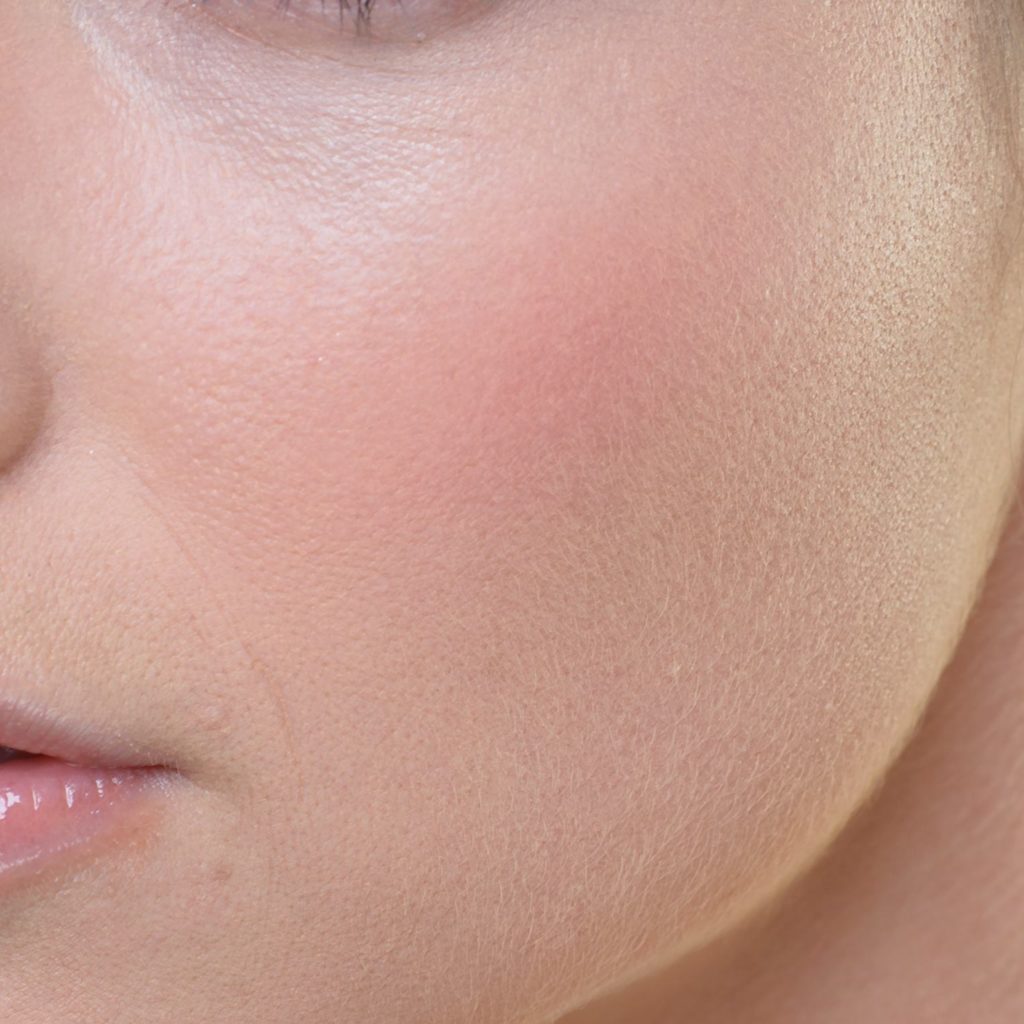
Tonal Transitions are any shift in tone or color on your portrait subject. These transitions are “global” transitions, transitions that we can see on a large or zoomed out scale.
It is often taught that in retouching, we are to smooth out these transitions, but it is “over smoothing” that is, in my opinion, the number one culprit of poor retouching.
With that said, understanding what Micro Transitions are and how to properly address them with the Dodge & Burn technique can greatly improve your retouching by eliminating excessive smoothing with Frequency Separation.
What is a Micro Transition?
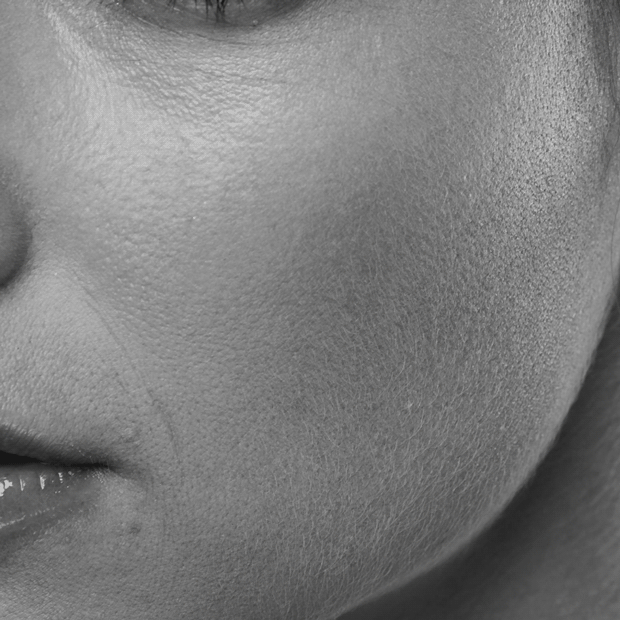
Micro Transitions are also transitions in value and tone but on a very small scale. While global shifts in value can occur due to the 3-dimensional forms of the subject – the shape of their forehead, the shadow cast by their nose, etc. – micro transitions are caused by the slightest shift or divot on the surface of the skin.
These are small shadows and highlights that can generally only be seen once zoomed into our image. Each little bump, scratch, and hollow on the surface of the skin creates a small highlight and shadows that break up the smooth transition and flow of value and tone.
To the more trained eye, these small transitions become very obvious, but if you are having trouble recognizing them, there are methods to help make them stand out while retouching.
Visual Aid Setup
In the following black & white example I have added a couple of layers to help me see the micro transitions better: a Curves adjustment to darken the image and add a little contrast, and a 50% mid grey layer set to Color blending mode to remove color. This setup is helping the micro transitions stand out.
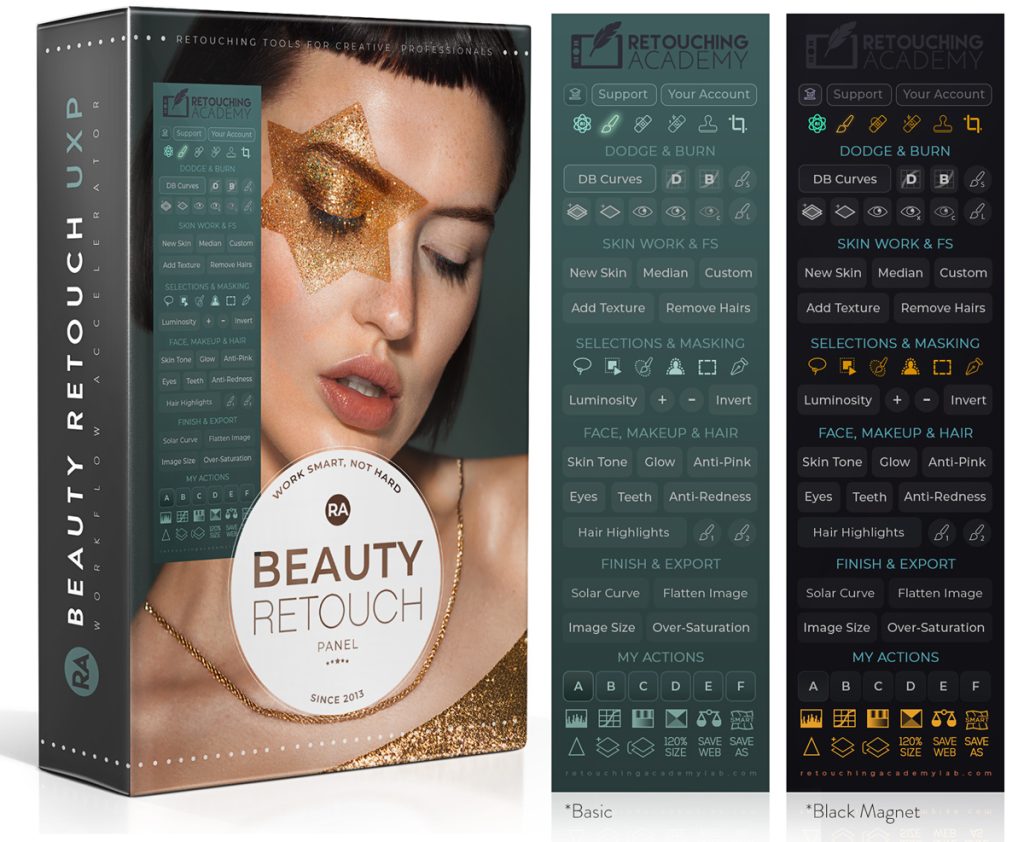
Also, if you use the Beauty Retouch Panel by Retouching Academy, then you’re already set: the panel comes equipped with a “Visual Aid” button that darkens and desaturates your image. All you need to do is slightly adjust the Curve adjustment layer to fit the image and the area you’re working on.
Below you can see some of the micro transitions circled, but, of course, not all:
How to Retouch Micro Transitions?
Now that we can clearly identify these small shifts in our subject’s skin, lets look at how to properly retouch them. The vast majority of recognizable micro transitions are darker patches. So, dodging usually takes up most of my time while dealing with micro transitions. And we also need to address slightly lighter areas by burning them.
There are definitely multiple ways of dodging and burning; my preferred method is “Curves”.
If you are new to this method, check out this great Fstoppers article from Julia Kuzmenko on Dodge & Burn. This article will also walk you through how to manually set up your Dodge & Burn Curve Layers if you are not using our panel.

Photo & Retouching by Julia Kuzmenko
Once the Dodge & Burn layers are set up, select a soft white brush and paint in the areas that appear as darker micro transitions.
Use our Beauty Retouch panel to set up all the necessary layers for Dodging & Burning in a click of a button:
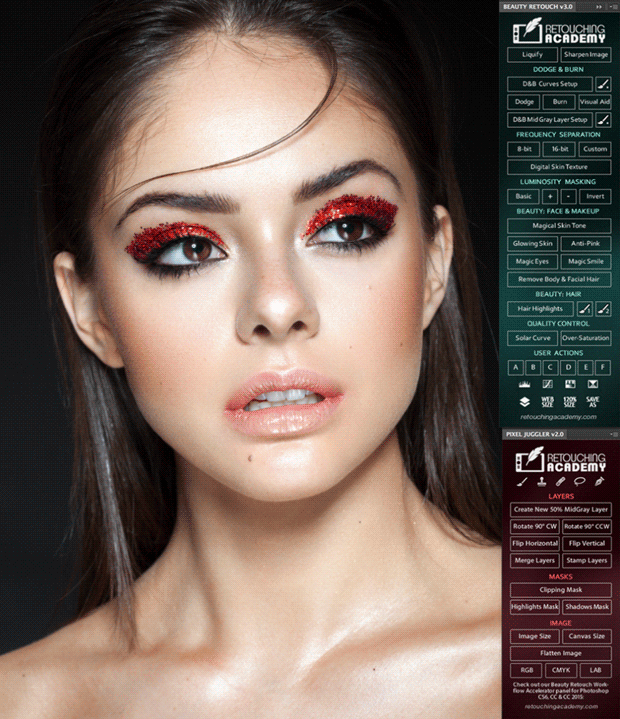
Photo & Retouching by Julia Kuzmenko
Tips For Successful Micro Transitions Dodging & Burning:
Here are a few setup tips:
- Default by setting your opacity to 100 percent and your Flow between 1 and 3 percent.
- Set the hardness of your brush somewhere between 0 and 30 percent. Again, things are a little faster and easier with the Beauty Retouch Panel – there are Dodge and Burn Brushes that will automatically default to the correct D&B settings.
- I also prefer to set my brush size to be slightly smaller then the blemish I am trying to fill in, although some retouchers prefer to set their brush to be approximately the same size as the blemish area.
- Change your zoom percentage as you work. If you stay zoomed in the entire time, you will miss the larger areas and conversely if you stay too zoomed out, you will miss the smaller details.
This can be a very slow and tedious process, but by taking your time and becoming proficient at this very detail driven process, you can drastically improve your retouching results.


Thank you guys for the time and effort You spent on this article. I’d always had a problem with understanding how to use DnB for retouching all of those small bumps instead of using Clone tool.