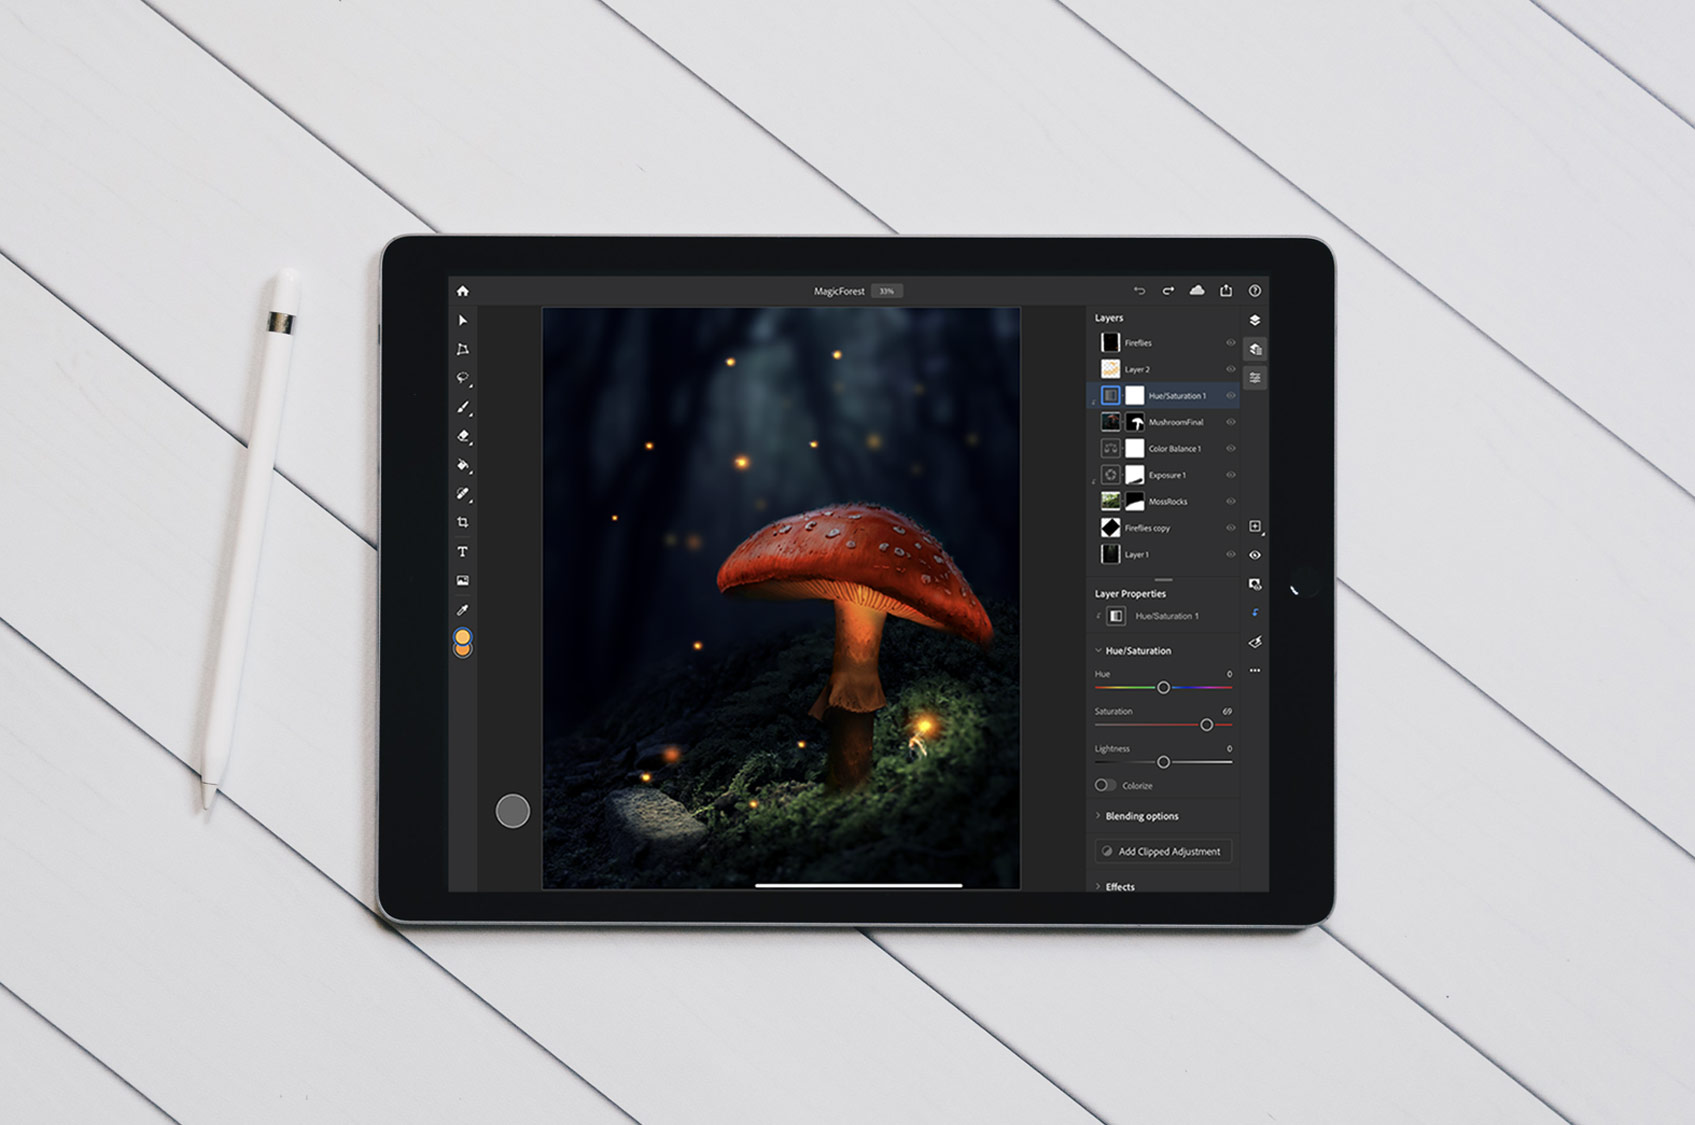
The much-anticipated release of Photoshop for the iPad is finally here. With its initial launch version, most of the features that retouchers rely on are present: the Clone Stamp tool, Spot Healing Brush, layers, adjustment layers, and more. You can view all of the current features at Adobe’s website here.
For those that own an iPad and an Apple Pencil, the reality of using their Apple tablet like a Wacom Cintiq appears to be ever closer. The Apple Pencil is pressure sensitive and impressively accurate on the iPad display. One of the additional perks of the iPad is the display is not in any way impeded by a gray film-like appearance for the digitizer.
That said, there are some missing features, a current lack of plug-in options, and there will be a learning curve with quite the hurdle. Without the presence of a physical keyboard that many retouchers have made a staple within their workflow, the methods for using Photoshop on the iPad will vary.
Below are some how-tos for using two of the most prominent features for retouching: the Spot Healing Brush and the Clone Stamp tool.
To work with the Spot Healing Brush, do the following:
1. Tap the Spot Healing Brush icon from the toolbar.
2. From the tool options that open, you can set the brush size and hardness.
3. Tap (…) to access more settings.
4. In the Spot Healing Brush settings panel that opens, enable Sample all layers to use all visible layers in your document as a source to apply healing on the selected layer. Deselect Sample All Layers, to sample only from the active layer. Also, you can enable/disable Use pressure for size as required.
5. Tap the area in your document you want to retouch, or tap and drag to smooth over imperfections in a larger area.
To work with the Clone Stamp tool, do the following:
1. Double-tap the Spot Healing Brush icon from the toolbar to reveal the hidden Clone Stamp tool.
2. Tap to select the Clone Stamp tool.
3. From the tool options that open, you can change the brush radius, hardness, opacity, and set source.
4. Tap (…) to access more settings.
5. In the Clone Stamp settings panel that opens, you can select your Sample—Current, Current and below, and All layers. You can also enable/disable the Use pressure for size and Use pressure for opacity options.
6. Activate the primary touch shortcut to set the source and tap over an area you want to select as the cloning source.
7. Release the touch shortcut after setting the source and tap over an area on which you want to apply the Clone stamp.
To see retouching in Photoshop on the iPad in action, this video by Lee Zavitz offers a great demonstration of the app. In the following video you will learn how to leverage the iPad’s innate file management system for organizing PSD files, opening documents in Photoshop for the iPad, duplicating layers, adding layers, using the spot healing and clone stamp tools, layer management, color grading, and more.
While there are definitely some features and tools that need to be added to Photoshop for iPad to replace the desktop version, for its initial release, it shows a lot of promise.
RELATED: How to Retouch Eyelashes & Eyebrows for Beauty Photographs
Sources: Lee Zavitz | Adobe | Featured Image: Unsplash & Adobe


