
Seattle-based guest writer Josh Fredman is with us today to share how he avoids banding when creating gradient-based background in his images.
—————
In this tutorial, we’re going to look at how to create banding-free gradients in Adobe Photoshop. Although often misunderstood, when used properly, gradients are a great tool that can be used in all sorts of applications including shading, or filling and patching any smooth surface such as a wall or a ceiling. Or for those times when shooting on a clean cyc wall isn’t an option.
One of the problems with gradients, however, is banding, so let’s look at how to resolve that. Once you know how to create a proper gradient, the potential for how to use them is unlimited.
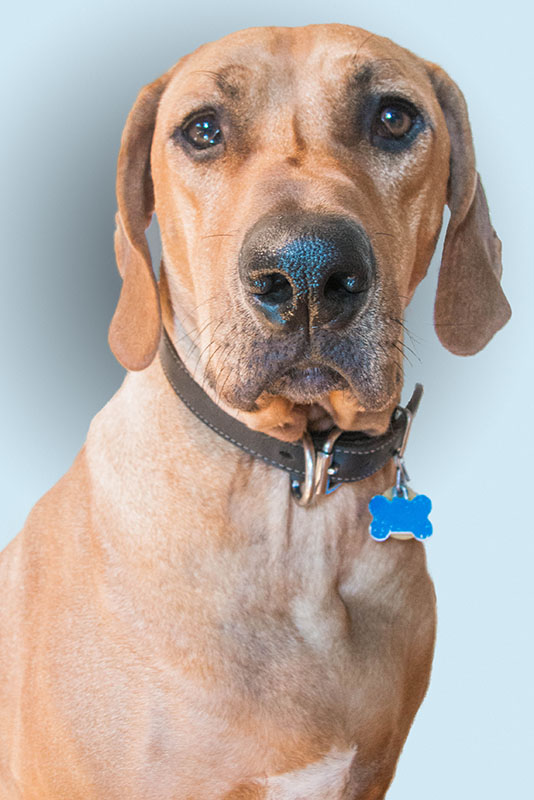
For the purposes of this article, we’ll replace the existing background in the image of the dog with a gradient.
STEP 1
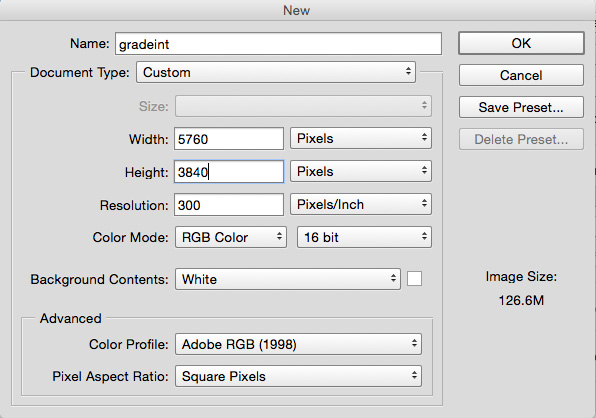
Let’s begin with a new file. You could just add a new Gradient or new Gradient Fill layer in your existing file, but creating an entirely new file will allow more flexibility when you need to adjust it later.
In general, you want your gradient to be approximately the same size as the area you’re adding it to or the file you’ll be placing it into.
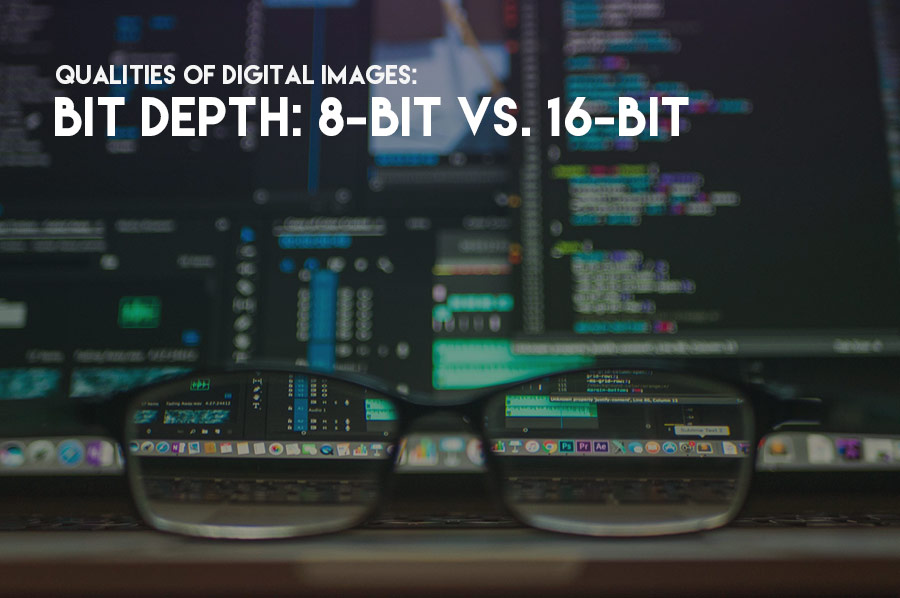
To do this, I’ll create a new file that is the same size as a Canon 5D image: 5760 x 3840 pixels. We want to make sure it’s in 16-bit mode, which will help minimize banding, even if you typically work with 8-bit files. Even though 16-bit files use considerably more system resources, with gradients you can achieve a much smoother tonal range than in 8-bit mode.
Eventually, you can place your 16-bit gradient into your 8-bit file as a Smart Object. This will allow you the full tonal range of a 16-bit file on your gradient while still allowing you the ease of working with an 8-bit file.
If you’re concerned with file size or using too much RAM, you can rasterize your layer once you’ve placed and adjusted it.
STEP 2
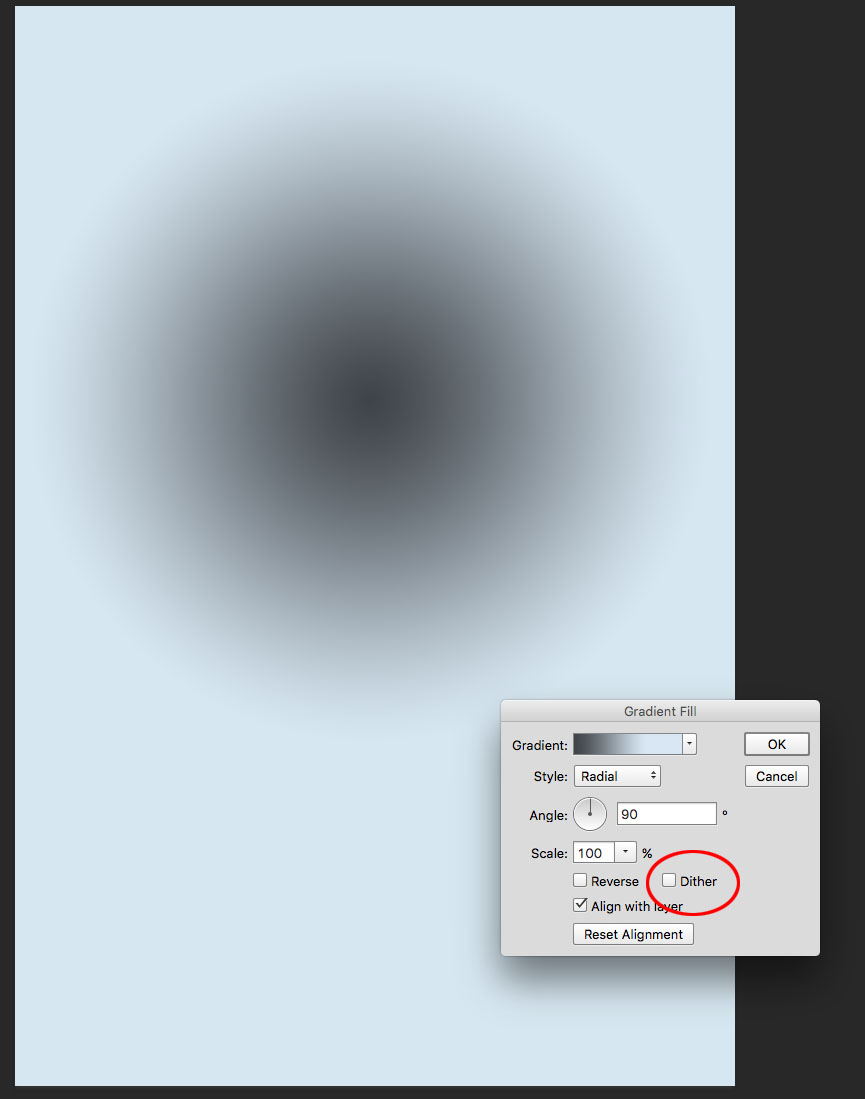
Let’s now add a Gradient Fill layer. You could just draw out a gradient using the Gradient Tool on your blank canvas, but using the Gradient Fill layer will allow you greater control when editing it after you place it in your image.
I’ve chosen a simple two-color radial gradient, but you can use any combination of colors you like. By increasing the scale, you can make the tonal range more or less subtle.
Note, however, that Dither has been left unchecked. This is important because we don’t want Photoshop to add any more noise than we can control. Click OK when you have the gradient looking more or less how you want it.
Click to enlarge:
You can see at this point the gradient is banding quite heavily. Now we’re going to remove that.
STEP 3
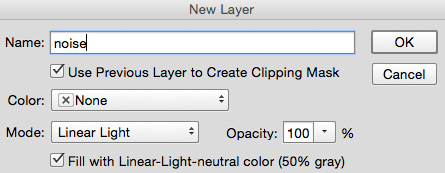
To control the noise, let’s make a new layer, fill it with 50% gray color, and change its Blending Mode to Linear Light.
You could do each of those as separate steps, but by using the New Layer command, either via the Layer menu or by pressing Ctrl/Cmd+Shift+N, you get a handy dialogue box.
Here you can name your layer, select its Blending Mode and in doing so, you’re given the option to fill the layer with 50% gray color.
STEP 4
Once we’ve done this, we’re going to add noise to the new layer. Select Filter > Noise > Add Noise and set the amount to 25% with Uniform distribution and make sure Monochromatic is checked.
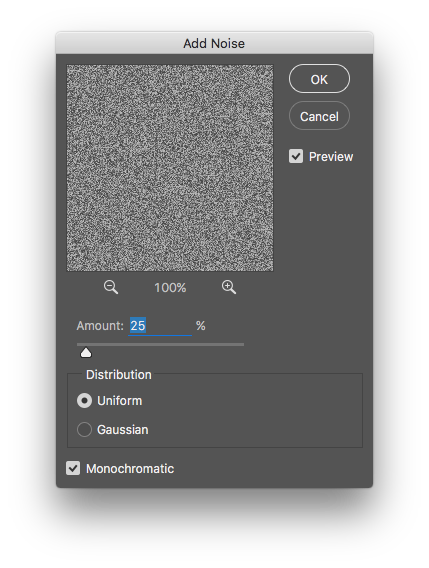
The first thing you’ll notice is that this amount of noise is way over the top – far too much for any serious application. But we’ll adjust that in the next step.
STEP 5
We want to adjust both Opacity and Fill on our noise layer to get the noise back to an acceptable level. Remember, the key here is to add just enough noise to kill the banding, but not so much that our gradient appears noisy. I generally like to start around 20% each, Fill and Opacity.
Since they work in tandem, I want to adjust both, not just one or the other. They don’t have to be exactly equal, but it helps to have them fairly close to each other.
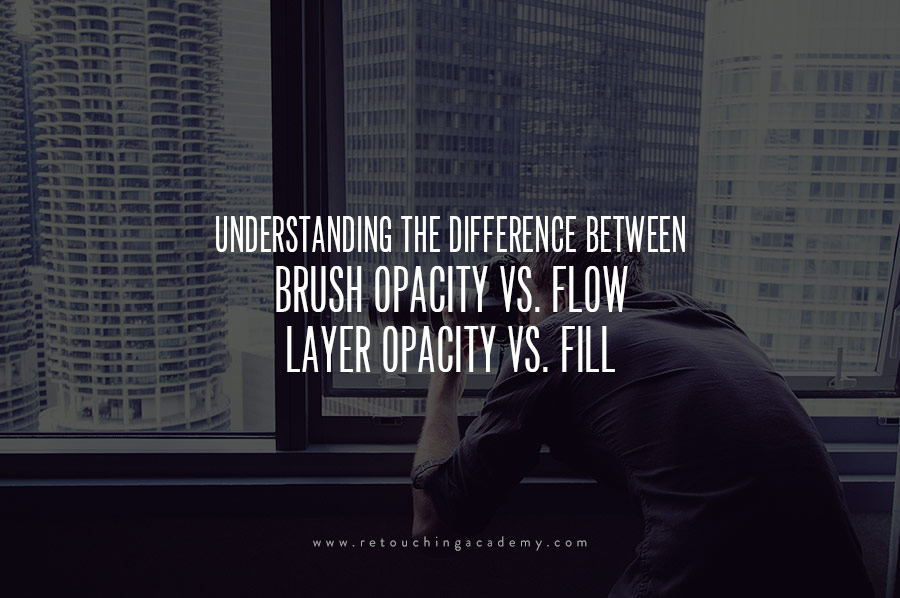
For more on this, check out The difference between Brush Opacity & Fill and Layer Opacity & Flow article by Michael Wolosznynowicz.
The important thing to note here is that how much noise you need to use will depend greatly on the final size of your image as well as the tonal range in your gradient. As you adjust the level of visible noise, zoom in and out to make sure you can see both noise and banding properly.
If you haven’t already, save your gradient.
STEP 6
Lastly, you should either open the gradient as a Smart Object and drag it into your image or Place it in your image by going to File > Place Embedded…
Similar to 16-bit files, any Smart Object will use more system resources. However, adjusting the gradient as a Smart Object will allow you to further refine its shape, contrast, and color as it appears in your image.
At this point, you may also need to further adjust the level of noise by changing either Fill or Opacity or both. Once you have the gradient placed and the noise and banding appear acceptable, you can rasterize the Smart Object if you need to reduce your file size or optimize your system’s resources.
And that’s all!
Try these steps out next time you need to replace or add a background in your images!

Thank you SO much for this solid advice! I had a digital job on press and had to fix this problem at the proofing stage. Didn’t realize banding can be so much more pronounced in digital printing than in offset. This info helped me fix it much faster than if I had to figure it out myself. I really appreciate the help!