
Beginner photographers will often jump to studying retouching before they have their photography and lighting skills fine-tuned. However, it is smarter to start with a solid photographic foundation before refining one’s post-production techniques. Starting off with a strong and technically correct photo will always lead to superior results than attempting to fix a badly captured image in post.
It is helpful to know what to focus on and learn at the beginning of your journey, versus wasting time on a lot of extra advanced information that you may not even understand yet. So, here are some basics that will directly influence your craft and are crucial to understanding in order to control how they impact your images.
In this article, we are going to focus on several key factors and settings that you, as a photographer, should know and understand in order to create technically correct pictures.
BASIC CAMERA SETTINGS
Your camera is your main instrument in the photographic image creation process. Read your camera manual as many times as is needed until you know its operation inside and out. Take your camera out, practice, and then read it again. Many things start to click (pardon the pun) once you combine reading/learning with shooting/practicing.
Before shooting always check the following settings:
- ISO Speed: I always start with the ISO speed set to 100 – 200 and will raise it only when I absolutely have to (e.g., I can’t use artificial light, the existing light is not enough with my basic camera settings for correct exposure). The faster the ISO speed (higher numbers), the more the image quality may suffer from increased image noise. Some cameras have sensor technology that can handle higher ISO without drastically affecting image quality. With most cameras you may still end up compromising the quality of your images, so always try adding light or finding correct exposure via other settings before you increase the ISO speed.
- White Balance: shooting in RAW format means White Balance errors are easier to fix, however, it will save you post-production time if it is done correctly in-camera. To avoid incorrect color tints, such as blue, green, or yellow, in our images, we have to adjust the White Balance of the camera for the color temperature of a particular light source. There are a few ways to achieve correct White Balance, such as using a gray or white card or set custom White Balance in Kelvins. Most digital SLR cameras contain a variety of White Balance presets that do a great job – this is another thing that you need to play around with while you are practicing to figure out what works out best for you. Using Auto White Balance will usually add more work in post-production due to its inconsistency. You need to be especially careful with your White Balance settings if you shoot in JPEG (which is highly unrecommended) as you have little to no room to make corrections in post-processing.
- Camera Monitor Brightness, if you are not shooting tethered into a tablet or computer: Never have your LCD monitor brightness set to AUTO, because it may cause extreme over- or underexposure of your photos if you’re judging exposure by looking at the camera monitor. Check the histogram or better yet try shooting tethered for the accurate evaluation of the captured images and lighting. A specific tricky reason to check this setting before the shoot is, if your previous shoot was outside and you had set the monitor’s brightness to its maximum in order to review photos in bright surroundings, now your images taken indoors or in darker settings will look brighter on the camera monitor than they actually are. Fixing exposure in post-production equals more unnecessary work as well as possibly losing detail in the shadows and/or highlights.
- File Format. There are plenty of discussions online concerning “RAW vs. JPEG”, and you can figure out what works best for you by comparing how much flexibility each format gives you. I choose RAW – a form of digital negative – because it allows me to retain most of the light and color information and offers greater control and flexibility in post-production, whereas JPEG is a compressed file, so information is immediately thrown out (explaining why the file sizes are much smaller). Because of the lost information you have nearly no flexibility to make significant adjustments or correct your lighting or White Balance mistakes in post-production. Also, a JPEG file will lose additional information (degrade) each time it is opened and re-saved. Unlike with JPEGs, you can assign a color space (sRGB, Adobe RGB, or ProPhoto RGB) to your images after the capture in your RAW converter (Camera Raw, Adobe Lightroom, etc).
- Arguably, it can be a good practice to convert image files to DNG (Digital Negative) format when you download them from the camera. DNG format will not become redundant as the proprietary camera formats eventually may. You can learn more about DNG formats here: Adobe.com: In depth Digital Negative (DNG).
RELATED: Light & Shadow Basics
LENSES
You don’t need the newest and/or biggest camera lens or a massive collection of different ‘key’ lenses for portraits, lifestyle, weddings, etc. Most photographers shoot the same type of images most of the time, so hone your collection of lenses to accommodate the needs and desires you have for glass performance. It is easy to amass a collection of lenses, from very wide-angle lenses to very long telephoto. After a few years of shooting, though, you may notice you are only using a few.
My key lenses:
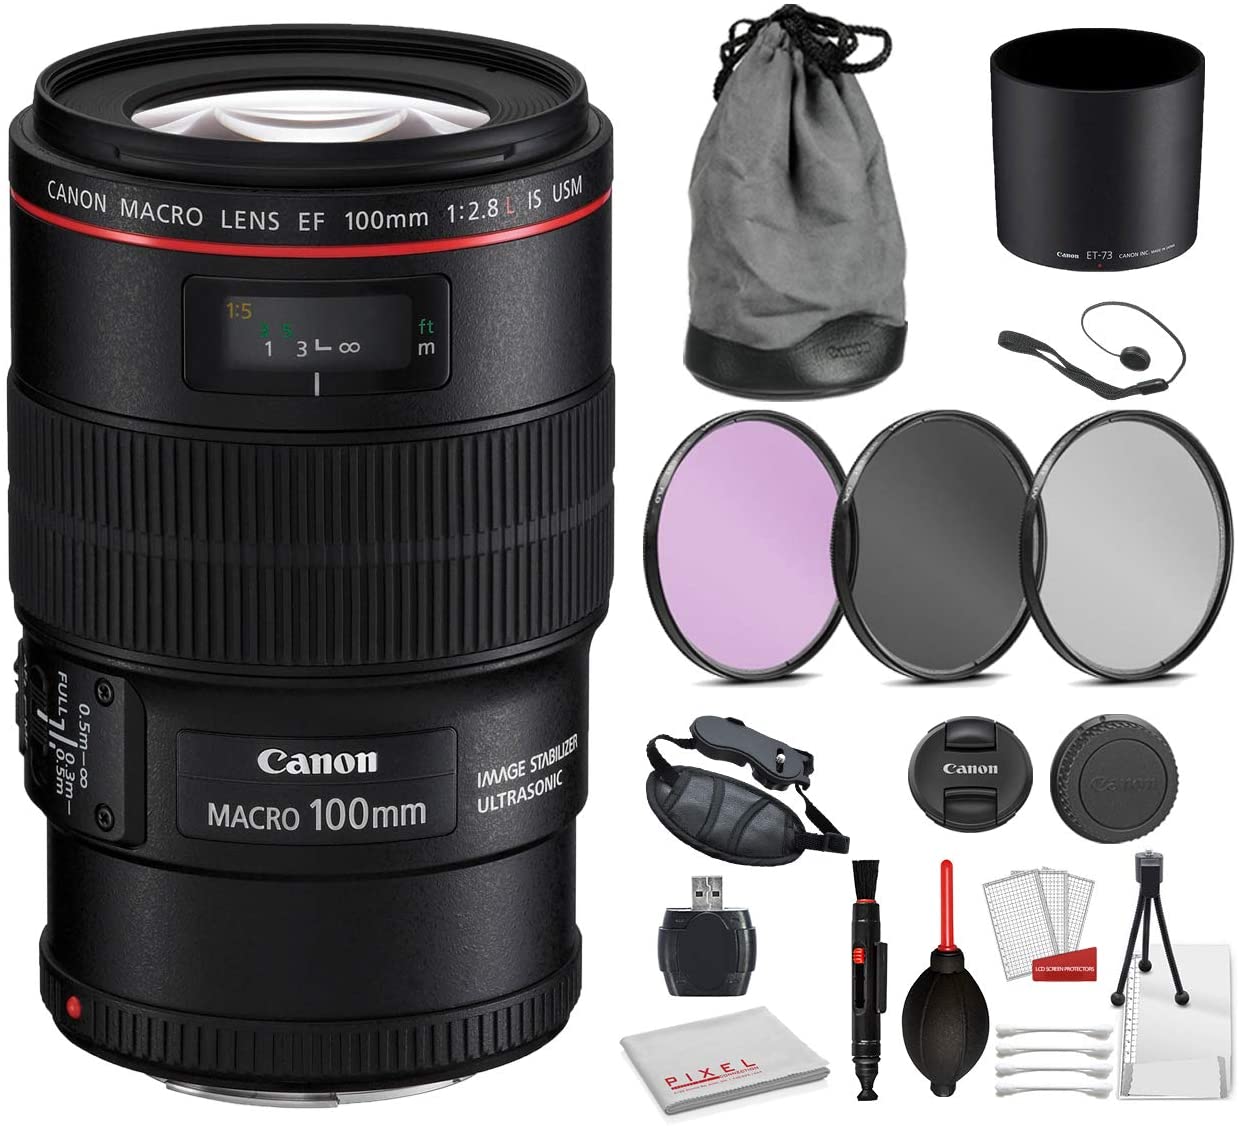
- 100mm 2.8 Macro and its newer version Canon EF 100mm f/2.8L IS USM Macro (studio beauty, macro beauty photography)
- 50mm f/1.4 & 24-70mm f/2.8 (outdoors beauty and portrait shoots)
- 70-200 f/2.8 (full-body fashion, specific shoots where I have to shoot from a distance)
For Studio Beauty Photography – longer focal length lenses (100mm and above) help to avoid distortion.
For Fashion and Editorial Photography – wide-angle lenses will work as well, especially in on-location shoots where surroundings are important.
For Portraits, Boudoir, Senior, Engagement, Wedding – fixed focal length lenses with smaller aperture numbers are ideal (50mm f/1.2 or 50mm f/1.4, etc,). This is great when a shallow depth of field (additional softness of the background/foreground), is desired.
Of course, these suggestions are malleable and should be tailored to your personal shooting style.
ESSENTIAL SKILLS, EXPERT APPROACH & WORKFLOW
NEW! Professional Beauty Retouching Course
In this video course, we cover what you need to know to enter the world of professional retouching, be that as a freelancer serving commercial clients or as part of an in-house team.


About DNG: my advice is to NOT convert to DNG. Applications like Capture One (the professional version of Lightroom) do not have enough information from the DNG file to process with maximum quality, because a lot of the demosaicing information gets lost. I advice to keep your original raw files to maintain the maximum amount of detail. Read also this: https://petapixel.com/2015/07/16/why-i-stopped-using-the-dng-file-format/
Hans, a friend of mine has been working at convincing me to NOT convert to DNG and I was so close to be convinced. And then I got a bunch of raw files from a client and was not able to open her CR2 files, I did not have the time to dig around for ways to make it all work, so I just asked my client to simply convert them to DNG and re-send. I will not be convinced otherwise, so with all due respect, I will stick with DNGs.
Oh and all of the arguments about different formats being rendered differently – that does not concern me so much because I always tweak the settings of each of my working raw file until I am happy with what it looks like. So the way the images look as I load them into a software doesn’t really matter all that much to me anyway. I totally get enough detail to work with.
Hans, also, read the comments under the article you references. I am siding with Rex, if I was to comment, I would have said the same thing.