
![]() A Photoshop Brush is a brush tip with defined characteristics, such as size, shape, and hardness (.ABR files). Brushes can be found in Window > Brush panel in Photoshop.
A Photoshop Brush is a brush tip with defined characteristics, such as size, shape, and hardness (.ABR files). Brushes can be found in Window > Brush panel in Photoshop.
Before the CC2020 version of Photoshop, you could also separately save Brush Presets – they were the same brush tips, but with saved sets of characteristics that you often use (.TPL files), and could be found in Window > Brush Presets.
In the latest Photoshop versions, Brushes (.ABR files) now contain all of the functionality that used to be saved in Brush Presets (.TPL files).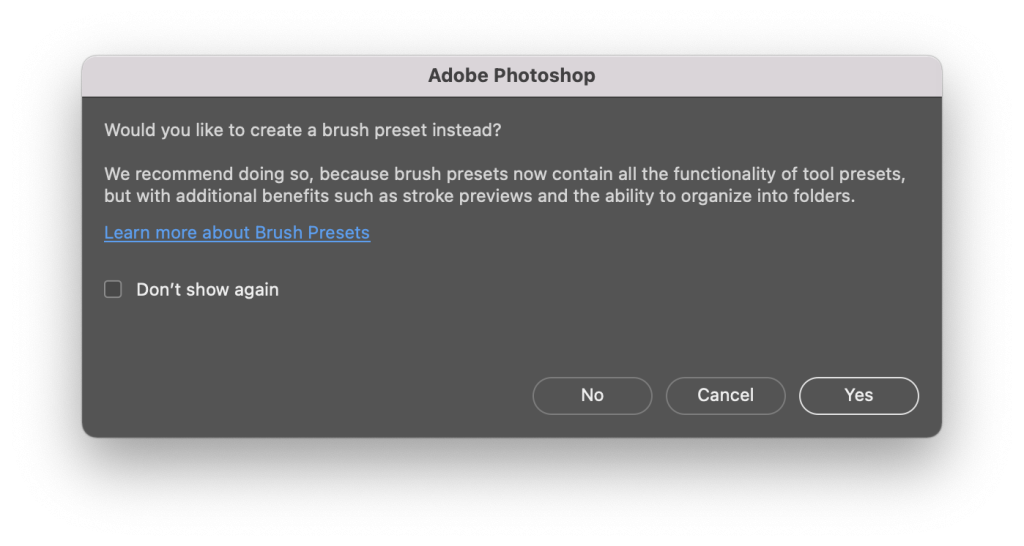
If, however, you need to import an older brush preset that was saved in a .TPL file, you can do so via Window > Tool Presets.
In this article, we will walk you through importing brush presets in the latest versions of Photoshop.
Installing Brush Presets in Photoshop
To import brushes that you have downloaded, for example from one of your RA video courses, follow these steps:
Step 1. Open the Window menu in Photoshop and make sure the Brushes panel is checked:

Step 2. In the right upper corner of the Brushes panel, click the options menu and select Import Brushes…
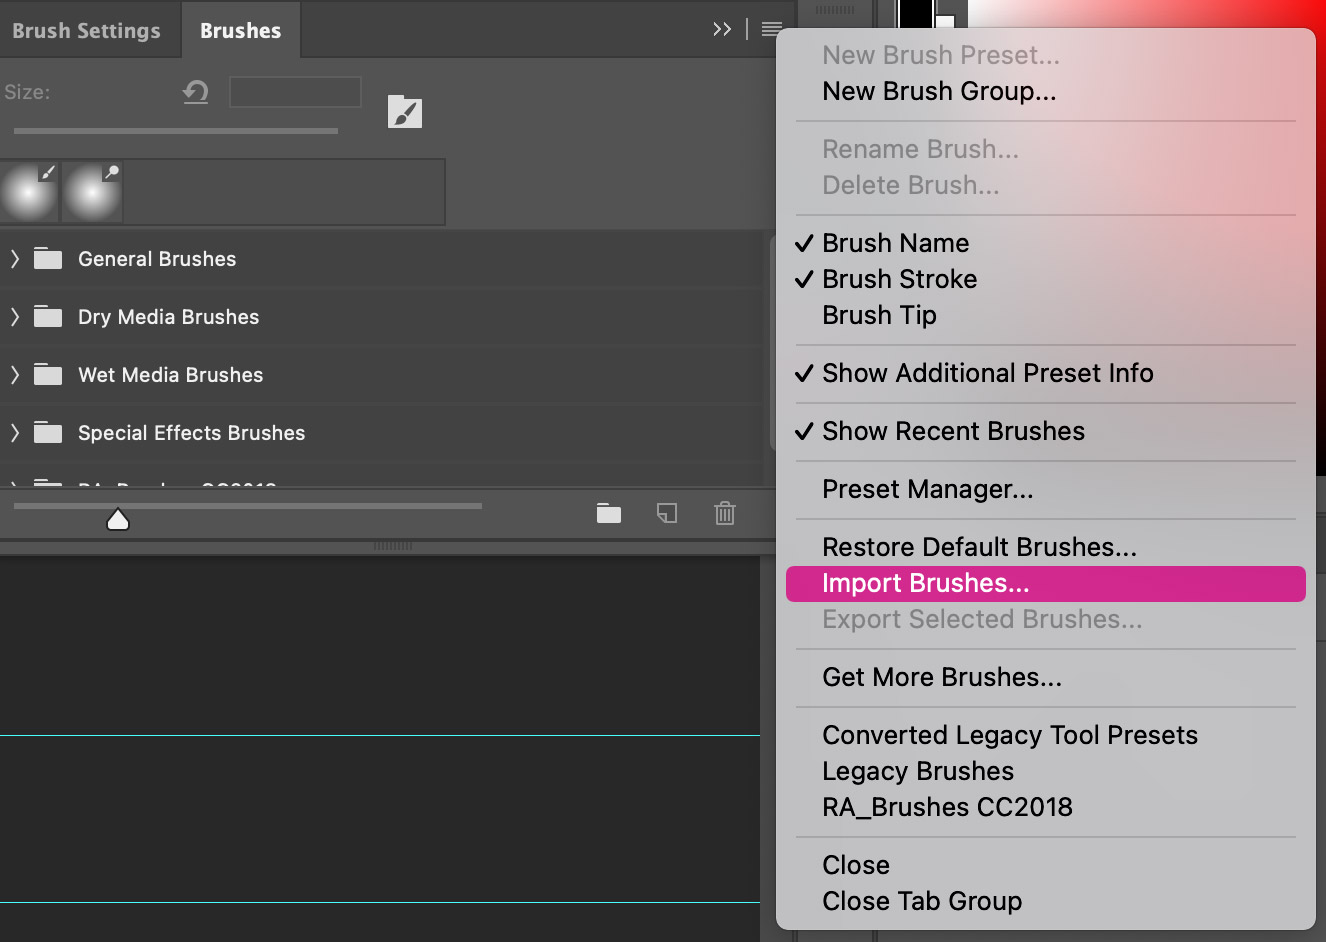
Step 3. Within the pop-up window, navigate to the folder where your new brushes file is located, click on the .ABR file (your new brushes) and click Open and the new brushes are added to your Brushes panel:

Adobe Helpdesk page dedicated to Photoshop Brush Presets: About Brush presets.
Good