Learning Photoshop can be an intimidating endeavor for many beginning retouchers, as there are literally thousands of techniques that the software is capable of. The fact that many people are self-taught tends to lend itself to those users picking up bad habits. Below are some of the most common mistakes I have seen beginning retouchers make, and how to solve them.
Making Permanent Changes
There are few feelings worse than being twenty minutes into using the clone stamp tool, when you suddenly realize that you’ve overdone a crucial part of the subject about 87 steps back. Working in layers will allow you to work non-destructively, so you can easily undo a portion of your work without having to redo it all.
Create a New Layer for any detail work, setting your Sample to “All Layers” or “Current & Below.” Using Adjustment Layers is also highly recommended for manipulating colors and values, as these can be toggled off, blended, or have their effect lowered through Opacity or Fill. The goal should always be to have the ability to revisit any aspect of your post-production for efficient revisions.
![]()
Not Zooming Out Often Enough
While retouching skin or other detail-intensive areas of a photograph, it’s very easy to fall for the trap of zooming in and staying there. Pixel peeping by working at that 100% zoom can be counterproductive, as minute aspects that might appear crucial may not be once you zoom out to an appropriate perspective.
Make it a habit to zoom out every few minutes to ensure you’re not throwing your time away on pixels that will ultimately go unnoticed when viewed at its intended display size.
RELATED: Good Retouching Habits: The Importance Of Zooming Out While You Work

100& Percent Zoom versus Fit to Screen
Not Labeling Layers or Using Groups
While retouching, it’s easy to rack up well over a dozen layers when you take into account cleaning up details, dodging, burning, cloning, and color grading. As a result of this, if your client wants you to fix the cloning that you performed around the lips of a model, you do not want to be hunting through your layers toggling them on and off until you find the correct one. Correctly labeling your layers and organizing them into Groups will save you from an unnecessary headache.
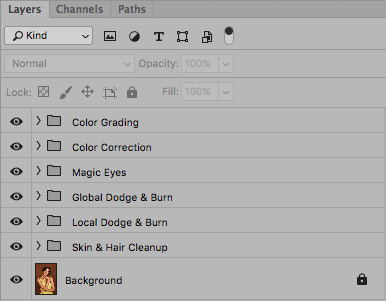
Labeled groups and layers for easy navigation
Not Using Layer Masks
Layer Masks are the unsung heroes of non-destructive editing, enabling users to control exactly what parts of a layer are applied to its linked layer, or the one beneath it.
If you are removing your subject from their background, or even just cleaning up stray hairs around a model, you never want to use the Eraser Tool. Instead, after you’ve used your preferred method for selection (Quick Select, Magnetic Lasso, etc), you will want to create a Layer Mask. From there, just remember that whatever is black will be removed from that layer (erased), and whatever is white will show or be applied.
![]()
Dodging & Burning on One Layer
When retouchers begin to first learn how to dodge and burn, one mistake that is quite common is performing both on the same layer. Typically, this is done as a New Layer, set to Soft Light or Overlay, with 50% Gray. The issue is that when brushing in white or black, the midtones tend to get muddled, and there is no longer the ability to lessen the effect of the dodged part of the layer, versus the burned.
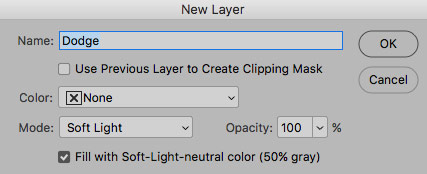
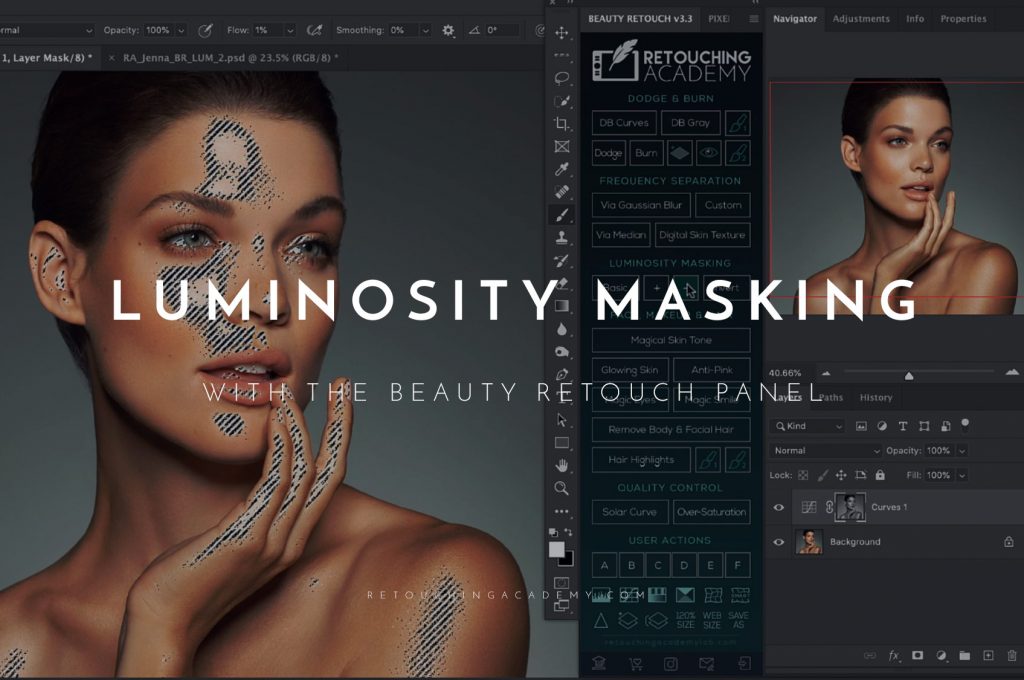
The solution is to create two separate layers: one for dodging, and one for burning. This way you can fine-tune and correct the parts you wish to lighten, or the parts that you wish to darken independently of one another. You can easily duplicate that layer by pressing Command + J, or use the Dodge & Burn options in the Beauty Retouch Panel.
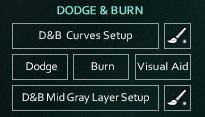
RA Beauty Retouch Panel
Not Saving Your Work Properly
Crashes can happen, and retouchers shouldn’t rely on Photoshop’s Auto Save feature to get them out of a bind. Make a habit of saving your document periodically while you work, particularly after completing time-consuming and tedious tasks. Preserving your time and hard work should be your top priority when using Photoshop for any length of time.
When it comes to saving your work, verify that you’re saving it as the right format, which will typically be a .PSD file with layers included, so you can revisit your work at a later date to make any changes. If you save the file as a flattened or compressed file, you will lose out on that ability.
While these are some of the most common bad habits, we highly recommend reflecting objectively on your workflow, and seeking out any other areas of improvement. You’ll thank yourself for it later.
Image Source – Photo: Kendra Paige | Model: Ellinor Sandborg @ Elite Miami | Beauty: Miki Sarroca | Hair: Dania Gazzalla | Styling: Fab Amoré | Assistant: Chris Brodsky | Retouching: Sophie Traverse


