
In this guest article by Netherlands-based photographer, Sonja de Vlaming, she shares her process for preparing for a macro beauty photoshoot. From the right kind of equipment to consider, to lighting, to casting the right talent and creative team, this article by Sonja will set you on the right path.
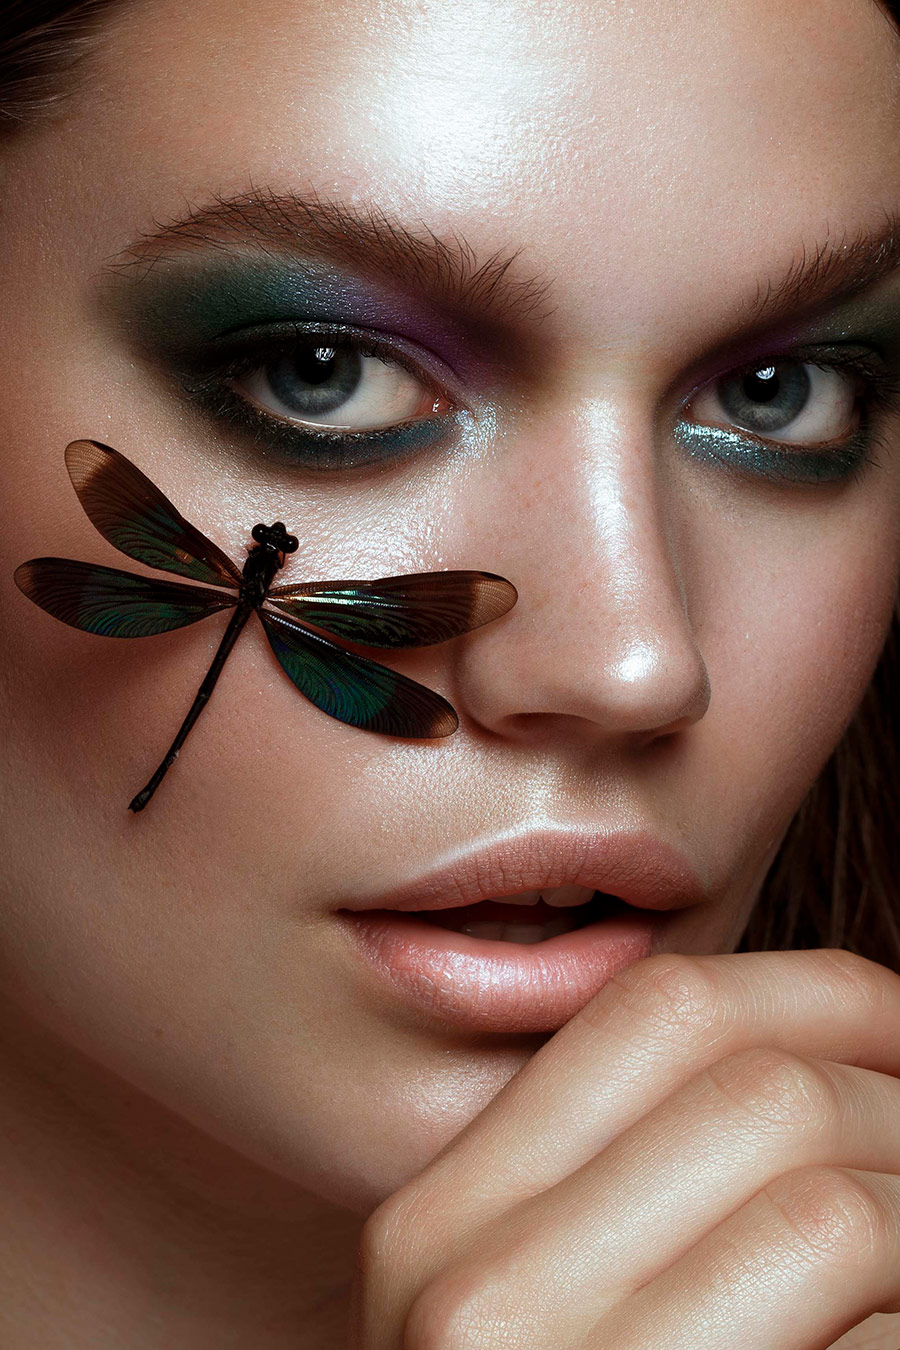
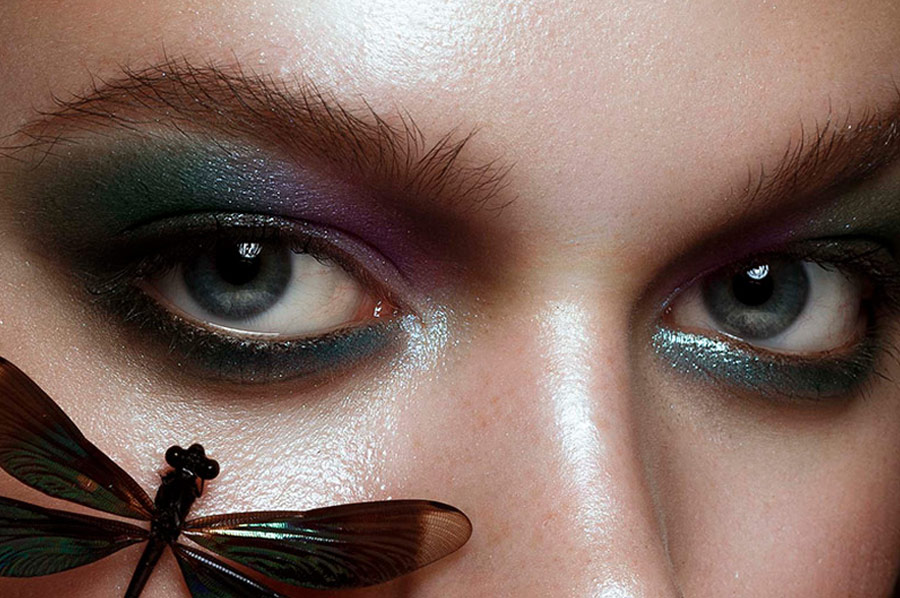
Photo & Retouch: Sonja de Vlaming | Model: Francka van Eeten | Makeup: Marjolein de Ridder | Publication: Scorpio Jin Magazine
Sonja: We currently see them everywhere: beautiful close-up beauty shots with polished skin and gorgeous makeup. But as easy as it looks, there are a few pointers I’d like to guide you through shooting macro beauty to make your life in post-production a lot easier. I’ll take you through everything that you should take into consideration as a beauty photographer or retoucher on the job to adequately prepare for post-production.
Equipment
There are no hard rules for shooting macro beauty, but there’s equipment that will net you better results when retouching. As you know, significantly cropping images in post can reduce the quality of the image, particularly if the original photo does not have enough megapixels to compensate. To avoid this, I suggest using a macro lens.
Macro lenses are specifically designed to have a short minimal focus distance which allows you to get closer to your subject for shooting tighter crops.
RELATED: Check out Julia Kuzmenko’s review on two of Canon’s 100mm macro lenses.
While it’s not always the case, macro lenses also tend to be sharper, which is very important in beauty photography, as you need a lot of detail for skin and eyes, or the retouching will appear blurry or overly smooth.
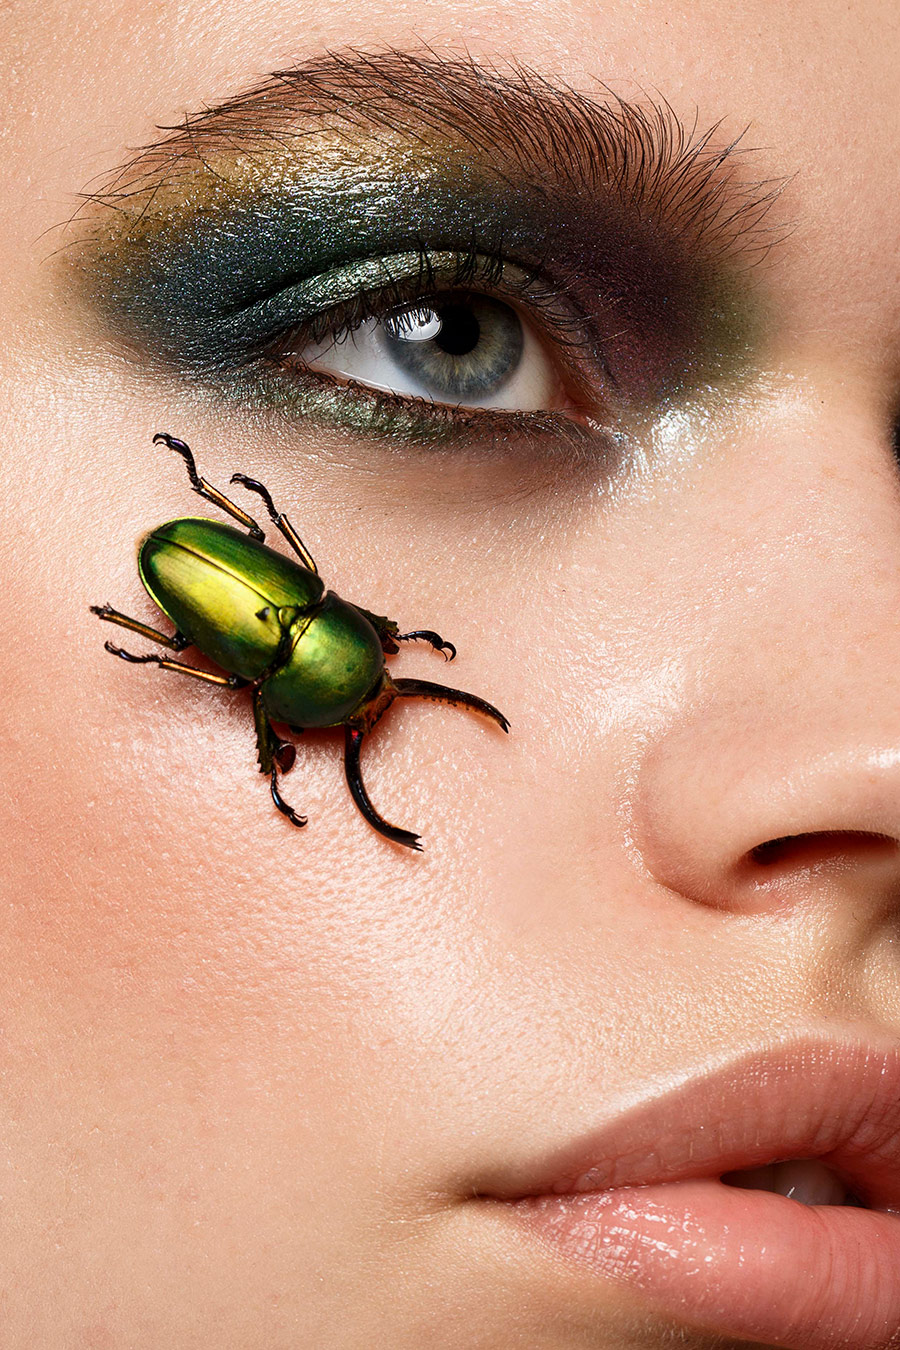
Photo & Retouch: Sonja de Vlaming | Model: Francka van Eeten | Makeup: Marjolein de Ridder | Publication: Scorpio Jin Magazine
If you do feel like shooting so close up is a little intrusive or makes composing more difficult for you, then cropping in post is not a terrible thing to do. Just keep in mind that a camera with a larger sensor (higher megapixels) will be necessary to ensure that there is a good amount of details left after cropping in on a section of your photograph.
Be aware of the very shallow depth of field when photographing so up close, especially when shooting with a longer or a macro lens. Apertures of f/16 and up will prevent loss of sharpness, which can mean having one eye in focus but the other out of focus. Make sure your aperture is small enough (higher f-stop number) to capture all of the necessary details.
Another thing that can be of tremendous help during the shoot is shooting tethered to catch any mistakes or flaws early on. This will help the whole team immediately see the in-camera results, and correct makeup and hair accordingly.
Lighting
The lighting and light modifier you choose is entirely up to you. If you prefer popping highlights and deeper shadows, placing your light source further away from the model is the way to go. If you prefer to get a more even, less contrasted image, go for a larger light modifier and place it a little closer to the model. Have a look at the theory behind the inverse square law to understand this principle more clearly, especially when it comes to how this affects light fall-off.
RELATED: Lighting Lesson: How To Use Contrast of Light To Photograph Beautiful Skin.
Another aspect to keep in mind is that light modifiers will give different types of catchlights in the eyes. Size and intensity of the catchlights will change depending on how far you place the light source from the model. Generally speaking, the catchlights of octaboxes and beauty dishes are preferred over those of square or rectangular softboxes.
Different light modifiers will change the harshness of the light as well. Beauty dishes will give off a higher contrast light, creating deeper shadows and stronger highlights.
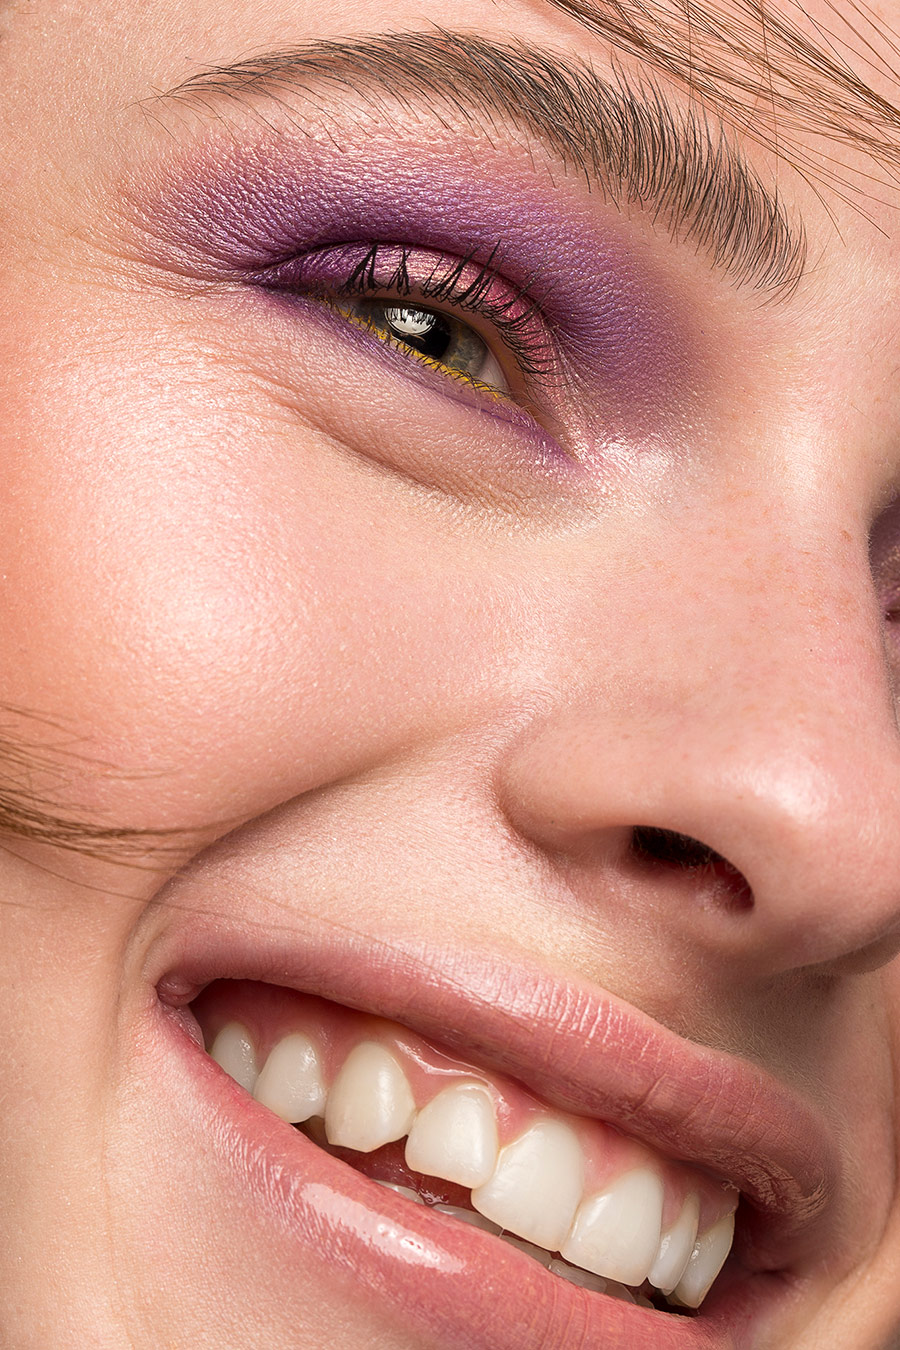
Photo & Retouch: Sonja de Vlaming | Model: Deborah Dijk | Makeup: Marjolein de Ridder
Your Team
Makeup Artist
It goes without saying that a makeup artist can make or break your shoot. Having a makeup artist who knows what they’re doing can make a transformative difference for the results of the shoot. When reviewing portfolios of the artists you wish to test or work with, I suggest you examine the following three areas:
- Eye for detail;
- Knowledge of different techniques and products;
- The overall style of their work.
There’s no fun in cleaning up mistakes that the MUA could have tackled for you on set later in Photoshop. If you love that glowing, dewy look for skin, make sure you consult with the makeup artist about his/her skills with executing that specific look before you shoot. Communicating your vision and expectations before the shoot can help curb any disappointments on set.
Check out Julia Kuzmenko’s article on finding an ideal for you Makeup Artist.
When shooting macro beauty, it is beneficial to work with a makeup artist who understands eyebrows and how to groom them properly. Personally, I am not a big fan of the drawn-in look, where the brows filled in dramatically. For me, it looks unnatural and overdone in macro beauty, and it can often take away from an otherwise beautiful look.
Model
An experienced beauty model with flawless skin is essential for a macro beauty shoot, it also helps if you have already worked with her before and already know how her skin photographs. If you have been given a package of girls from an agency or have a girl in mind that you’d like to shoot with, I suggest you ask her to provide you with a close-up photo of her skin in daylight, not blown out (overexposed). Besides their polaroids, an additional close-up can help you identify any issues with her skin. Choosing a model with smaller pores and minimal skin issues like blackheads, dryness, and acne will save you a lot of time when retouching.
RELATED: Approaching a Beauty Shoot Like an Art Master
It will also drastically increase the quality of your final image, as you will not have to employ more aggressive methods of correcting skin texture. Unfortunately, macro beauty is not as forgiving as headshots and shoulder portraits.
I would strongly advise against casting a model that has obvious skin issues, as there is only so much that you can do in post to salvage macro beauty images.
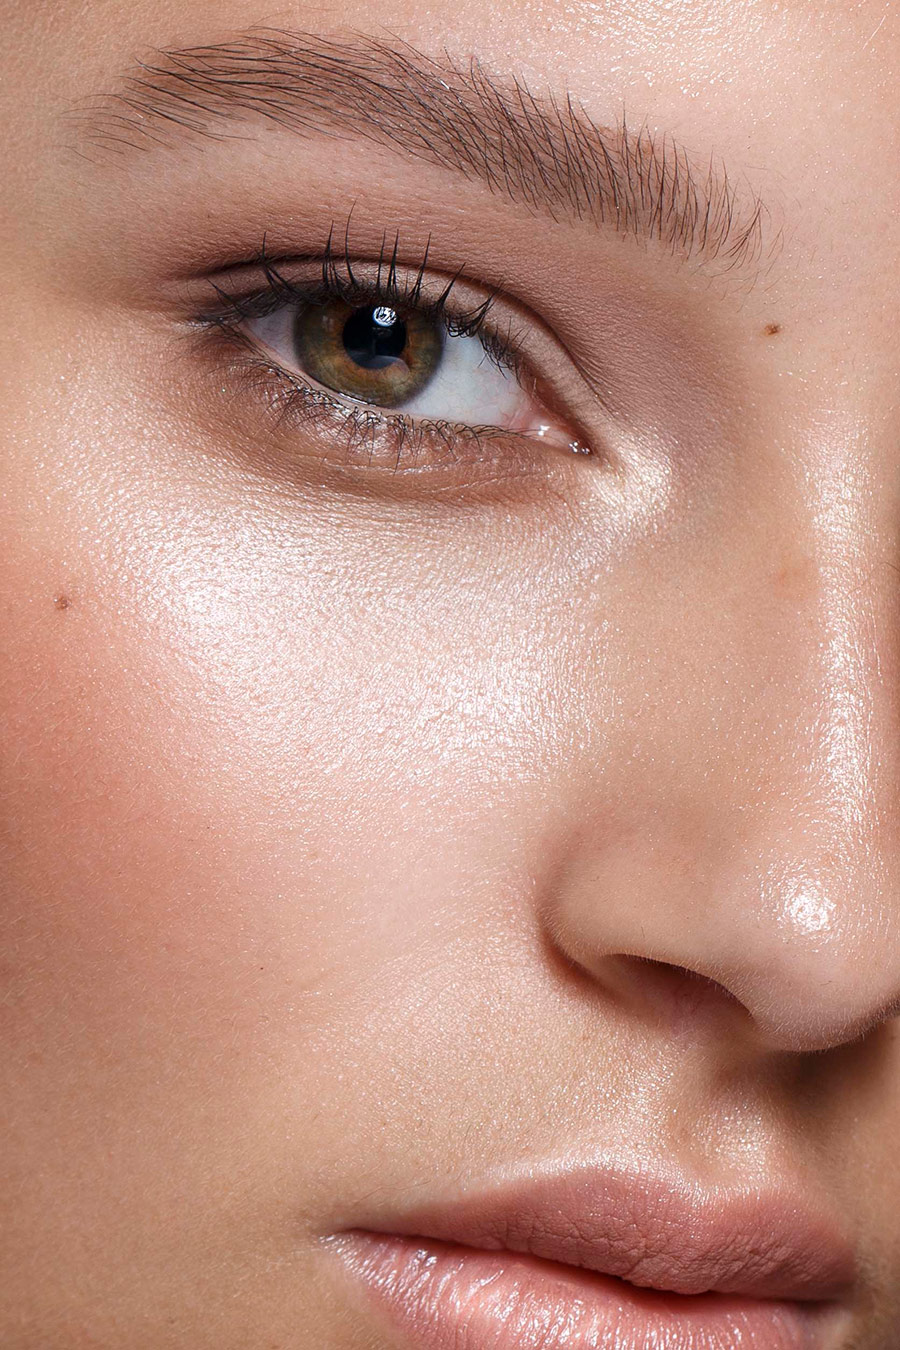
Photo & Retouch: Sonja de Vlaming | Model: Chelsey van der Heijden | Makeup: Marjolein de Ridder
To help your model prepare for the shoot, send her some notes along with the call sheet asking to pamper and take care of their face and skin in the days leading to the shoot: moisturize, scrub/exfoliate skin and lips, pluck her brows and remove peach fuzz.
Ask your model to take care of her nails if you’re planning to photograph her hands as well. Dry hands and cuticles can be a pain to retouch, nails must all be of the same length and manicured, with no residue of a nail polish they may have recently worn.
This concludes my article, and hopefully, you now have a decent grasp of what it takes to prepare for a macro beauty shoot and how you can minimize your work after the capture.
You can find more of Sonja’s work on her Website | Instagram | Facebook


Great post!!! Good advice to shoot with a macro/micro lens to capture close-up details of beauty images. I have attempted to use a long lens with quasi-micro capability and it never works and never looks right. I generally dislike the bokeh in my micro zoom (Nikon 24-105 micro) versus the amazing bokeh of my long portrait lens (Nikon 135 f/2), but for up close detail shots, the micro lens is the only one that works, and luckily bokeh is generally non-existent in a lot of beauty shots. Thanks for the tips!
Louis Joseph
NYC fashion and beauty editorial photographer
http://www.louisjosephphotography.com/nyc-fashion-photographer-in-nyc-manhattan-brooklyn-for-fashion-beauty.html
Thank you Louis, just a small correction, these lenses are called MACRO, not micro.
I am just starting out in the industry as a retouch artist. I have nothing for a portfolio and wanted to know if I am able to use the practice images that I’m getting from this site in my portfolio. Thank you so much and the images are just wonderful to practice on.
Hi Monica, yes, of course! Please make sure you credit the photographers whose images you do use.