To achieve high quality retouching, it’s essential to start by getting the most detail out of the original photograph. This video tutorial by Julia Kuzmenko, walks you through her process for ensuring that before retouching even begins, the best aspects of the photograph have been brought out.
Using Adobe Lightroom, though any RAW Converter will work, Julia demonstrates what she calls RPP – RAW Preparation Procedures. While not every photo may require this kind of attention, the following tutorial focuses on how you can easily utilize the data of RAW files to add dimension to skin, enhance tones, and make corrections with the use of the Basic and HSL (Hue / Saturation / Luminance) Panels.
RELATED: Manipulating Hues with the Color Tool in Lightroom
Her targeted approach demonstrates how to take a portrait, or beauty image, and properly focus on different aspects to improve upon such as skin and makeup. This is accomplished through the use of Virtual Copies, a feature that many Lightroom users may not use to its full advantage.
Virtual Copies allow users to make copies of the original image within Lightroom, with any adjustments they wish to apply, while using up a very minor amount of space.
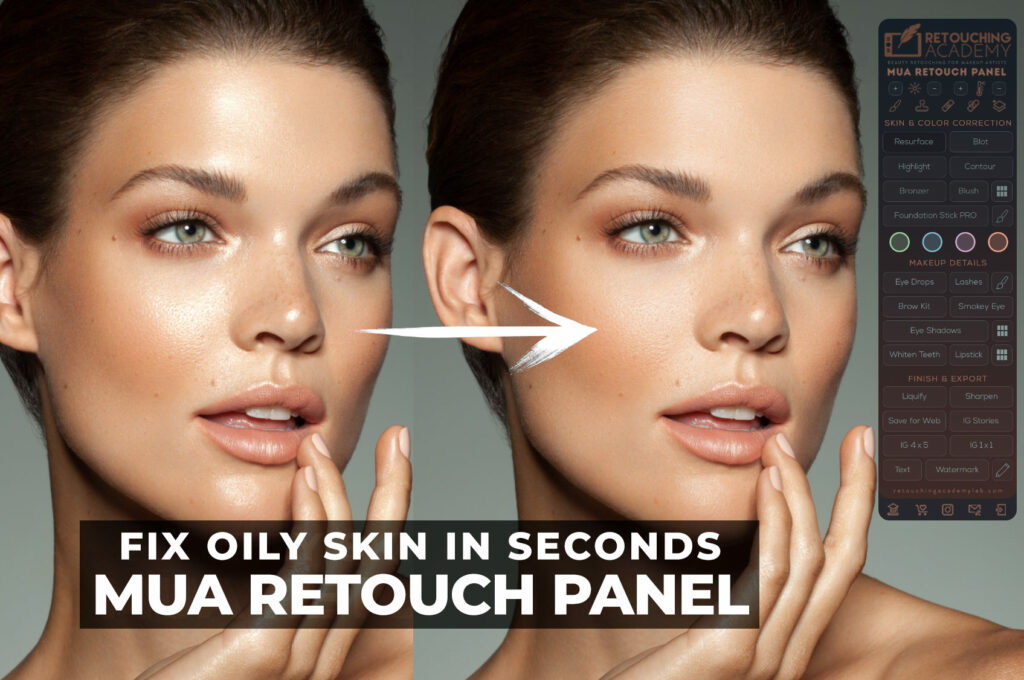
Julia explains the power behind these tools, while providing thorough instruction for their specific uses and how you can transform photographs with more flat, matte, or even oily looks to the skin, into something fresh and dewy.
If you are looking to step up your retouching, put these tips into practice, as all great things start with a strong foundation.
Source: Master Beauty Photography


