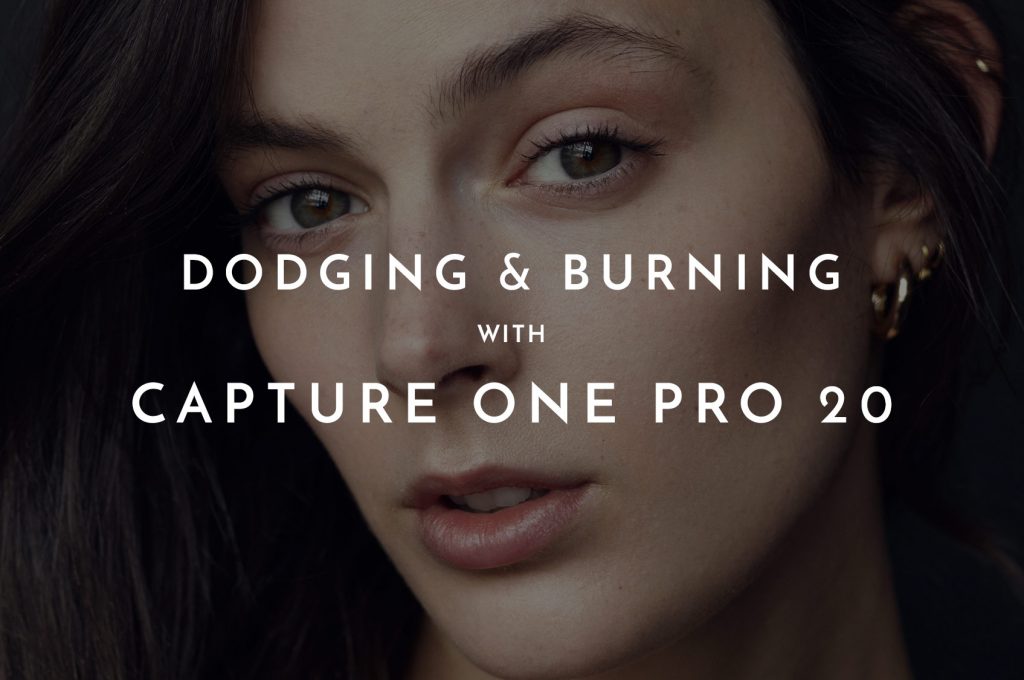
A vital technique for every retoucher to master, dodging and burning is a non-destructive method for retouching. This video tutorial demonstrates a successful workflow for utilizing dodging and burning on skin.
We previously shared Zoë Noble’s tutorial on using the clone stamp tool to clean skin and address texture concerns. This initial skin cleaning should be done prior to dodging and burning. In this video, Zoe takes us through each step of her process: layer settings, masks, curve adjustments, visual aids, brush settings, and fixing saturated color shifts.
Learn more in our Master Dodge & Burn video course (instant digital download, 3:35 hours, Michael’s Custom Actions and layered practice .PSD files).
As addressed in the video, this technique requires practice, as well as a sound understanding of human anatomy. Dodging and burning, particularly global dodging and burning where dimension and sculpting often take place, can make it easy to over-contour, just like with makeup. Understanding bone structure and the natural qualities of the face is vital to producing a polished, yet believable retouch.
If your goal is to retouch for major commercial clients and/or publications, mastering dodging and burning and elevating your retouching with proper practice and patience is the only way to go.
Zoë Noble is an English photographer and high-end retoucher, currently based in Berlin. We also previously shared her tutorials on using luminosity masks for color grading.






Great tutorial video! But there’s one little trick could be used: instead of adding Hue-Saturation adjustment layers clipped to Curves, you can just change the blend mode of Curves from Normal to Luminosity. Boom – no color shifts!
That’s not exactly correct. Color shifts will still happen in certain situations, so clipping the Hue-Saturation adjustment layer is still a more versatile method.