
Love it or hate it, compositing is a common part of digital imaging today. Whether you’re superimposing a model onto a different than captured background, or compositing a series of product photos together for a commercial campaign, a uniform color across the image will tie the elements of the composite together.
It can be extremely difficult ensuring color consistency for each asset so that the composite looks believable. However, failing to do so will result in an image that looks fake, or to use a popular term “Photoshopped,” albeit, in a derogatory sense of the word.
RELATED: One-Click Subject Selection Is Here and It Is Glorious
With that said, being well versed in the subtleties of color matching in general will undoubtedly aid in fooling even the mightiest of pixel peepers.
In this tutorial, we look at how to use Curves Adjustment Layers with the color correction option. We can access the Auto Color Correction options via the “Auto” button on the top right corners of the Curves and Levels Panels.
Here we can fine-tune the Adjustment Layer, in particular, we can specify shadow and highlight clipping percentages, and assign color values to shadows, midtones, and highlights, as demonstrated in this quick video tutorial:
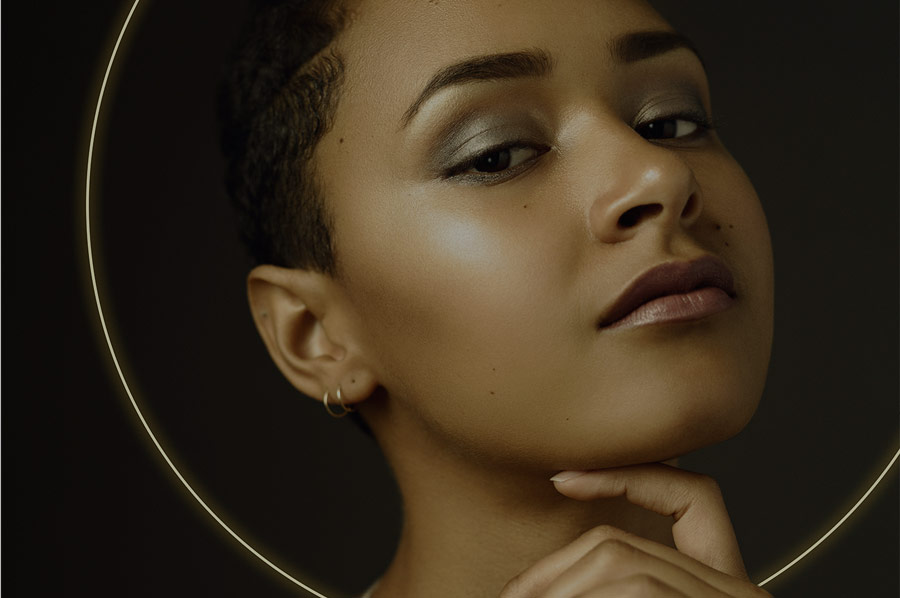
Source: Photoshop Training Channel | Featured Image: Gerry Kingsley


Such an easy way of color matching. It would make my work more definite. Thanks to you sir.
Glad you found it helpful! 🙂