This tutorial is an excerpt from [RE]TOUCHED Magazine, Issue 4: YOUR PORTFOLIO.
Benjamin Von Wong
Photographer & Visual Engineer
Website: www.vonwong.com
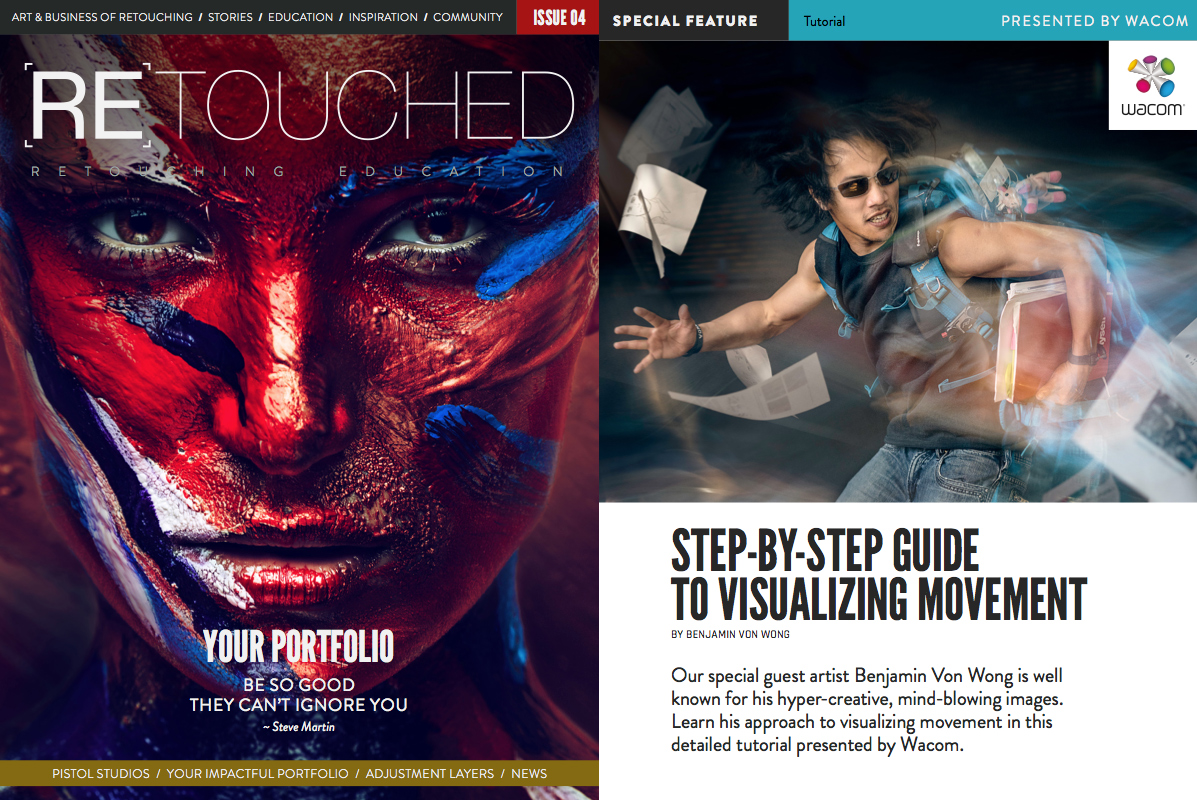
Our special guest artist Benjamin Von Wong is well known for his hyper-creative, mind-blowing images. Learn his approach to visualizing movement in this detailed tutorial presented by Wacom.

Create More Magic
In this tutorial, Benjamin Von Wong will show you how to optimize your artwork and mystify your audience with the help of a motion blur effect. Step by step, the visual artist lays open his work process in Photoshop.
All digital work shown in this tutorial was carried out with the Wacom pen tablet Intuos Pro, using Adobe® Photoshop®.
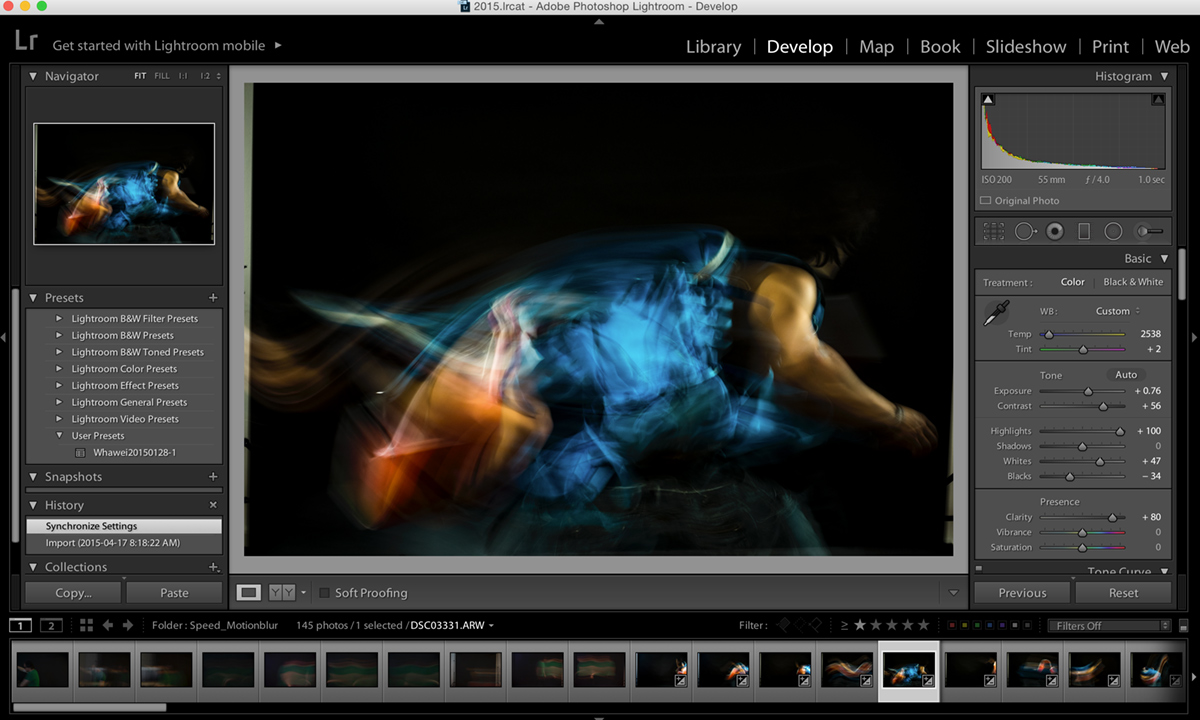
STEP 1: Select Your Favorite Image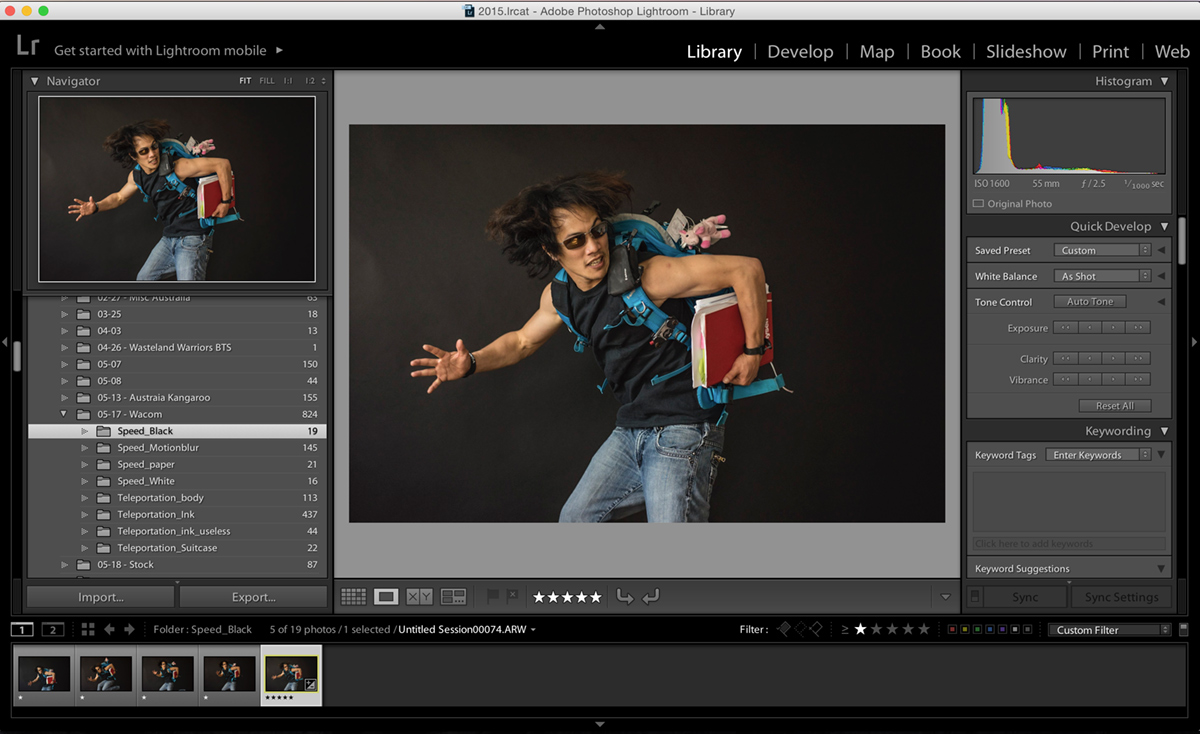
Pick the best image in Adobe Lightroom. Using stars, rate the image that you’re most interested in.
STEP 2: Start Compositing
Drag the image into the file and begin masking out edges. One of the key things to do when creating a composite is to make sure that no edges ever show. Mask those out gently (without worrying too much about the details) using a large soft brush. This works well without having to go through the trouble of doing any selections.

STEP 3: Create a Gradient Background
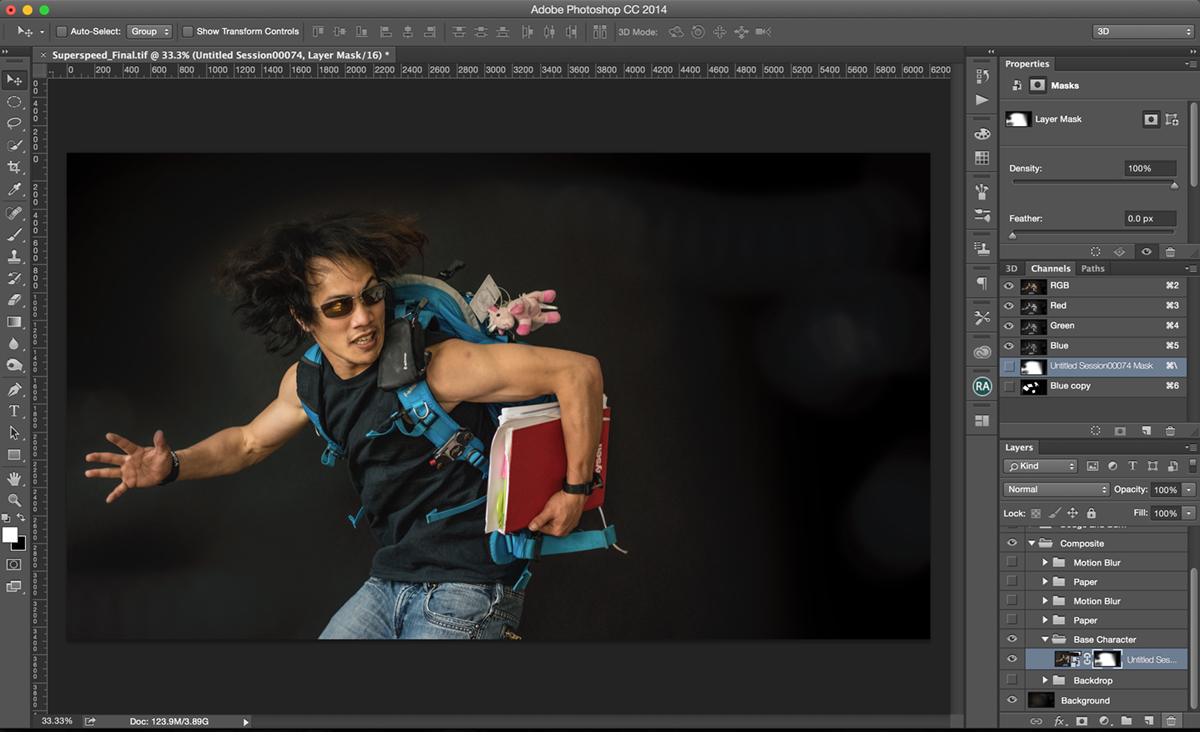
Since we didn’t take the time to do a proper selection, let’s continue being lazy and create a gradient layer in the background by simply sampling from the original backdrop to black and drawing a gradient on a new layer. This will become the new background layer.
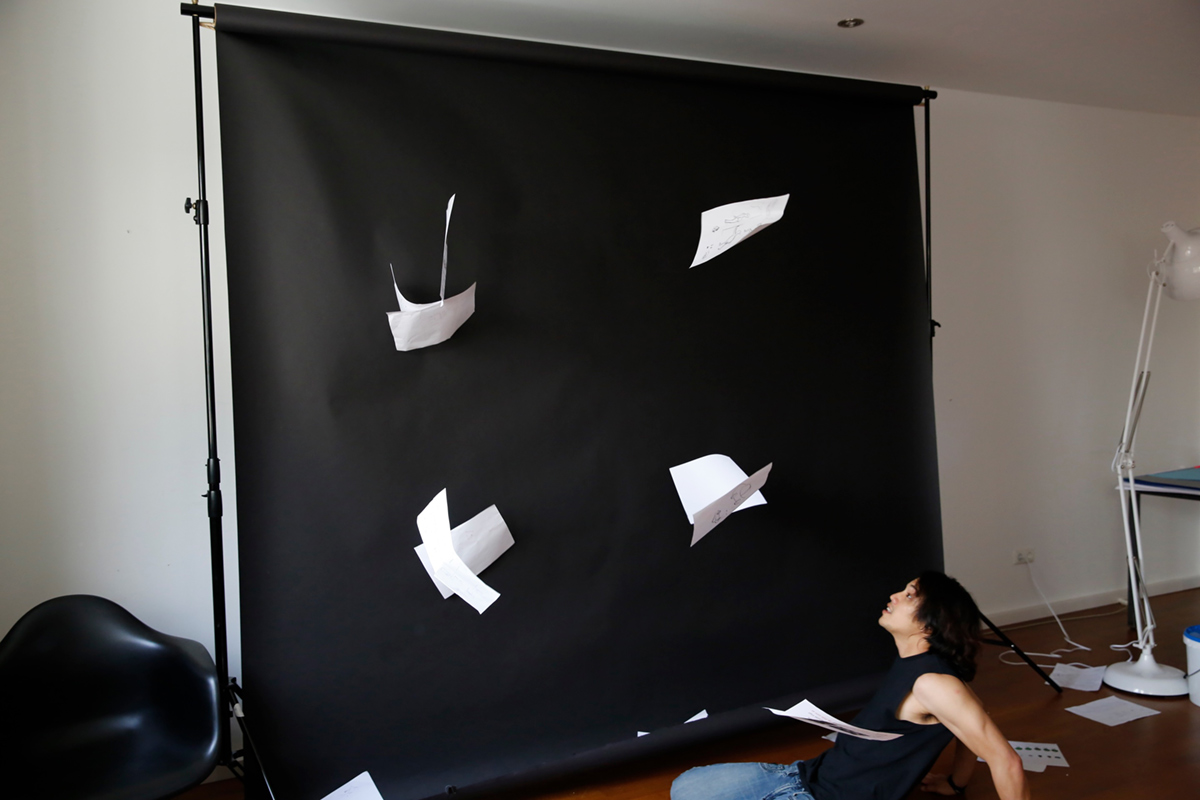
STEP 4: Begin Isolating Proper Motion Blur
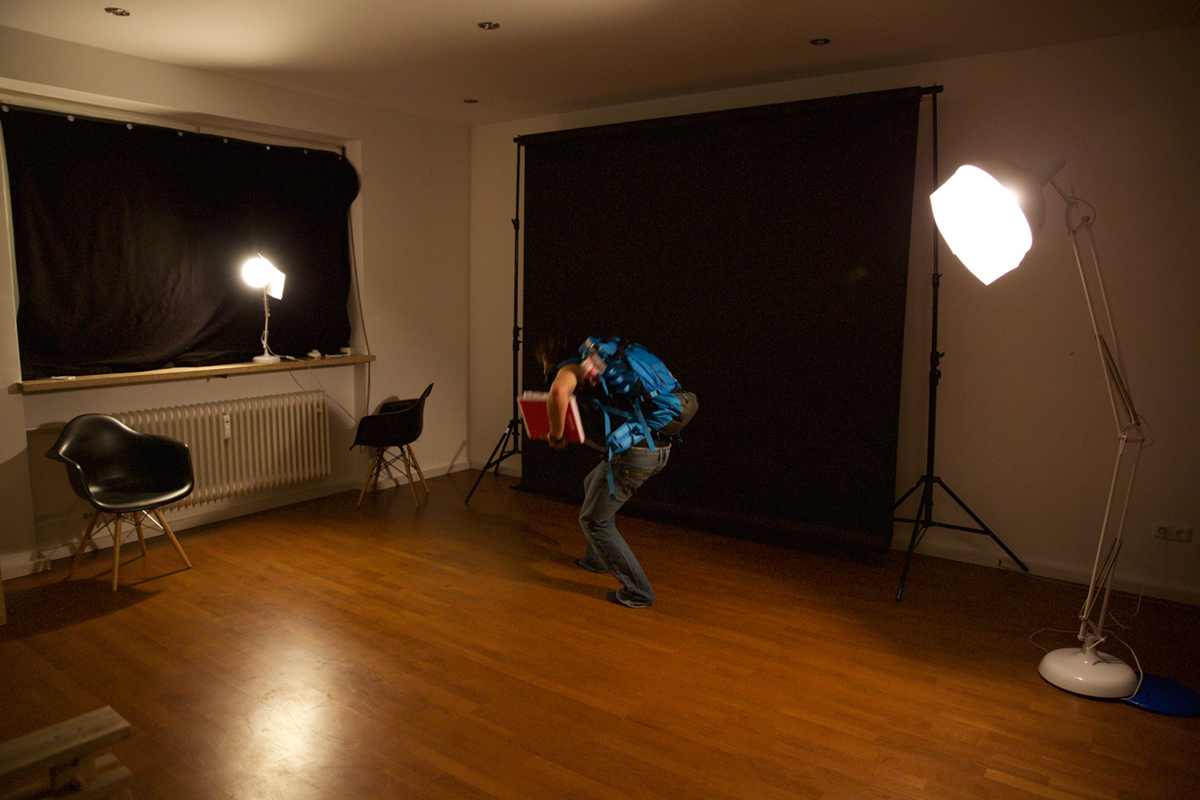
Capturing blurred elements in camera using long exposure
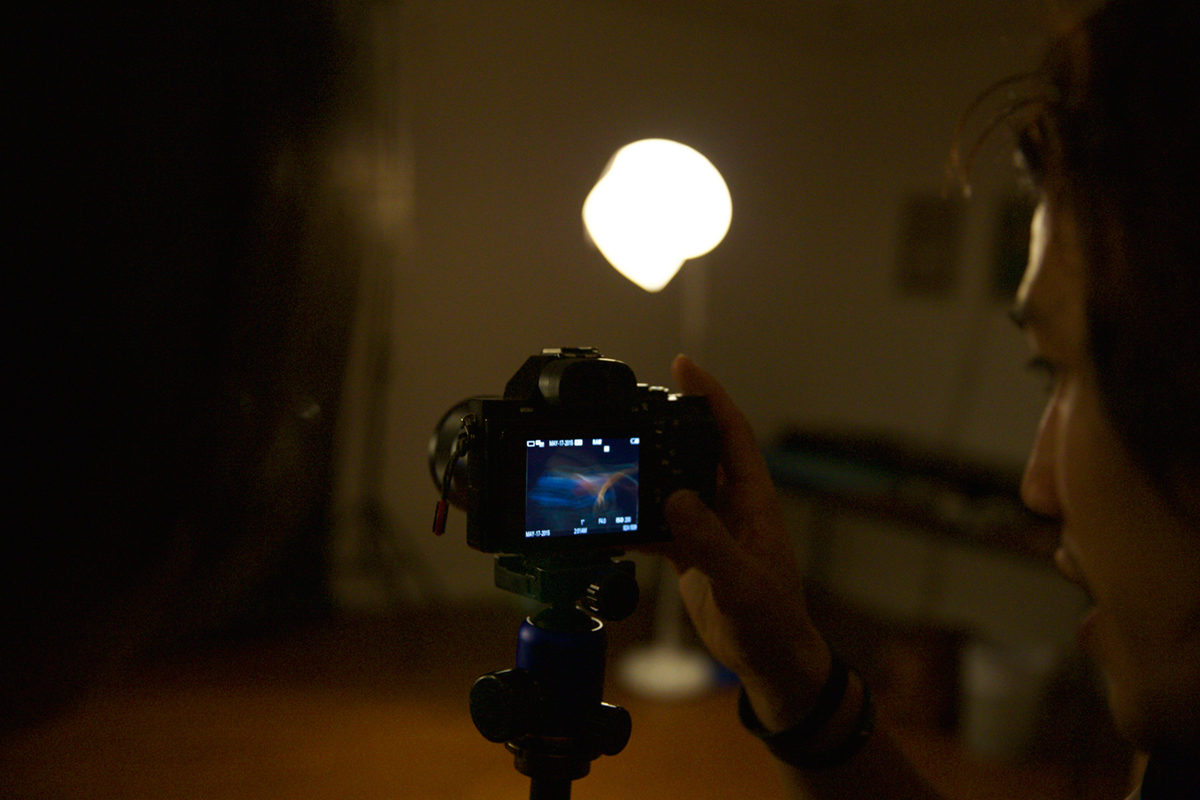
Capturing blurred elements in camera using long exposure
Before you do anything else, prepare these files in Lightroom by increasing contrast, boosting highlights and dropping blacks.

Go back into Lightroom and sync all photos you’re going to incorporate into your artwork to a nice high contrast file. This time, we’re going to be boosting highlights, dropping shadows and generally increasing contrast as much as possible in our images to capture the desired blurs – the idea being that we will only see the lighter areas in the photo when composited in.
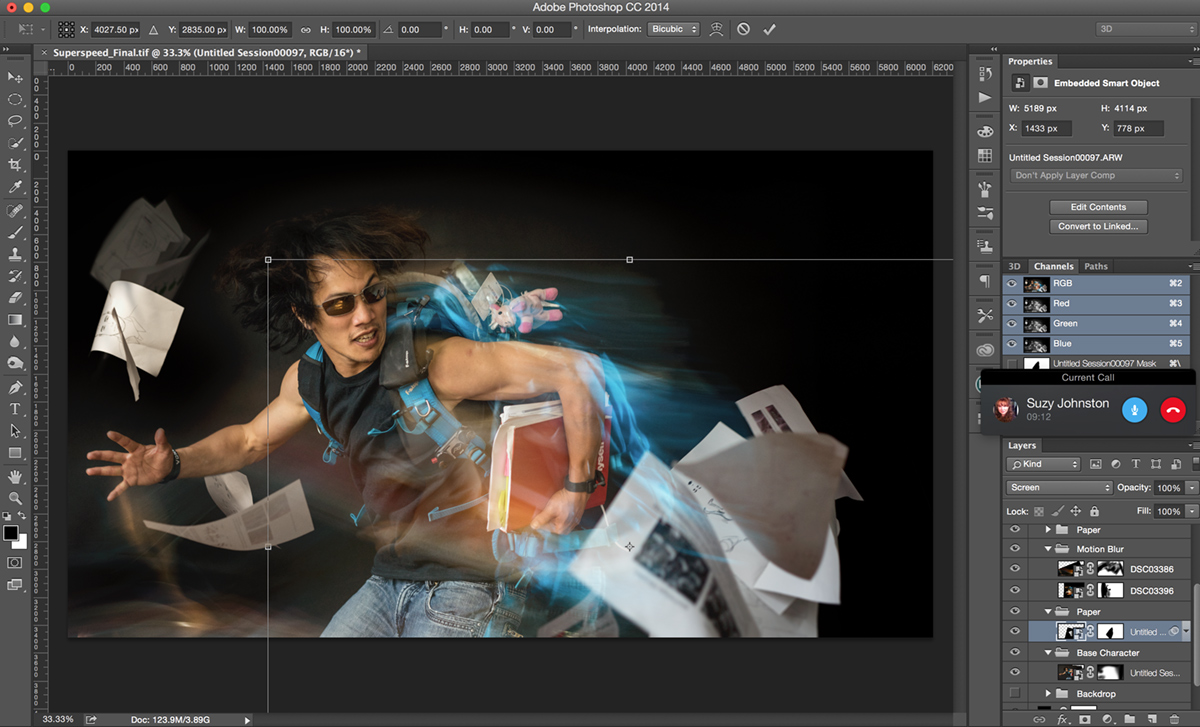
STEP 5: Mask in Different Elements
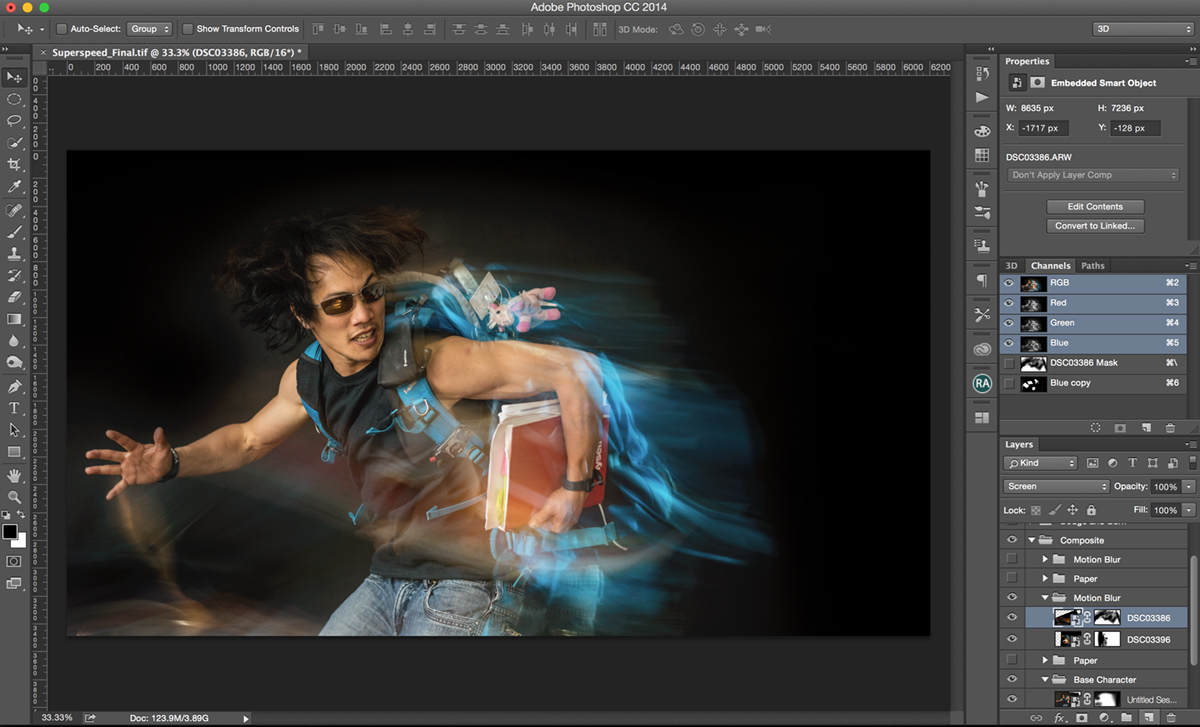
Use the Transform tool to make the different pieces work, use the Screen Blending mode to only see the blurs.
Now that we’ve got the blurs, all that needs to be done is to simply overlay them on top of our edits. The idea is to try and line up the various colors so that they look “convincing.” Try to imagine the lines of motion that would be created by a running person and place the motion blurs accordingly.

Use the Screen Blending mode so that only the light parts shine through.
Capturing additional elements in camera
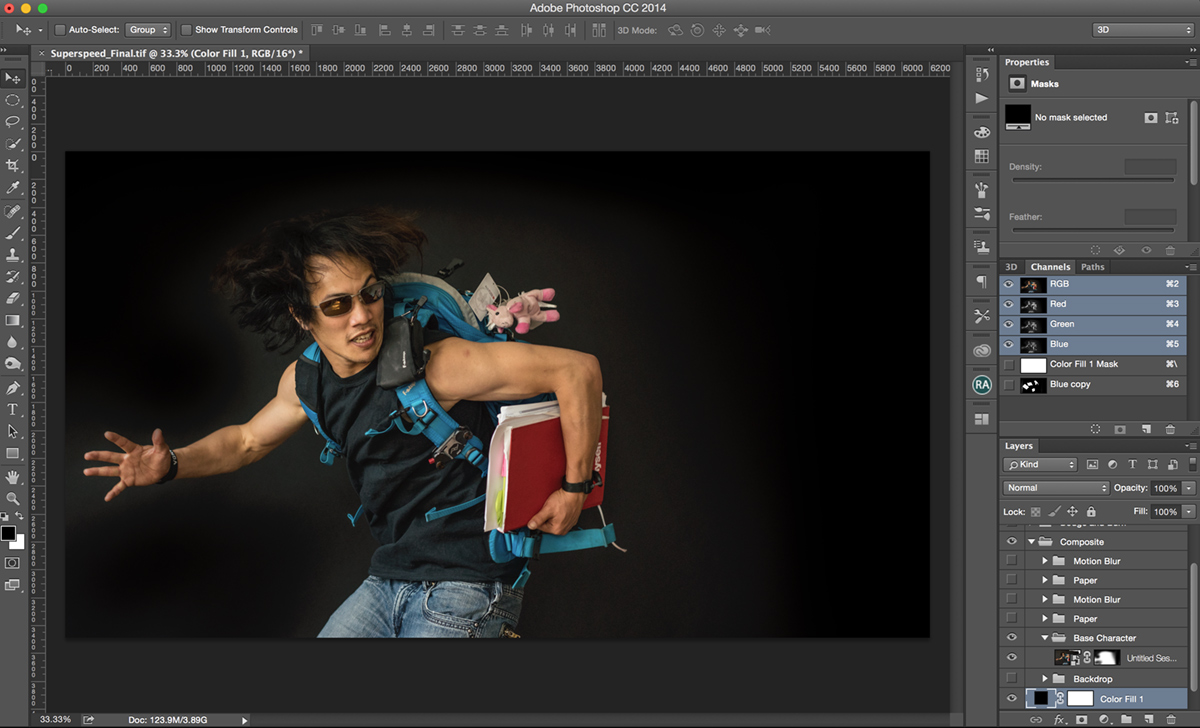
STEP 6: Select Additional Elements
Motion is only one part of the equation. Now we need to also warp in pieces of paper.
The idea behind any successful composite is to have movement in both the foreground and the background, so in this instance, we need to make sure the paper is solid and not just translucent.

We decide to use the Channel Masking technique by simply moving over to Channels > Duplicating the layer with the most contrast > Bumping up the levels > and transforming that into a selection by hitting the Cmd+Click button. From there we transform the selection into a mask….
—————
Read, watch and listen to the remaining steps 7-12 of this tutorial in Issue 4: Your Portfolio.
Visit the Wacom website to find out how to enhance your workflow and efficiency as an artist using modern digital technology. Our pens and tablets open up new possibilities for speed and precision and give you more freedom to experiment.
READ MORE: Interview with Benjamin Von Wong, Presented by Wacom