With the release of the latest version of Capture One Pro – Version 12 – only a few days ago, we find ourselves with a host of new features and performance improvements that are sure to benefit photographers of all genres. One of the most notable features is the ability to create flexible luminosity masks that you can then apply exposure, color corrections and other adjustments to.
Capture One 11 really brought the concept of layers to the forefront by making them available across adjustment tabs and providing support for nearly all adjustment tools. They also improved the ability to create masks by adding powerful tools like the Refine Mask that made subject or object isolation possible in a very accurate and controlled manner. Layers have become so powerful as of late, that a video dedicated to their use was well overdue.
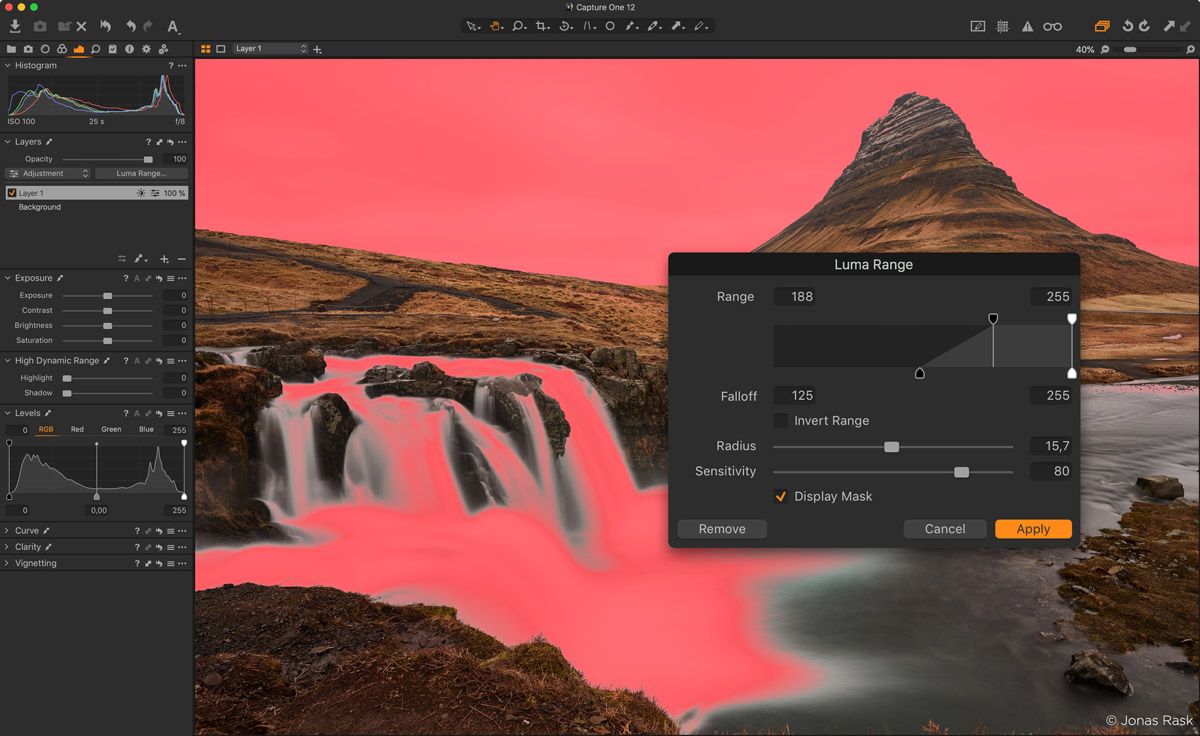
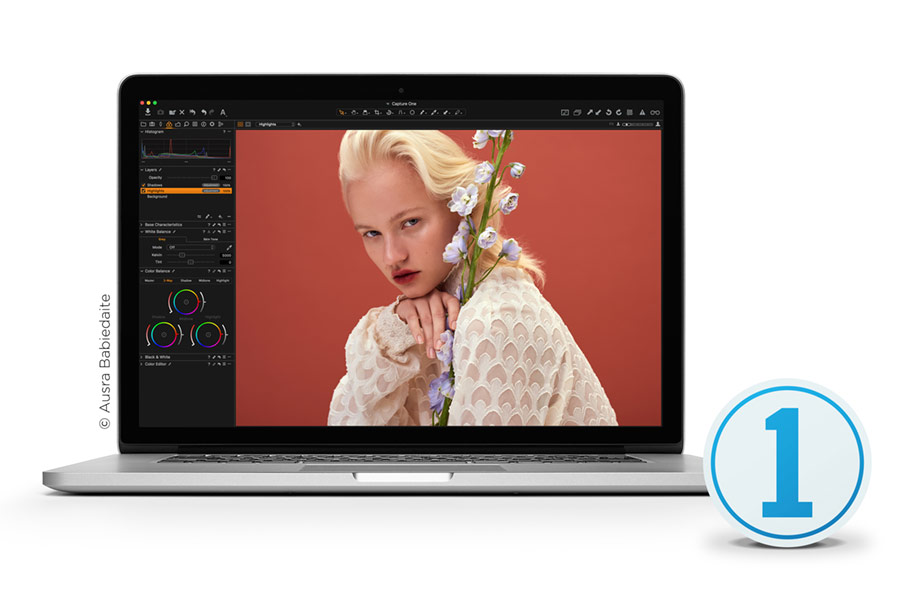
Luma Range example / CaptureOne v12.0 release
In the below tutorial, I demonstrate not only the new features such as Luma Range and radial gradient, but also cover layers and masks in general. My goal with this video is to show you how to get the most out of your images, right in the raw file, under a variety of common scenarios.
While the concept of layers is quite simple, some of the tools have their own little nuances that may not be immediately apparent, so hopefully this tutorial gives you a solid foundation for exploring all that they are capable of.
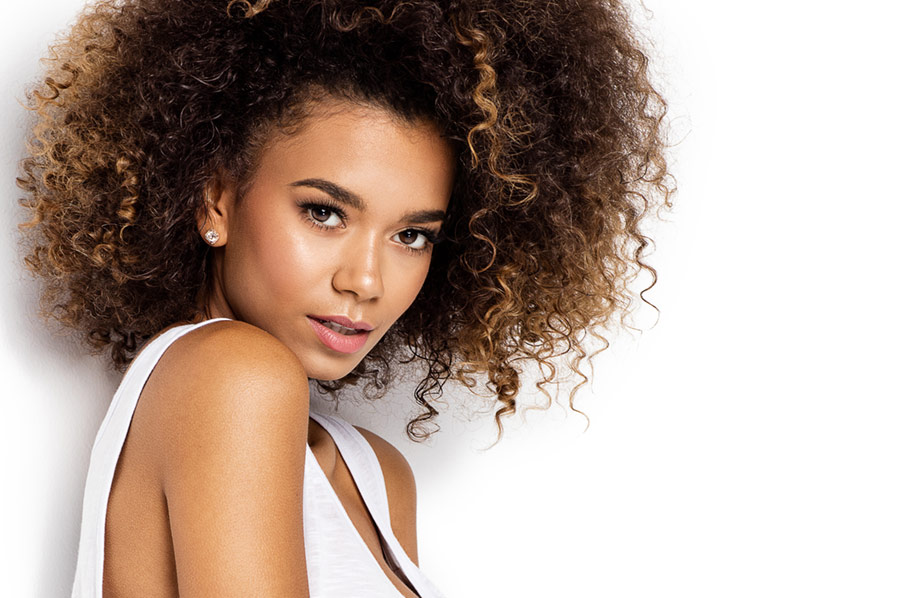
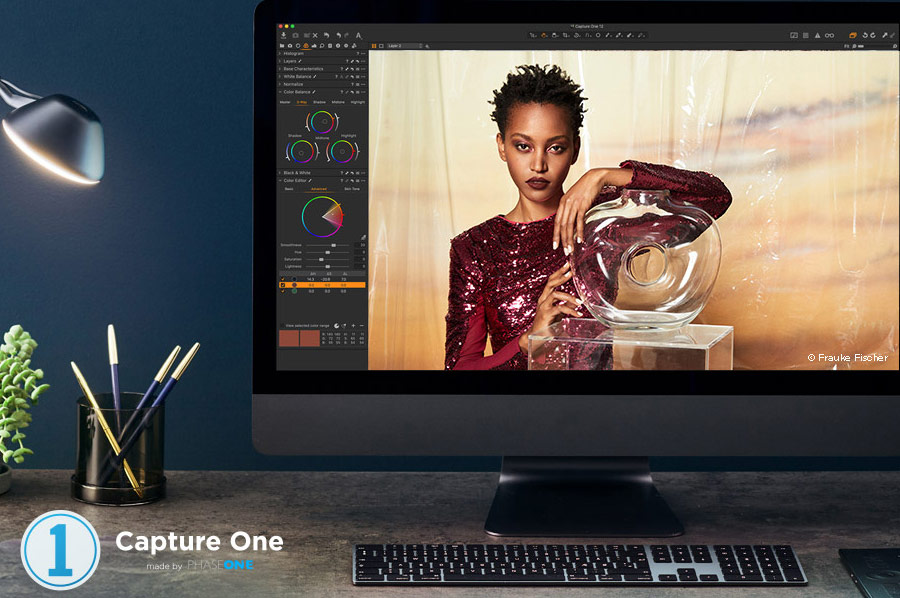
Featured Image: CaptureOne 12 release image by Frauke Fischer