
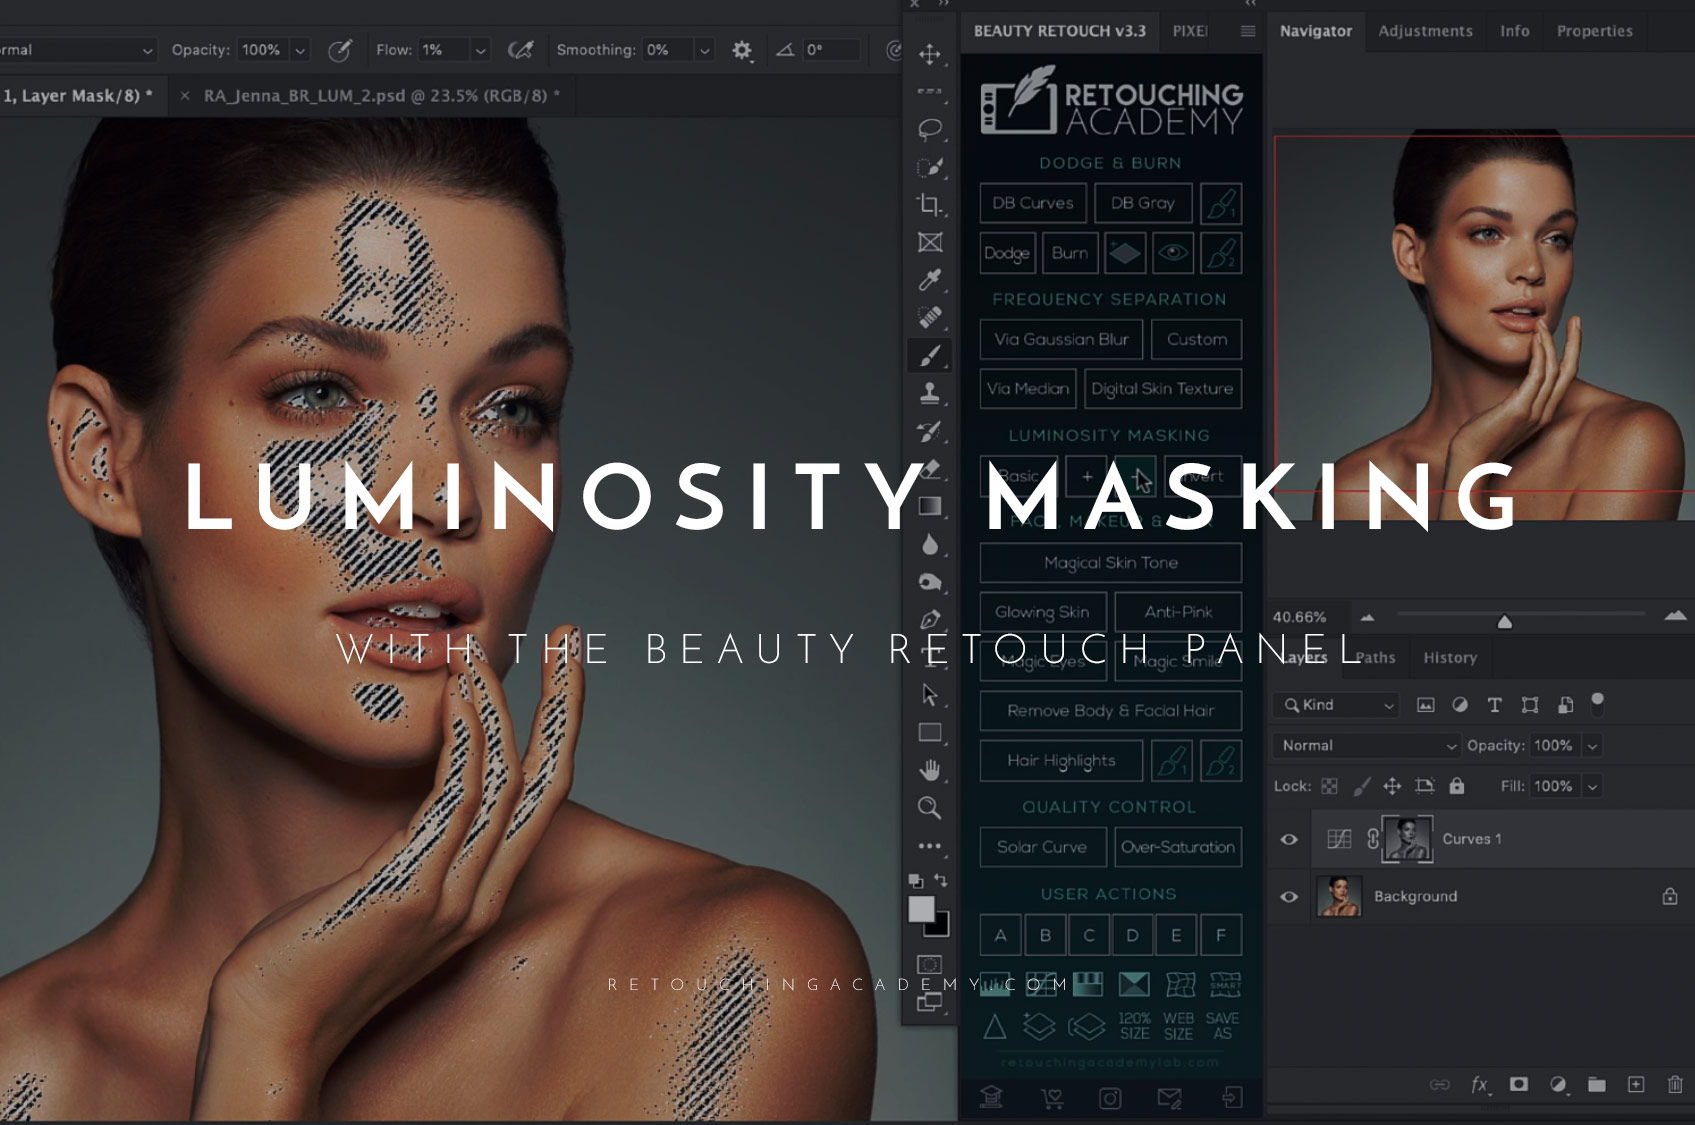
Check out our new video for the Beauty Retouch panel users on how to use the Luminosity Masking buttons. Our Luminosity Masking scripts create quick selections based on the luminosity values of your image, so you can turn them into Layer Masks and appropriately target highlights, mid-tones, or shadows for selective color grading or luminosity adjustments.
For example, you can quickly select shiny areas of skin with unmatched precision to “mattify” them. Or, the opposite, quickly and easily punch up highlights on the otherwise flat-looking skin. ⠀⠀⠀⠀⠀⠀⠀⠀⠀
When you establish the original luminosity-based selection by pressing the Basic button, you will see the marching ants. You can then expand or contract the selection with the + and – buttons, and you can also invert your selection once you’ve adjusted it. ⠀⠀⠀⠀⠀⠀⠀⠀⠀
If you have not yet explored the power of Luminosity Masking, begin today! It is an exceptional tool in your retouching workflow that totally deserves you to get to know it better through continuing practice and our Luminosity Masking scripts will help you do that faster! ⠀⠀⠀⠀⠀⠀⠀⠀⠀
✍️ The latest Beauty Retouch panel is now available for download in your account:
https://retouchingacademylab.com/your-downloads/
✳️ More video tutorials at https://retouchingacademylab.com/video-tutorials/


Hi Julia, what a great tutorial on luminosity masking. Very straight forward and professional. I was looking for good tutorials to expand my Photoshop skills and will look no more. This blog is brilliant. I will be recommending it. Thank you!