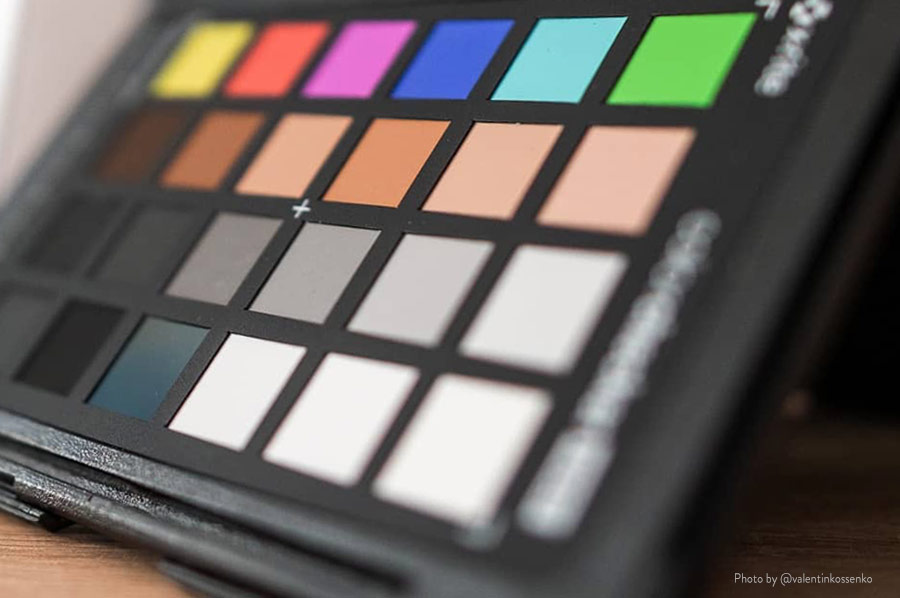
There is no understating the importance of thoughtful color when it comes to post-production. Regardless of the genre of photography, color impacts the viewer’s perception of mood, texture, atmosphere, and more.
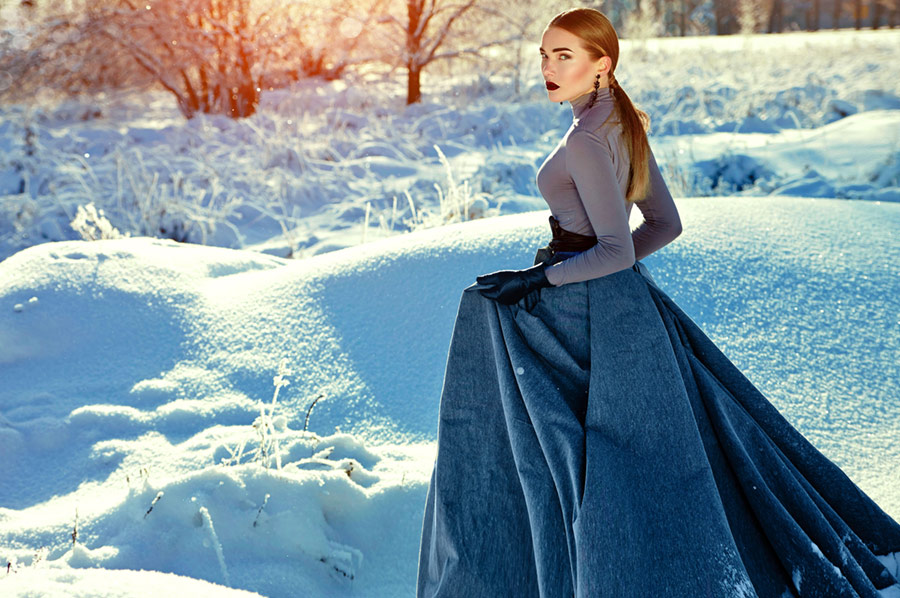
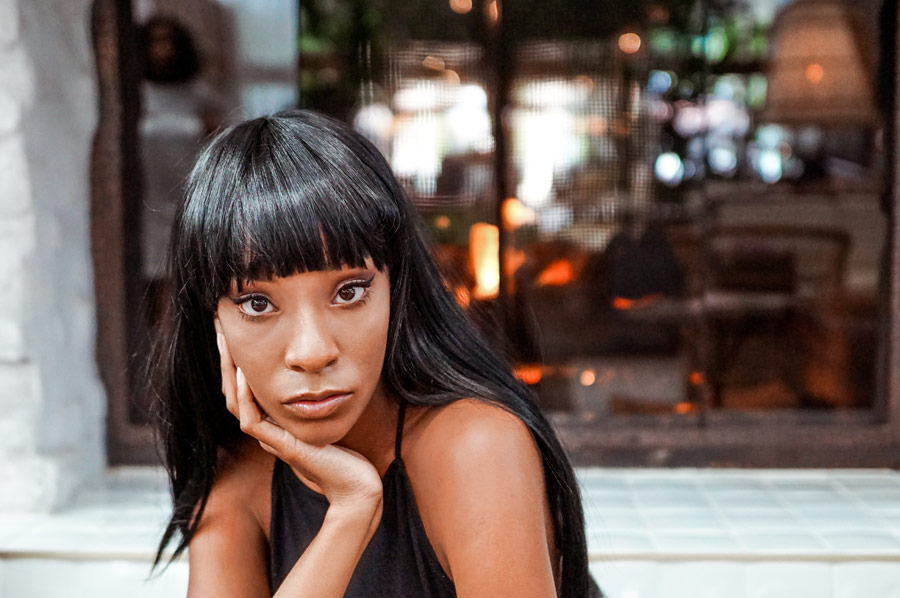
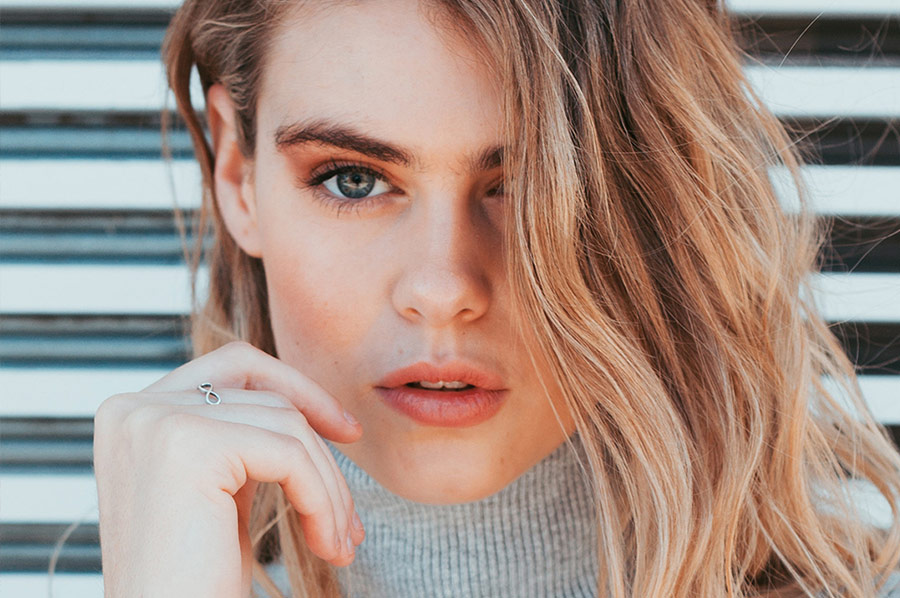
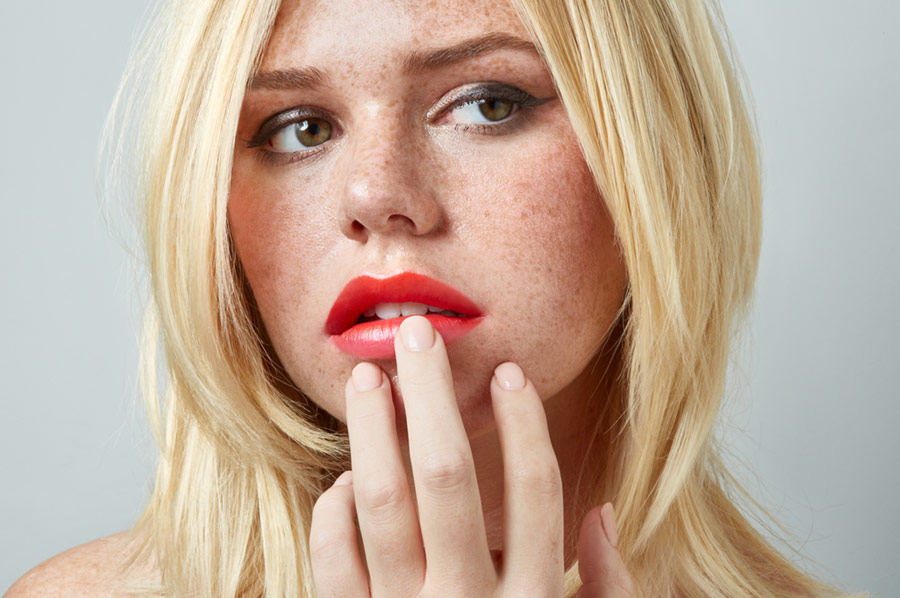
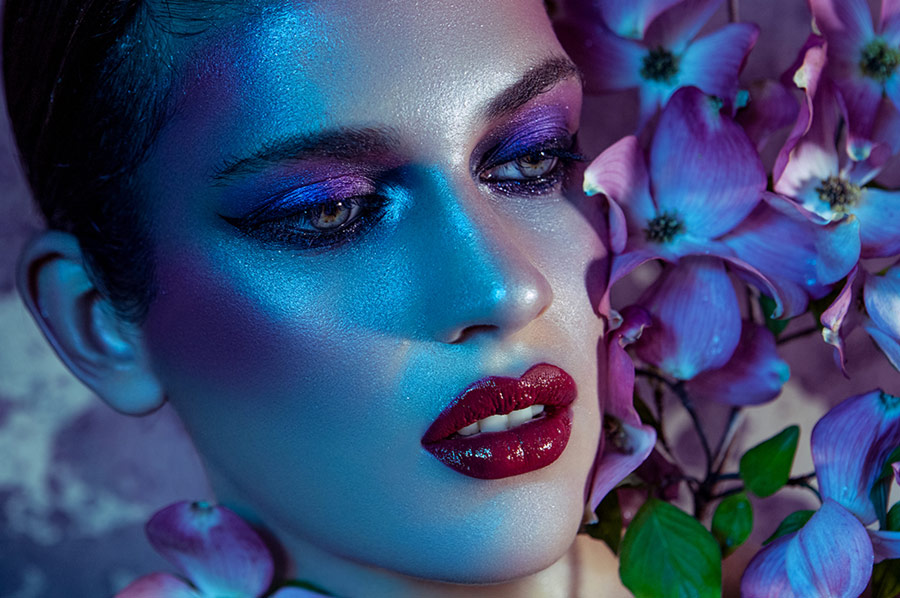
Because of that, refining the process for color grading photographs should be the priority of every retoucher. In this video tutorial, Elena Jasic demonstrates her methods for manipulating the tones and values of beauty or fashion images through the use of Adjustment Layers.
Using adjustment layers to take control of the colors and tonality of a photograph is a terrific, non-destructive method that allows for endless modifications. In the video above, Elena walks through a general overview of commonly used adjustment layers, specifically:
1. Black & White
This tool is particularly useful for augmenting the tonal range of an image, drawing out highlights, shadows, and midtones through the color sliders, along with the use of Layer Blend Modes such as Soft Light.
2. Selective Color
While Black & White affects the relationships between the luminance of colors, Selective Color allows you to manipulate various color channels, along with values such as Whites, Blacks, and Neutrals. This grants more control of the hues themselves.
3. Curves
A prevalent option for adjusting overall exposure, Curves can also impact colors by selecting the Red, Green, or Blue channels. As shown in the video, an S-Curve is a popular approach for carefully increasing contrast.
4. Organization & Refining
Once you are pleased with your color grading, select your created Adjustment Layers and drag them to the Create a New Group icon. Once grouped, those layers can now be quickly toggled on and off, as well as granting easier access for further adjustments. Previewing each layer, as well as lowering the Fill or Opacity percentages, enables dialing in the exact effects you wish to see on your final product.

RELATED: Learn All 19 Adjustment Layers in Photoshop in Just 33 Minutes
One tip not shared in this video, is another benefit of using Adjustment Layers for color work. They can be easily duplicated on to other files. Do do this, right-click on the group and select Duplicate Group. Afterward, you will select the file you wish to copy the group to, and repeat those steps for your collection of photographs. This will save time while allowing you to process an entire set the same way for efficient consistency.
Source & Image: Elena Jasic on YouTube | Elena Jasic