Color goes a long way in creating a strong first impression with viewers, making it an essential part of every image maker’s workflow.
In this video tutorial by Zoë Noble, you will learn how to use the Color Balance Tool in Capture One Pro to manipulate colors effectively and efficiently.
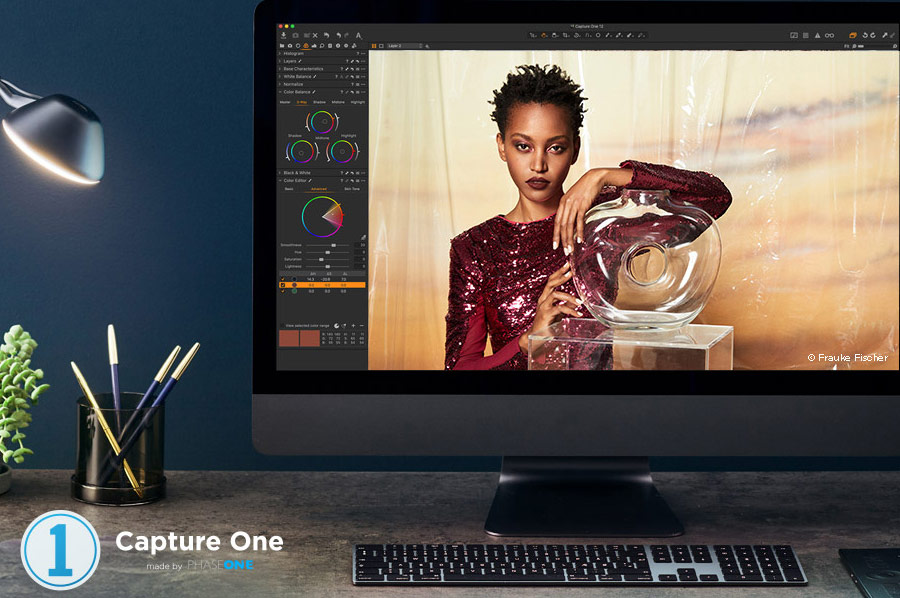
First, go to the Color Tab at the top of the window, starting with White Balance to set the color temperature and mood to what you prefer. You may not want to perform this step, if you are working on a product shoot where the color needs to be as accurate as possible. For the purposes of cooling, warming, or tinting your photograph, however, the White Balance tool works like a charm.
Moving now to Color Balance, the first wheel, called the Master Wheel, allows you to control the overall tone. Click on the control point at the center of the circle and then move from either side to cool or warm up the image. If you move the pointer away from the center it increases saturation, or if you prefer you can use the slider on the left to adjust the intensity of the hue. The slider on the right is used to control brightness. Note that the slider on the right is disabled when using the Master Wheel. If you wish to reset your changes back to default, do so by double-clicking on the center.
RELATED: Working On Skin Tones In Capture One
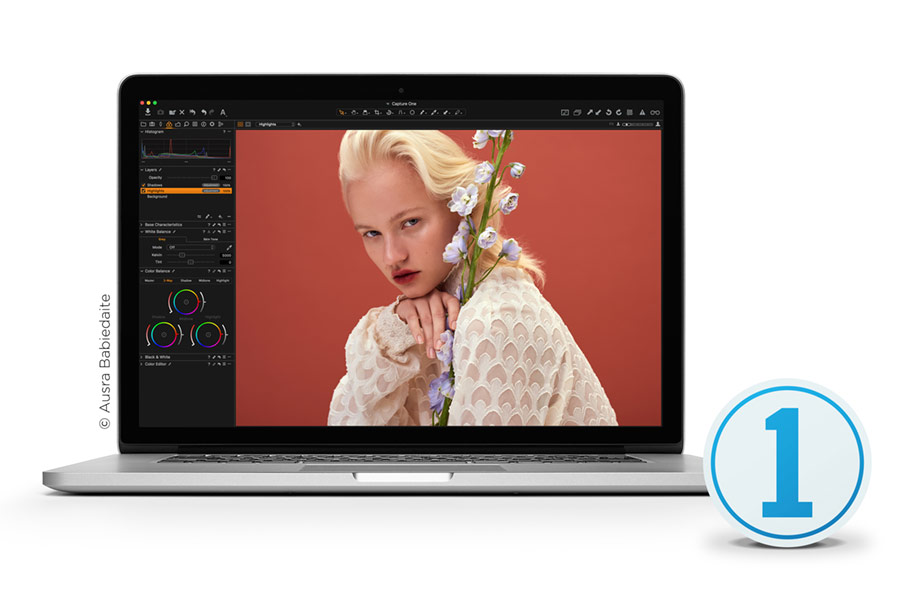
You can then click the tabs at the top of the Color Balance tool to get a full view of the other wheels and more accurately adjust them. If you are aiming for cooler tones in the shadows, it is typically recommended to go for warmer tones in the highlights, for complementary colors. It’s helpful to possess a basic understanding of color theory and to also keep in mind that making minor adjustments that are more subtle, rather than completely overhauling the image’s tones, is often preferable. This all depends on your vision and the mood that you are hoping to create.
Once you are satisfied with your color treatment, you can save the color edits as a preset. This is useful if you want to use these settings with other images in a set, or for use later on. Even if you plan to use Photoshop you can use this tool to get an idea of how to proceed once you export the file to Photoshop.
Spend time color grading your photographs within Capture One Pro to fully grasp the impact that subtle changes can make, and make sure not to skimp on this part of your workflow.
Source: Zoë Noble | Image Source: Zoë Noble