For those interested in switching to Capture One 11 as their primary RAW image editor, this quick introductory video is a great place to start your transition.
In this tutorial, you will learn how to use essential adjustments for the beginning stages of your image editing workflow.
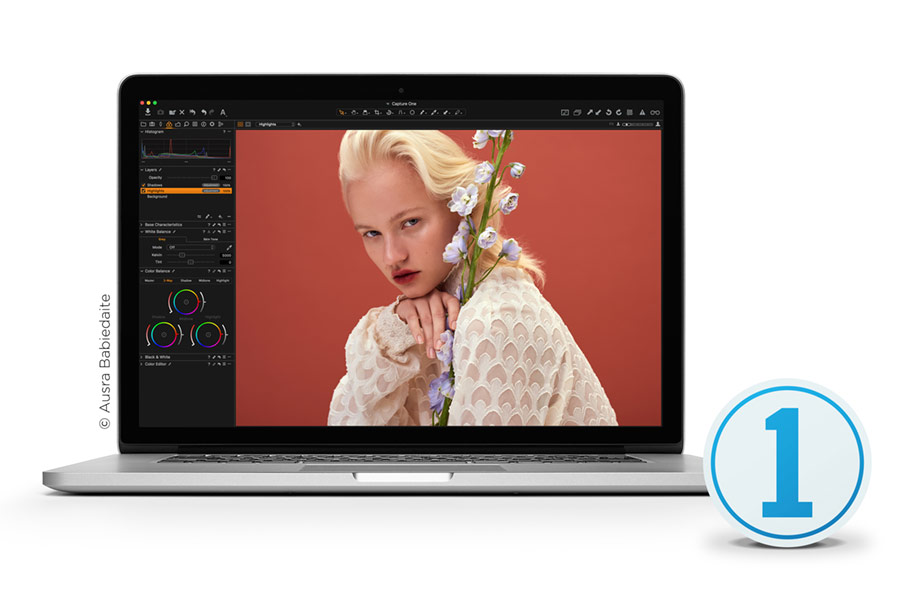
As shown in the video above, the bulk of Capture One’s Essential Adjustment Tools are located in the Exposure and Color tabs. These powerful tools will be the basis for RAW conversion before retouching begins. Below are the topics that are covered within this introductory video.
White Balance
White Balance can be adjusted by dragging the Kelvin and Tint sliders, or selecting one of the presets from the Mode dropdown. You can also leverage the Picker to sample an area of the image such as a neutral gray.
Exposure
Exposure adjustments are located within the Exposure tab, and consist of sliders for common adjustments such as Exposure, Contrast, Brightness, and Saturation. For more precise control over exposure, use the RGB or Luma options within the Curves Tool. Other tools that impact the overall tonality of a photograph within this tab are Levels and High Dynamic Range.
Clarity
This setting is used for increasing or decreasing contrast within the midtones of an image, by increasing or decreasing the details. Structure, also inside of the Clarity tool, improves edge definition, making it most suitable when adjusting the details of landscapes or nature images.
Vignetting
Adding a simple vignette will either darken or lighten the edges of an image, with the ability to choose different methods and shapes for applying the vignette.
Color Editor
Basic color editing is housed within this tool, located within the Color tab. This is one of Capture One’s most powerful value propositions, granting users precise control over colors that are typically rendered with smooth gradation throughout the photograph.
RELATED: How to Color Grade using the Color Balance Tool in Capture One Pro
Copying Adjustments
Once you’ve made your adjustments to one image, you can perform batch processing to apply those changes to multiple images all at once. To do this, select the edited image, along with the images you wish to apply the adjustments to.
Ensure that your edited image is selected with a white frame, and click on the Copy Adjustments Arrow at the top right of the screen.
To apply them to chosen images, you will then click on the Apply Adjustments Arrow. Further options for copying only specific adjustments are detailed within the video.
In under five minutes, you will walk away from this tutorial with a working grasp of some of the most essential tools within Capture One 11.
Source: Capture One Pro | Image Source: Kendra Paige