A hidden gem within Photoshop is the Color Lookup Adjustment Layer, which utilizes LUTs for a different approach to color grading images. This lightning-fast tutorial by tutvid will give you a crash course in how to create LUTs, as well as their utility when taking control of the color of your photographs.
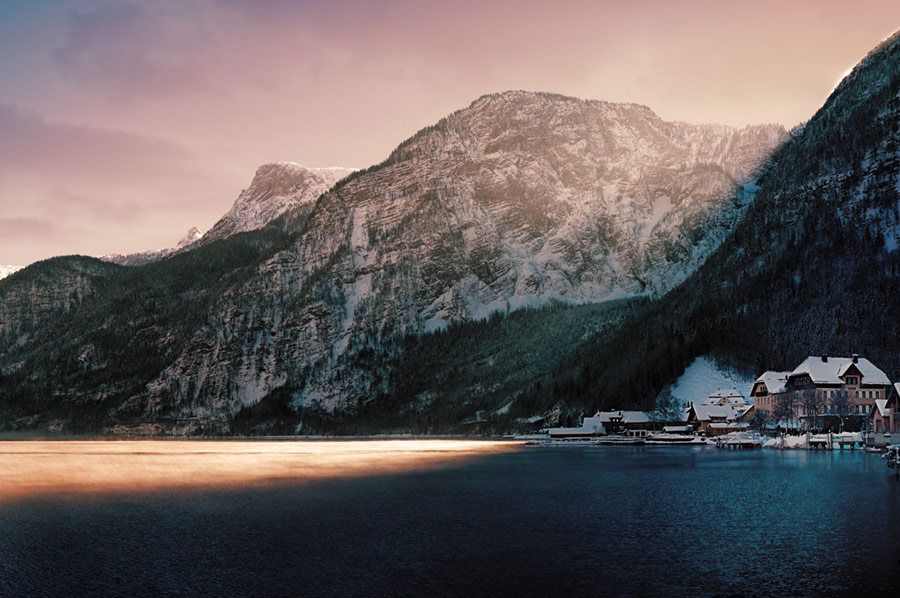
Before we begin, let’s define what a LUT, shown as 3D LUT, even is. LUT stands for Lookup Table, which is used for mapping one color space to another. Primarily, 3D LUTs are used in the film industry for showing how colors will be reproduced, either after color grading or on another display device. Within Photoshop, this means creating a color preset (the 3D LUT), which can be generated from a collection of adjustment layers to tweak the hues and values of your work exactly as you would like them. Watch the video tutorial below to see this in action.
In the demonstration above, there is a mix of adjustment layers such as Curves, Channel Mixer, Gradient Map, Levels, Black & White, and Color Balance, which has resulted in the desired color grading. Rather than select all of those layers and repeatedly duplicate the layers onto other files, you can create a 3D LUT from those adjustments and quickly apply them.
RELATED: How to Use and Create Color Look Up Tables in Photoshop
To create a Color Lookup Table, you must have your adjustment layers above your background image, with layer masks, but no masking performed to those masks. Make sure that the background layer is locked, and that the layer is Rasterized and not a Smart Object. If your bottom layer is not a background, you can fix this by going to Layer, New, and then Background from Layer.
With your background layer locked and adjustment layers ready to go, click on File, Export, and then Color Lookup Tables. From there it will ask for a description, quality, and format. In the tutorial, the suggested method is to lower the quality to Medium or High rather than Maximum and to use CUBE instead of 3DL (CUBE is more widely accessible across other applications). Rename and save this LUT file where you want to.
In a new file where you wish to apply this newly created LUT, you can either have the Adjustment Layers window open, or select the icon from the Layers window, and select Color Lookup. Once there, beside 3DLUT File, you will choose Load 3D LUT, and select your newly generated LUT. You can also try the ones already provided in Photoshop. However, if you’re particular about how colors are treated in your work, using custom LUTs will be the better option.
Once your 3D LUT loads, you will see all of your adjustments in a single adjustment layer, with a few additional options for making changes to the way Photoshop reads those colors. You can change the Data Order from RGB to BGR, as well as the Table Order, mask the adjustment using the Layer Mask, and adjust the Opacity and Fill to dial in the colors exactly as you want them.
For retouchers, if you have a set “look” you have created while color grading, this method can be a very efficient method for ensuring consistency across a set of images. If Color Lookup Tables are new to you, we hope this tutorial will motivate you to test them out as a potential new addition to your workflow.
Source: tutvid Youtube Channel
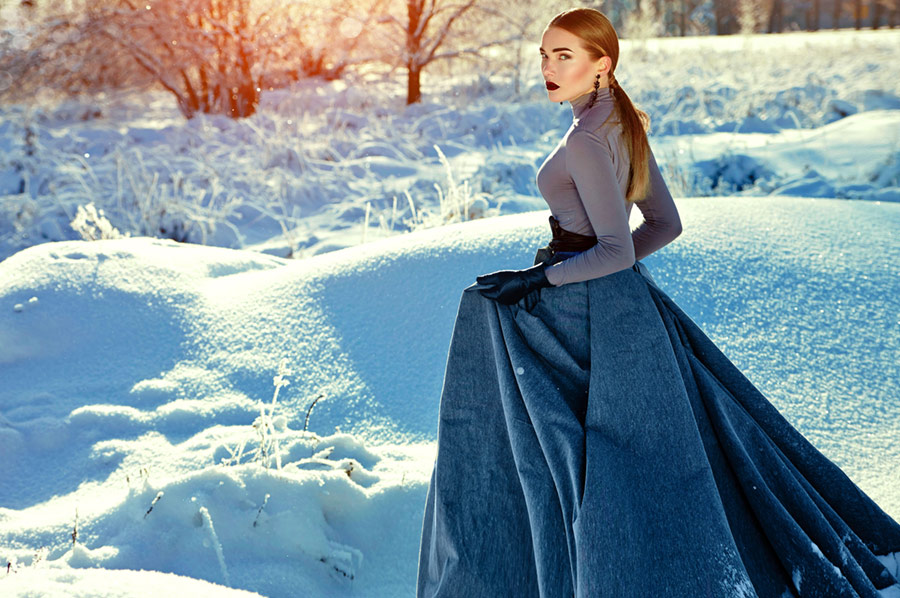
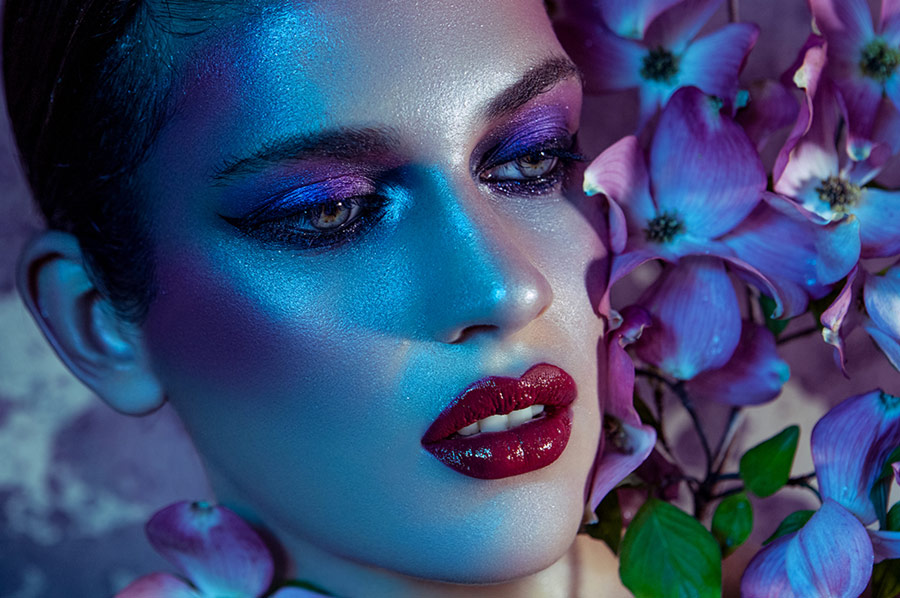
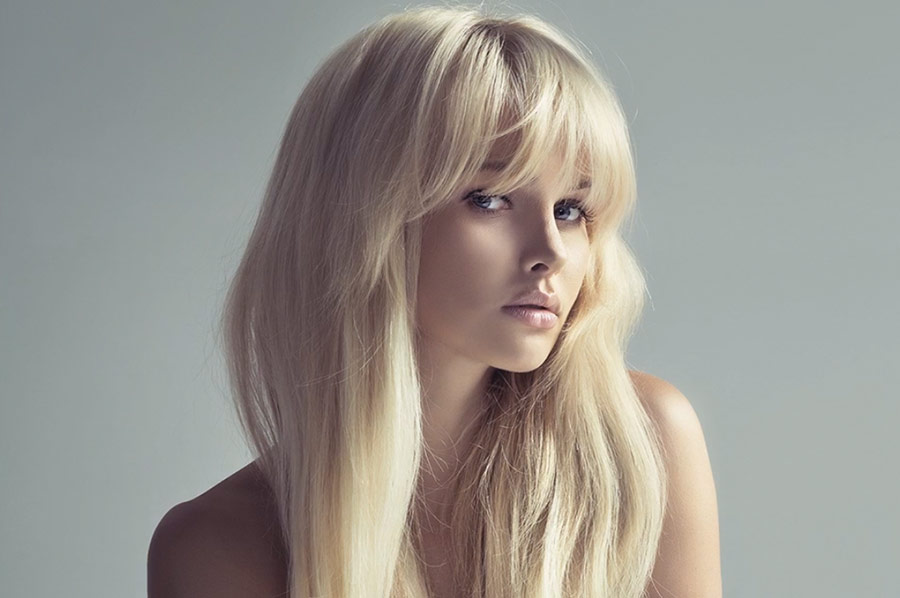
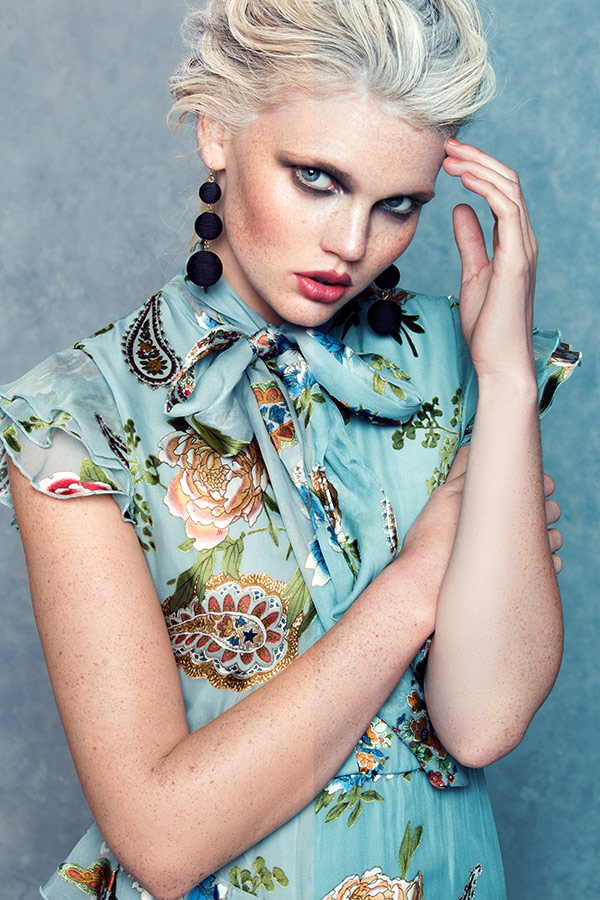
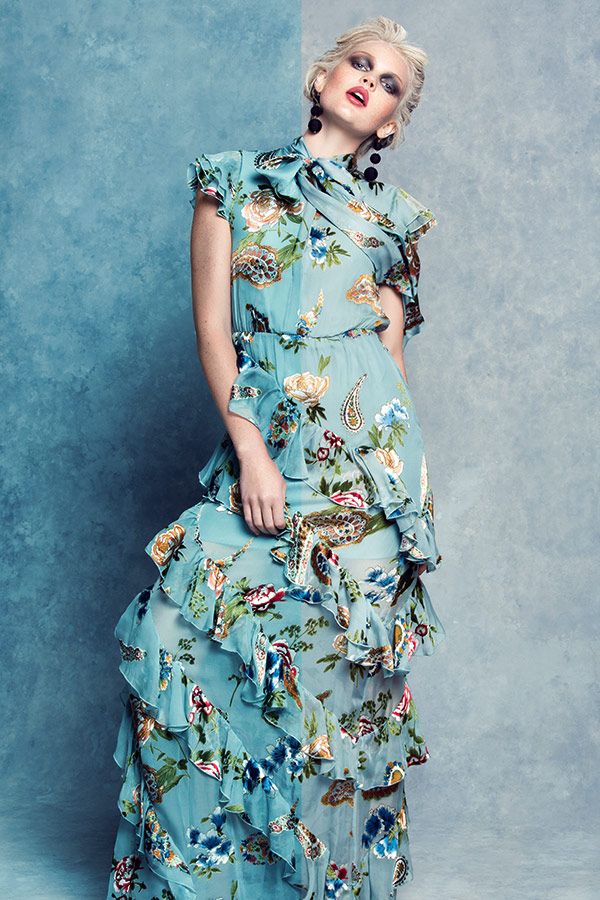
Image Credits: Photography: Kendra Paige | Model: Savannah Smith @ Next Miami | MUA: Madeline Rouge | Hair: Emily Malin | Styling: Lillyannette Zanella