
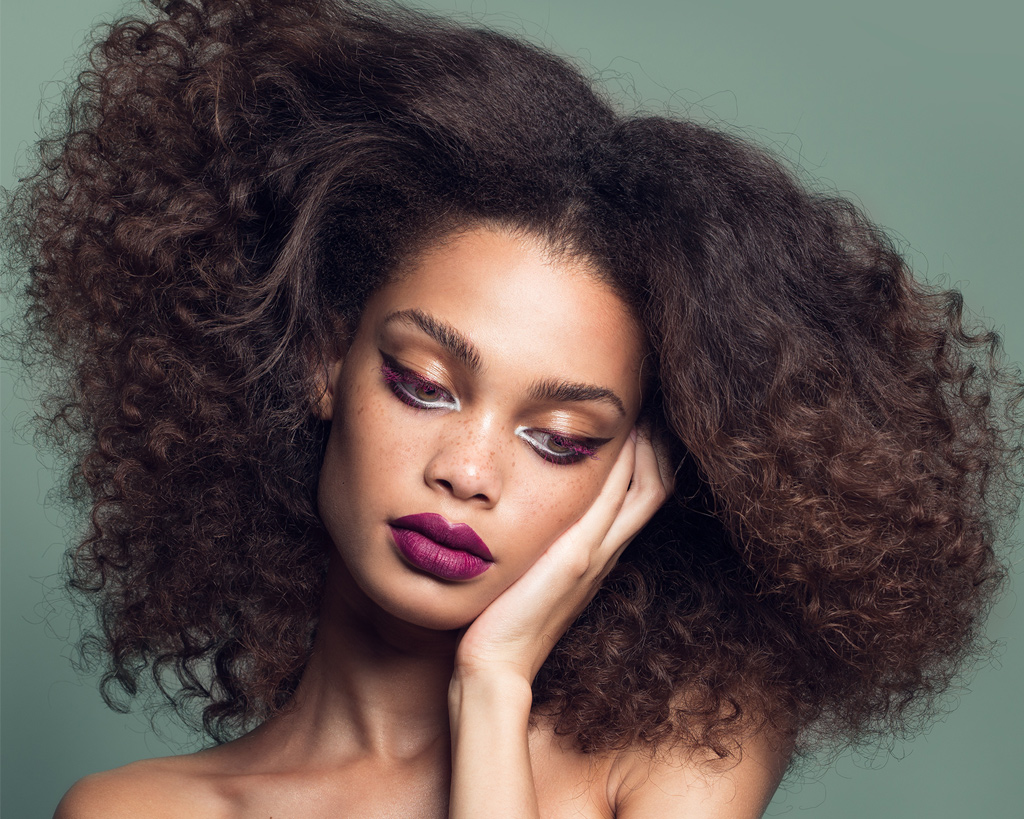
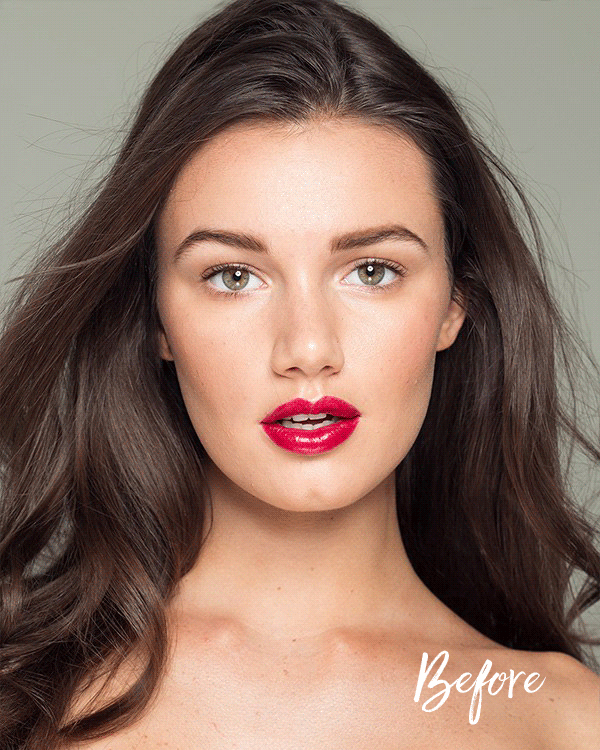
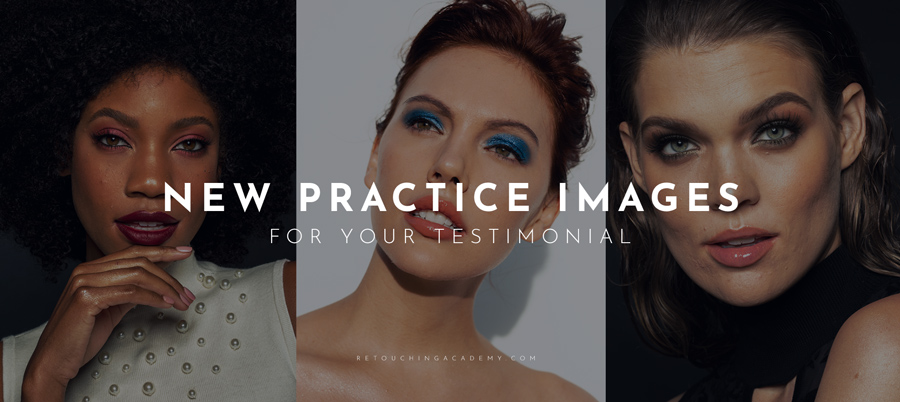
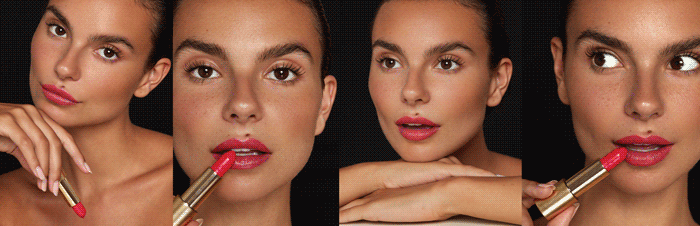
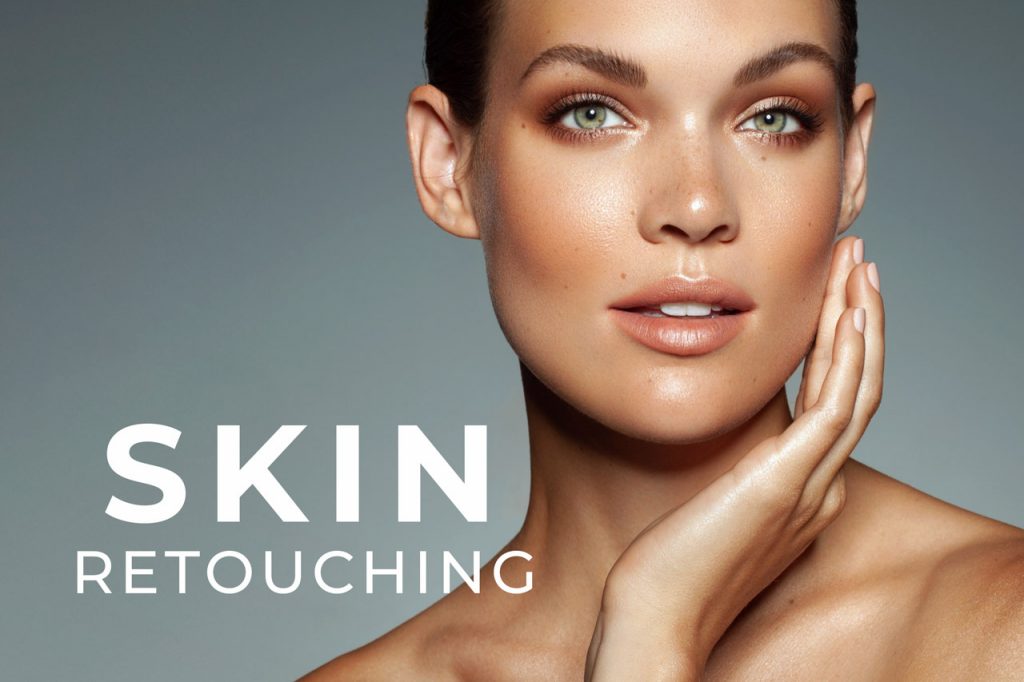
Beauty Photography is an exquisite genre of photography, but also one of the more difficult and tedious for photographers and retouchers. Photography, lighting, team and retouching have to be at their best to really make the image shine.
There is more than one-way to achieve a result, I will list the tools I have found to be most helpful for me. Here are 7 areas of Beauty Retouching that can help make the image top quality.
1. Symmetry
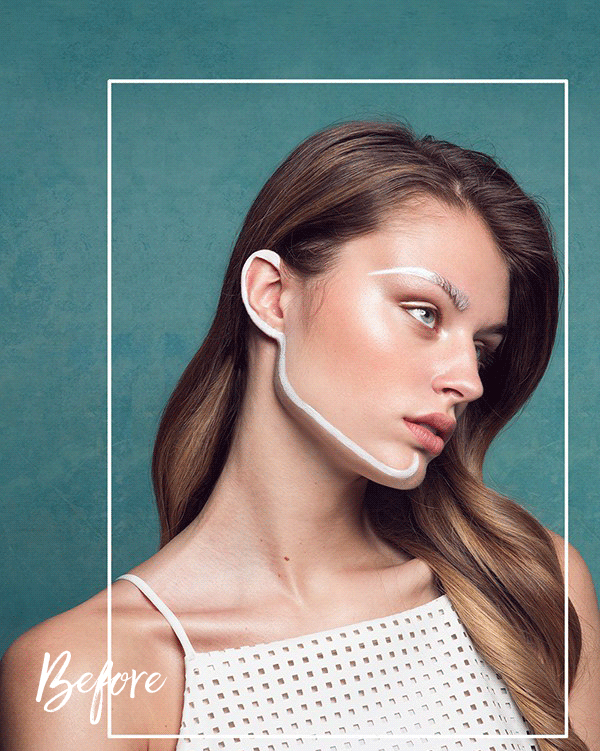
The first thing I look at when I begin retouching a beauty image is symmetry. The more symmetry a face has, the more visually appealing it is to the eye. Look closely at the facial features. The eyes, eyebrows, lips, nose, chin and jawline are most often where the symmetry lies. Make sure you even out the left side of the face with the right. Most often, these changes are very minor, but make a huge difference. Take the time here to even out or fix any makeup asymmetry as well. Liquify is the tool of choice for this area.
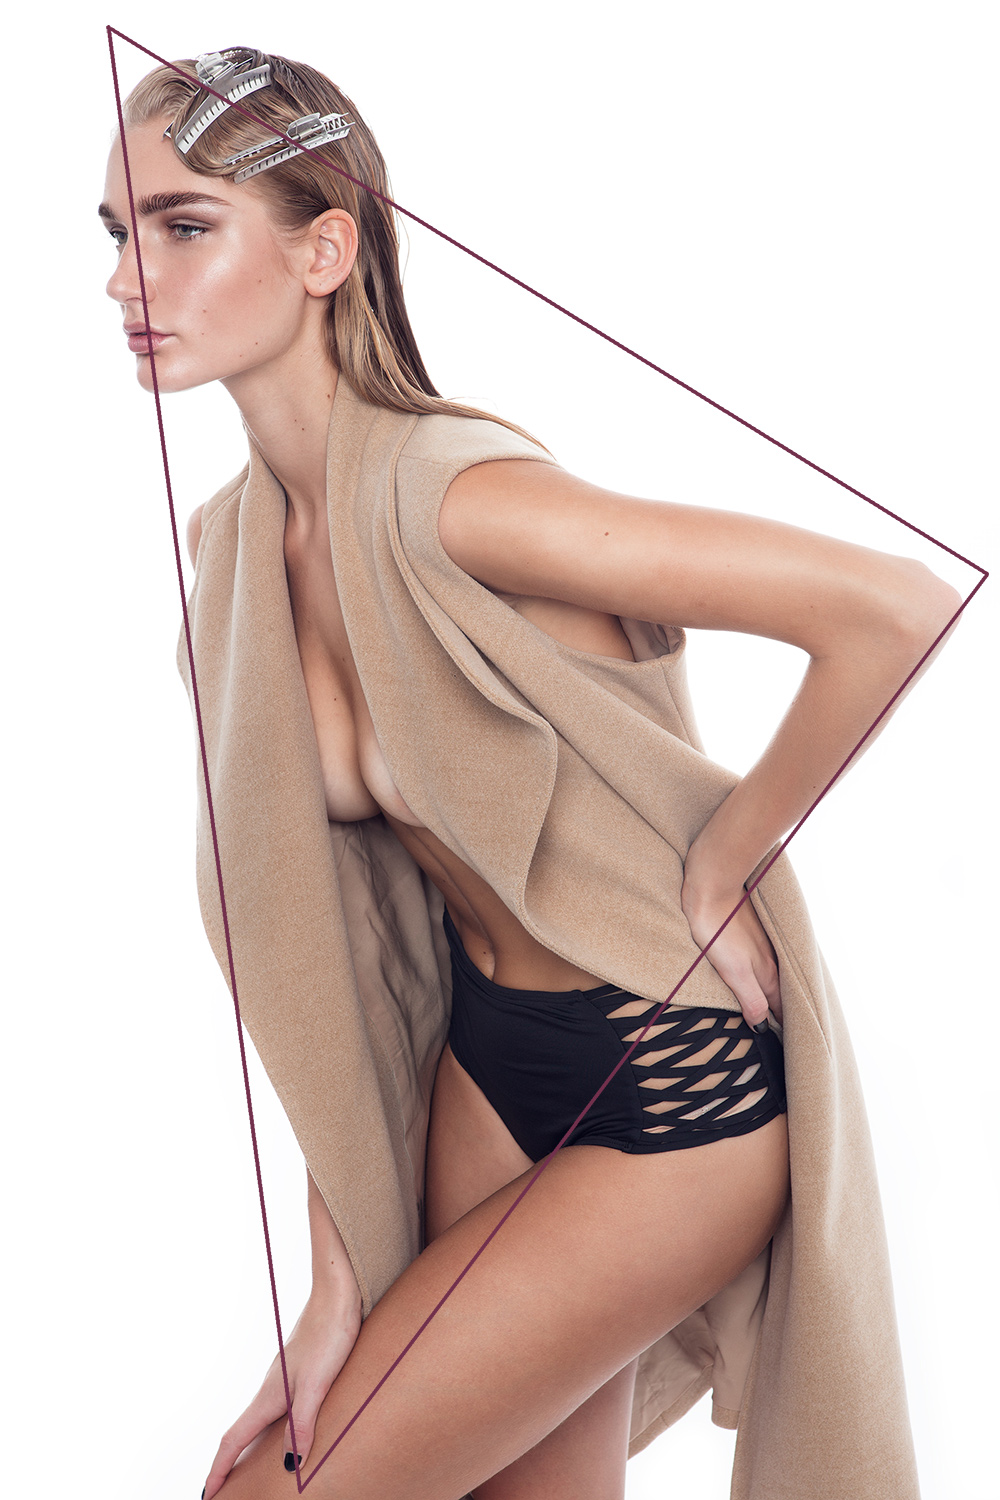
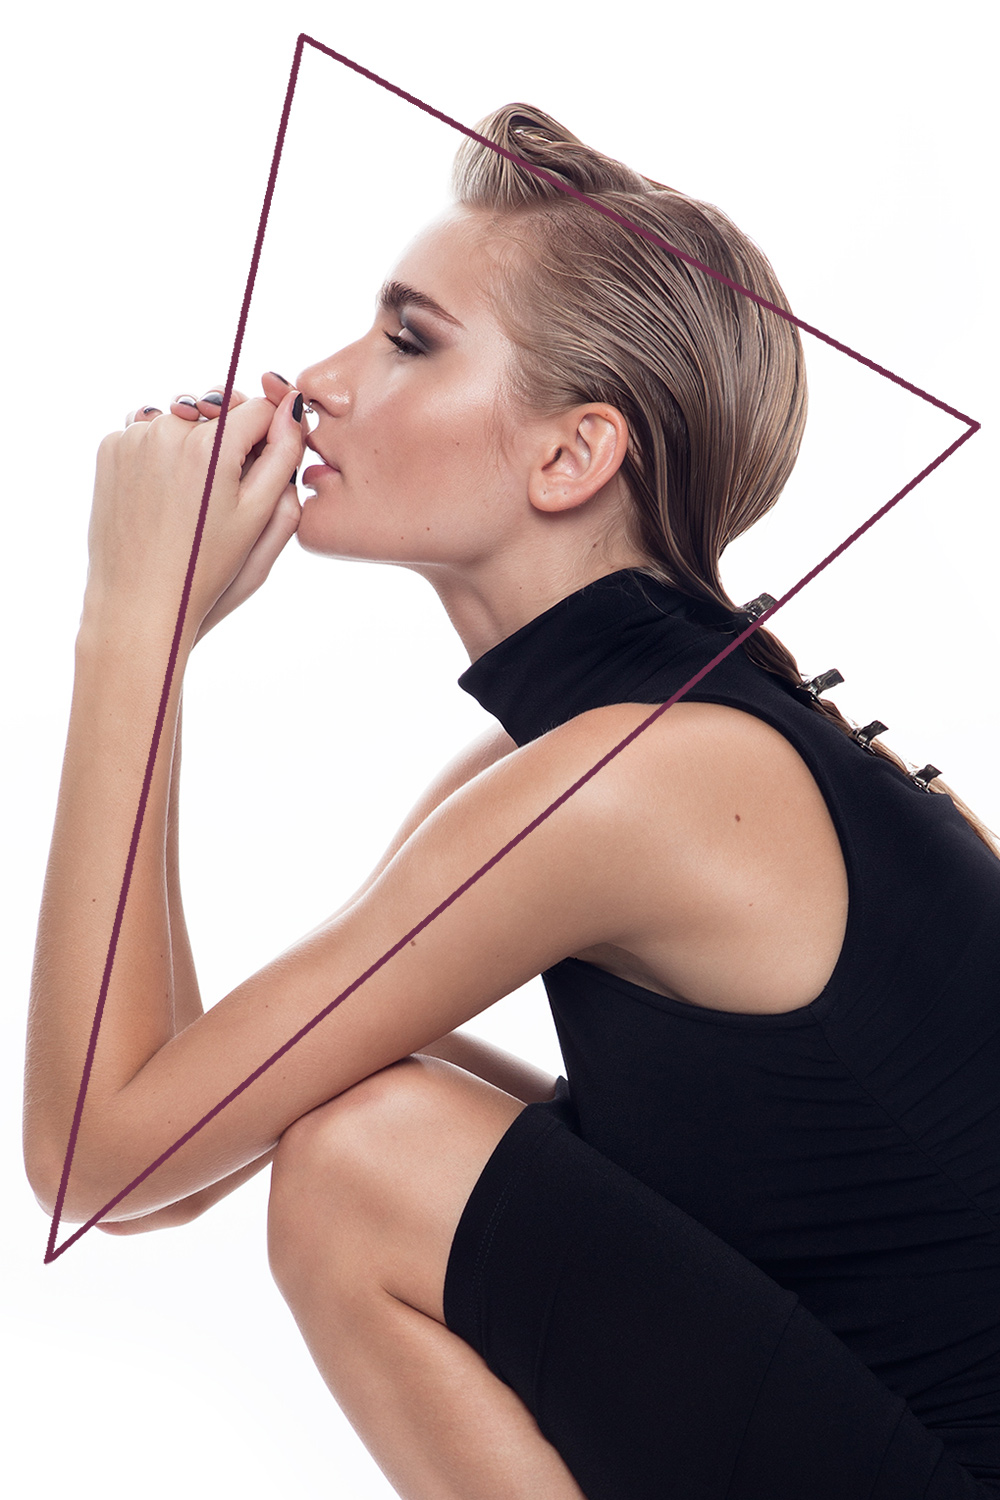
2. Shapes and Lines
An interesting photograph or image always has lines and shapes at play. Some are more static while others more dynamic. The eye is easily distracted by line breaks, it cleans the image substantially when we straighten or curve any shapes and lines we see. Most often I look to the silhouette, shoulders, neck, pose of the model and the shapes and lines it’s creating. Liquify Tool is a great way to make these adjustments.
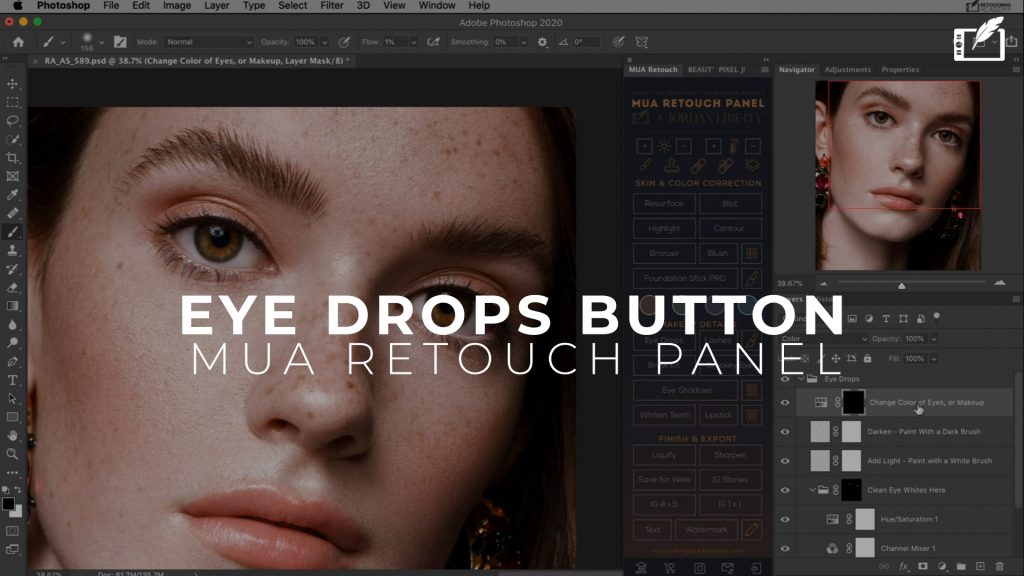
3. Skin Blemishes and Fine Lines
The skin is absolutely vital to a great beauty image. The key is to even out and perfect the skin without getting rid of the skin texture, in order to avoid looking too airbrushed. The healing brush tool and clone stamp tool are best for this step. I use healing brush 90% of the time for the skin, I will sample similar texture in the skin with the healing brush tool to even out or take away fine lines and blemishes. Again, look for makeup errors to even out as well.
4. Further Skin Retouching: Frequency Separation
Frequency Separation is a great technique that many of us have heard about and use. I personally like to keep my skin process to the healing brush and clone stamp tools, and use Frequency Separation sparingly if my model’s skin needs further work beyond these tools. Here’s a great article Julia Kuzmenko wrote on this technique: The Ultimate Guide To The Frequency Separation Technique.
5. Clone Stamp for Hair
Hair is just as important as the skin. There will always be flyaway hair and unruly strands that need to be taken care of. Clone stamp works great for this work. Clone Stamp in Normal, Darken and Lighten modes will take care of evening out hair.
RELATED: Learn more in our Hair Retouching Video Course (instant digital download, 3:38 hours, with Michael W’s Custom Actions and 8 (eight) layered practice PSD files enclosed).
Clone Stamp in Darken mode will affect the lighter strands against darker hair, lighten mode will affect the dark strands against lighter hair. For body and facial hair, healing brush tool is a great choice. Healing Brush in Lighten mode is great for taking away body hair.
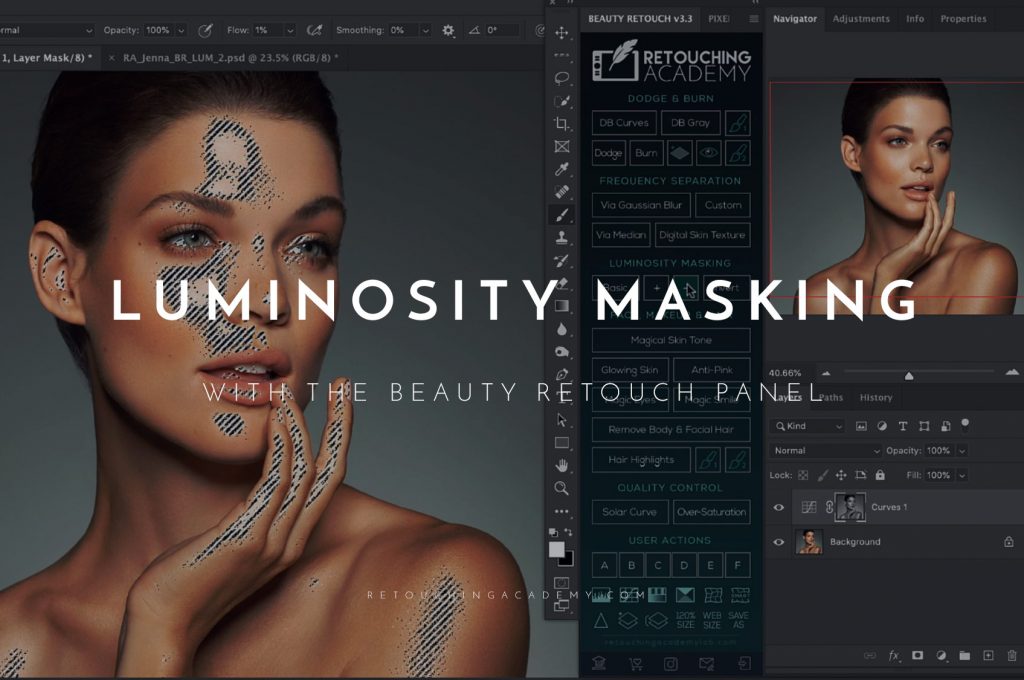
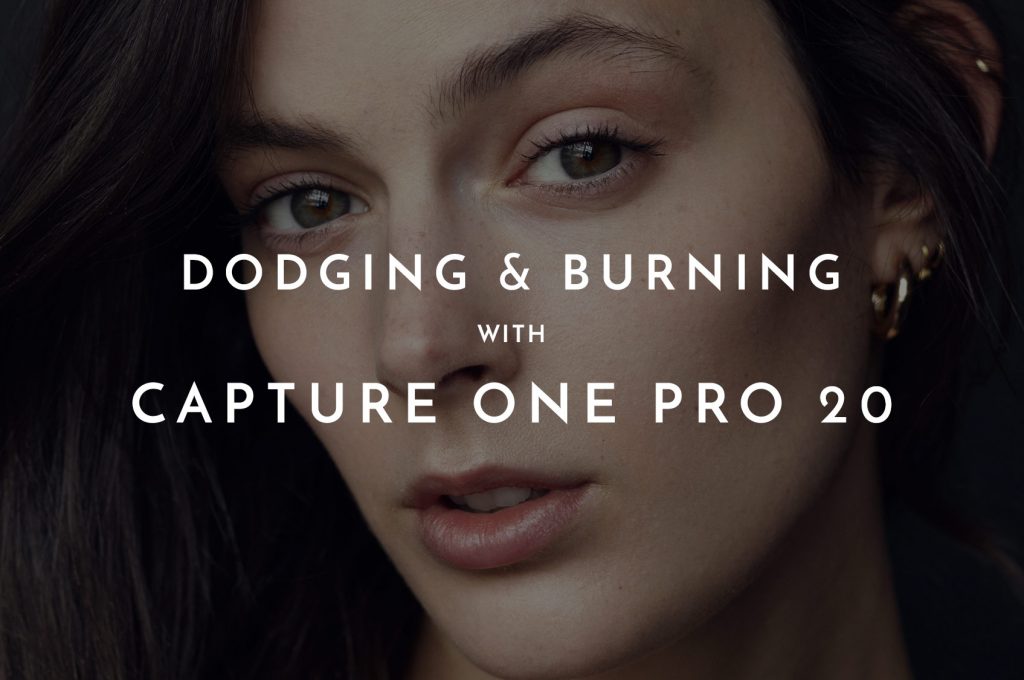
6. Dodge and Burn
One of my favorite tools – dodge and burn – can correct tones as well as enhance highlights, shadows and form. Here you can fix hair and skin unevenness further and pronounce areas of the images you’d like to, as well as accentuate makeup or jewelry.
RELATED: Learn more in our Master Dodge & Burn video course (instant digital download, 3:35 hours, Michael’s Custom Actions and layered practice PSD files enclosed).
7. Color Toning & Contrast
Color correcting skin and hair issues is a must, but color toning is an artistic choice for the image. Pushing the colors cool or warm will have different effects, same as the saturation and contrast of an image. Hue, Saturation and Luminosity are the 3 components of color theory, and they are all powerful tools in provoking mood and feeling. Here is a great article on Color Theory: The Fundamentals Of Color Theory
What are some of your favorite, key areas to retouching a beauty image?
Photo and Post: Eugenia Carolina
Instagram: @eugination
www.eugeniacarolina.com


Thank you for such an informative article on retouching. Some of the best and most helpful tips Ive read to date. Love your style and thanks for sharing with the photography community.
Hi Paul, I’m so glad you found this helpful, and thank you for your feedback and compliments!
Thank you! I’m in my learning process and this help a lot 🙂
You’re welcome Silvina! I’m glad this is helping you learn.
Thank you writer to give us such fantastic things. Your presentation is good.
Ecommerce Product Photo Retouching